
Nobody tells you how quickly a welcome sign becomes the most photographed detail. I learned that the hard way when our wooden easel toppled at a Malibu micro-wedding. Outdoor wedding welcome signs need weight, material, and a readable font to survive coastal wind. Here are 16 tried-and-true sign ideas that still look polished in gusts, mostly under $40, a few splurges around $150.
I’m focused on airy coastal, boho, and tropical looks. Most picks are under $40, with a few splurges around $150 for hardware or custom pieces. These suit barefoot ceremonies, micro-weddings, and destination weekends. Trend note: couples in 2025 are mixing vintage brass with breezy linens for tactile contrast.
1. Weighted Driftwood Welcome Board
Style: Coastal Rustic | Budget: Under $60 | Best For: Beach entrances
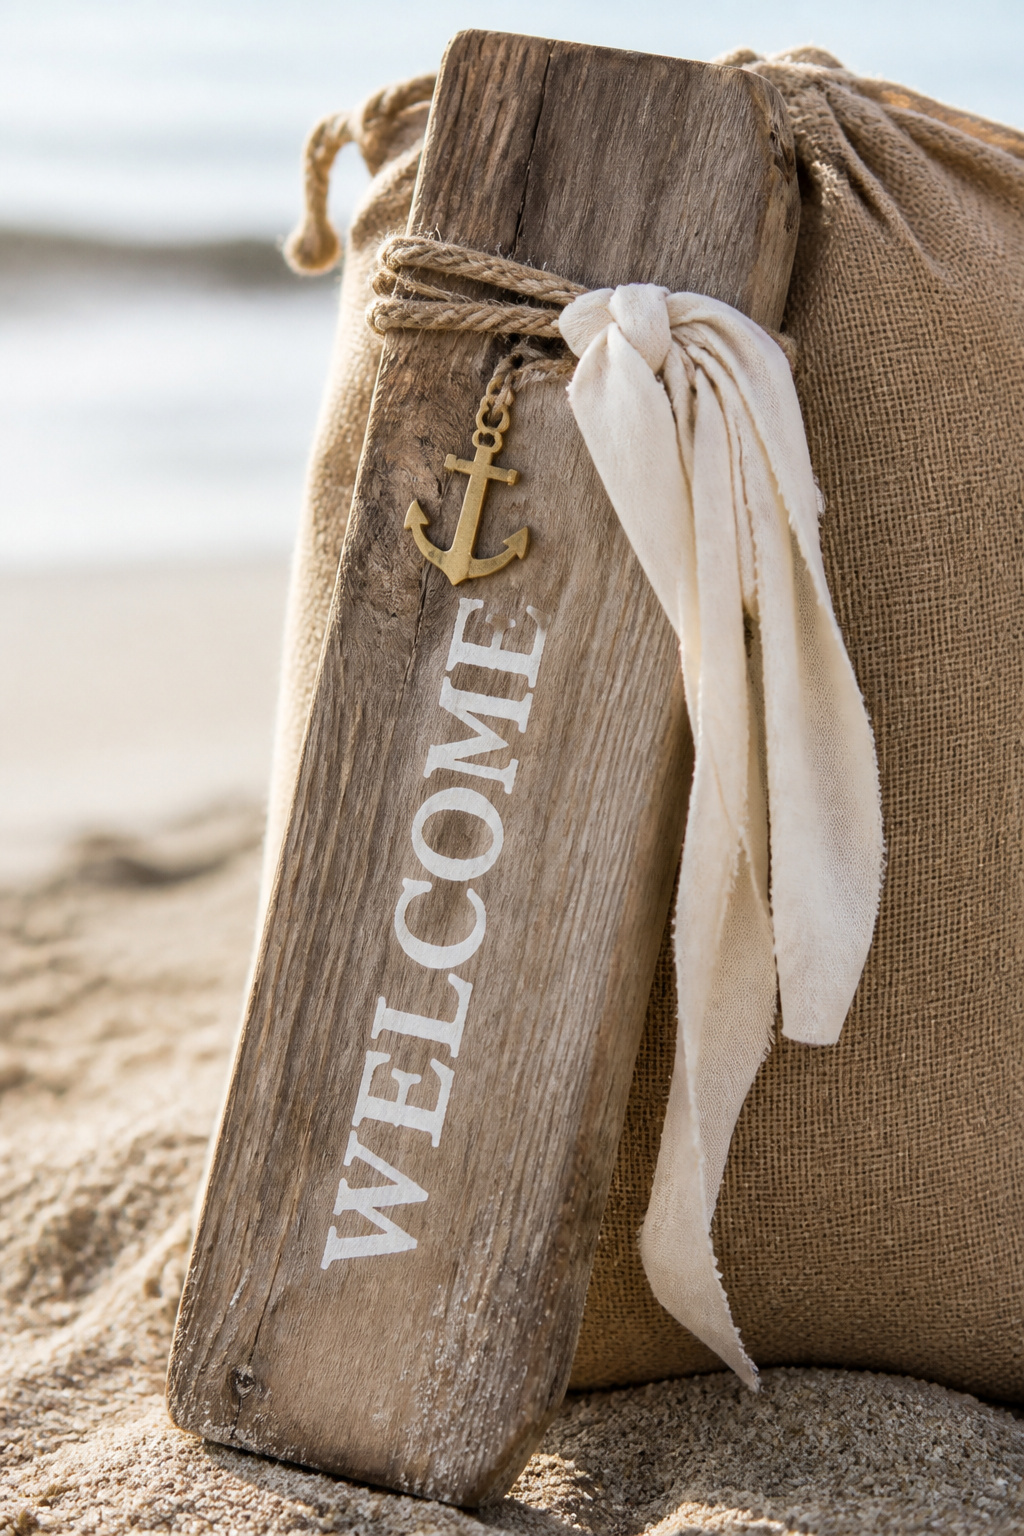
Result: a board that won’t blow over. I screwed a low-profile steel base to a driftwood plank and weighted it with a sandbag under a rattan basket. Use a weatherproof paint pen for the copy. I found a small kit for about $28 to $45 that included base hardware and screws. Tip: set the board at a 15-degree angle into the wind so gusts glide past. Guests loved the tactile driftwood at a Coronado ceremony.
Shop this idea:
2. Acrylic Panel on Weighted Tripod
Style: Modern Coastal | Budget: $40 to $150 | Best For: Contemporary seaside vows
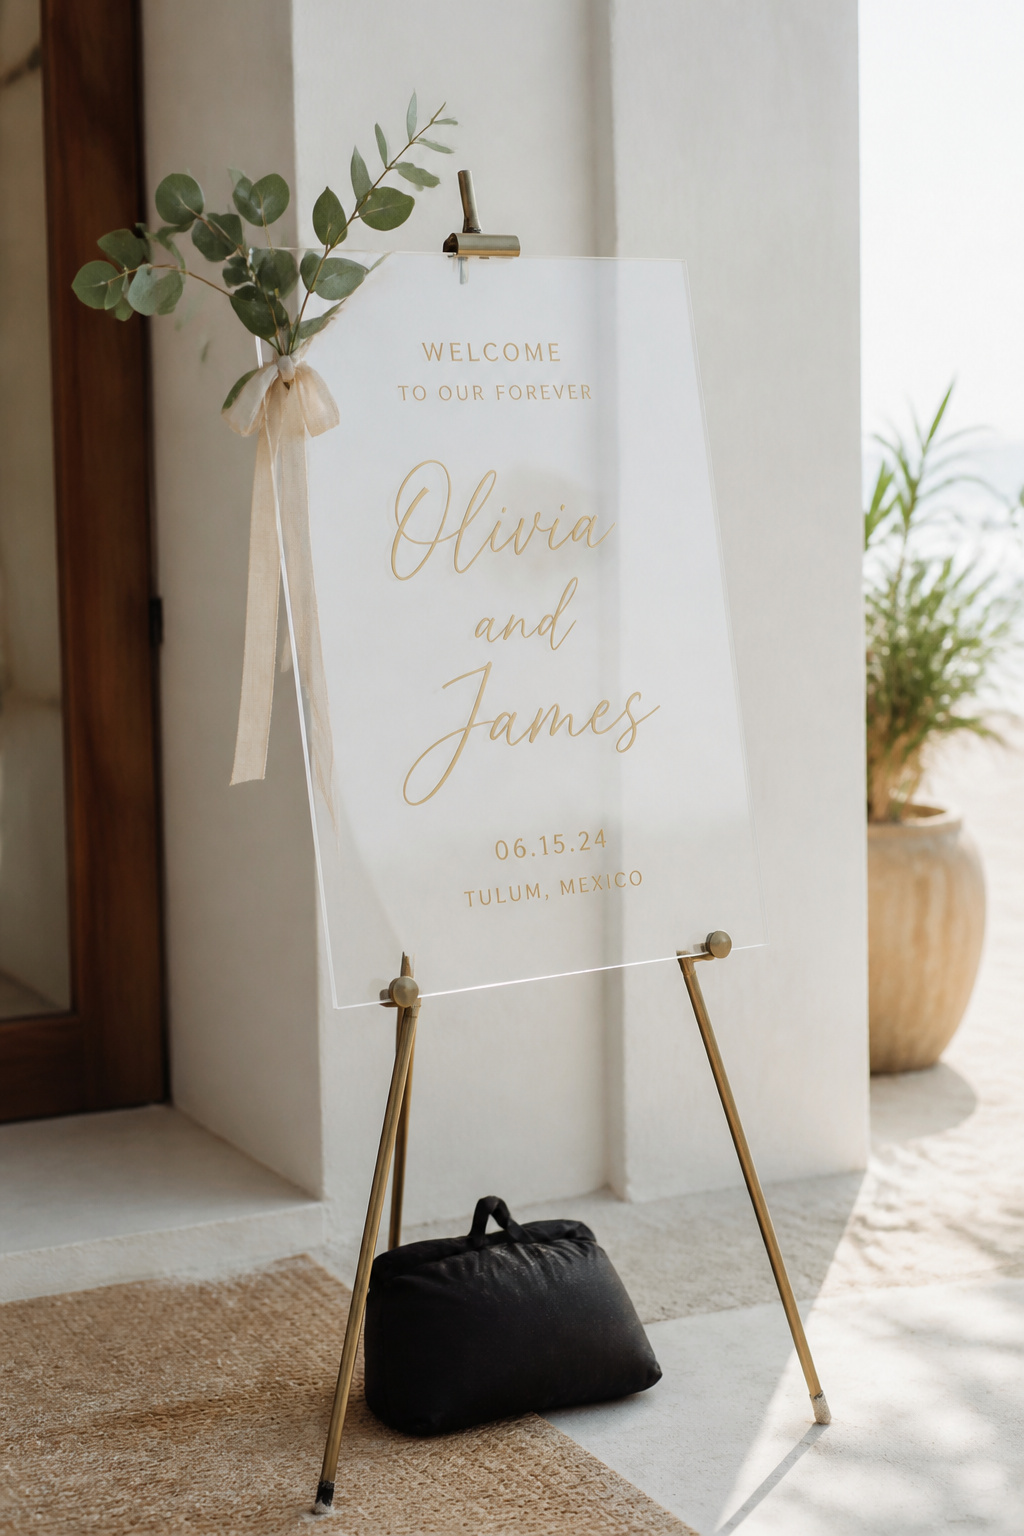
Acrylic reads well in wind because the panel distributes pressure. I anchored mine with a 20 lb sandbag and tied eucalyptus to the stand for movement. For lettering, a vinyl transfer held through gusts better than paint. I used a clear acrylic 24 x 36 panel from Amazon for about $45 to $80. Tip: orient the panel perpendicular to prevailing wind. At a Malibu shoot guests loved photographing reflections in the panel.
Shop this idea:
3. Chalkboard on Low Easel with Sand Base
Style: Boho Beach | Budget: Under $35 | Best For: Casual micro-weddings
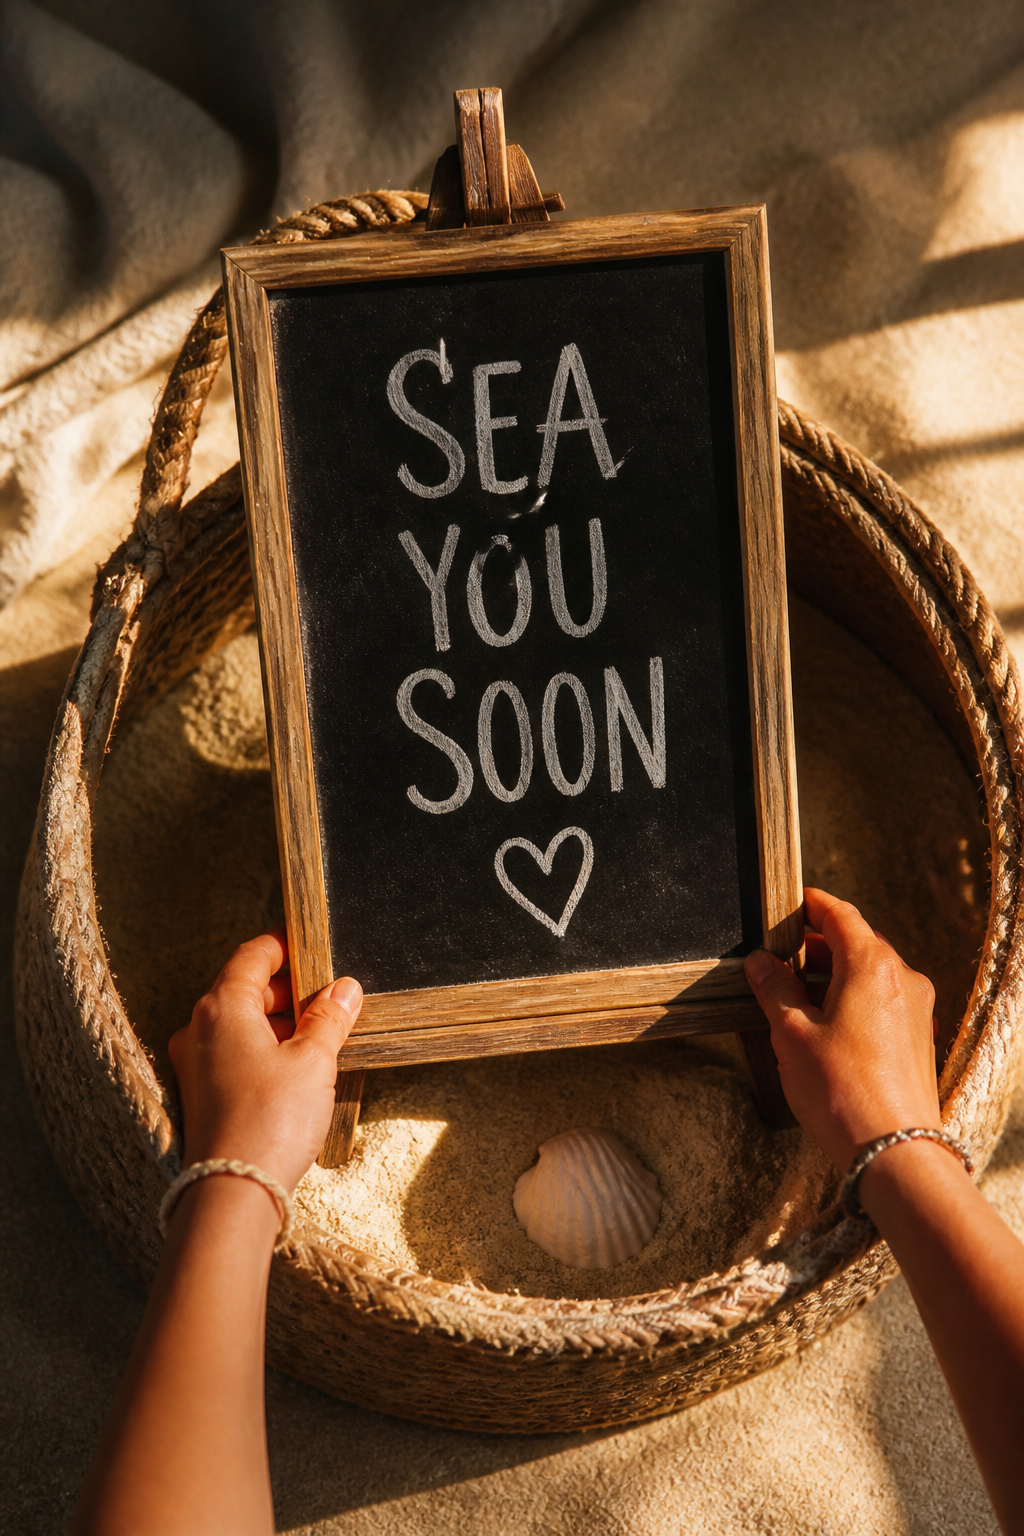
Chalkboard is forgiving when it rocks. I anchored the easel into a woven sand basket filled with pebbles. Use liquid chalk markers that won’t run if a sudden mist comes in. Found good framed chalkboards around $20 to $40. Ugly truth: cheap easels snap in high gusts, so buy a sturdy frame. At a Newport micro-wedding a guest complimented the handwritten schedule more than the printed program.
Shop this idea:
4. Brass Plate on Low Driftwood Plinth
Style: Elevated Coastal | Budget: $60 to $150 | Best For: Sunset ceremonies
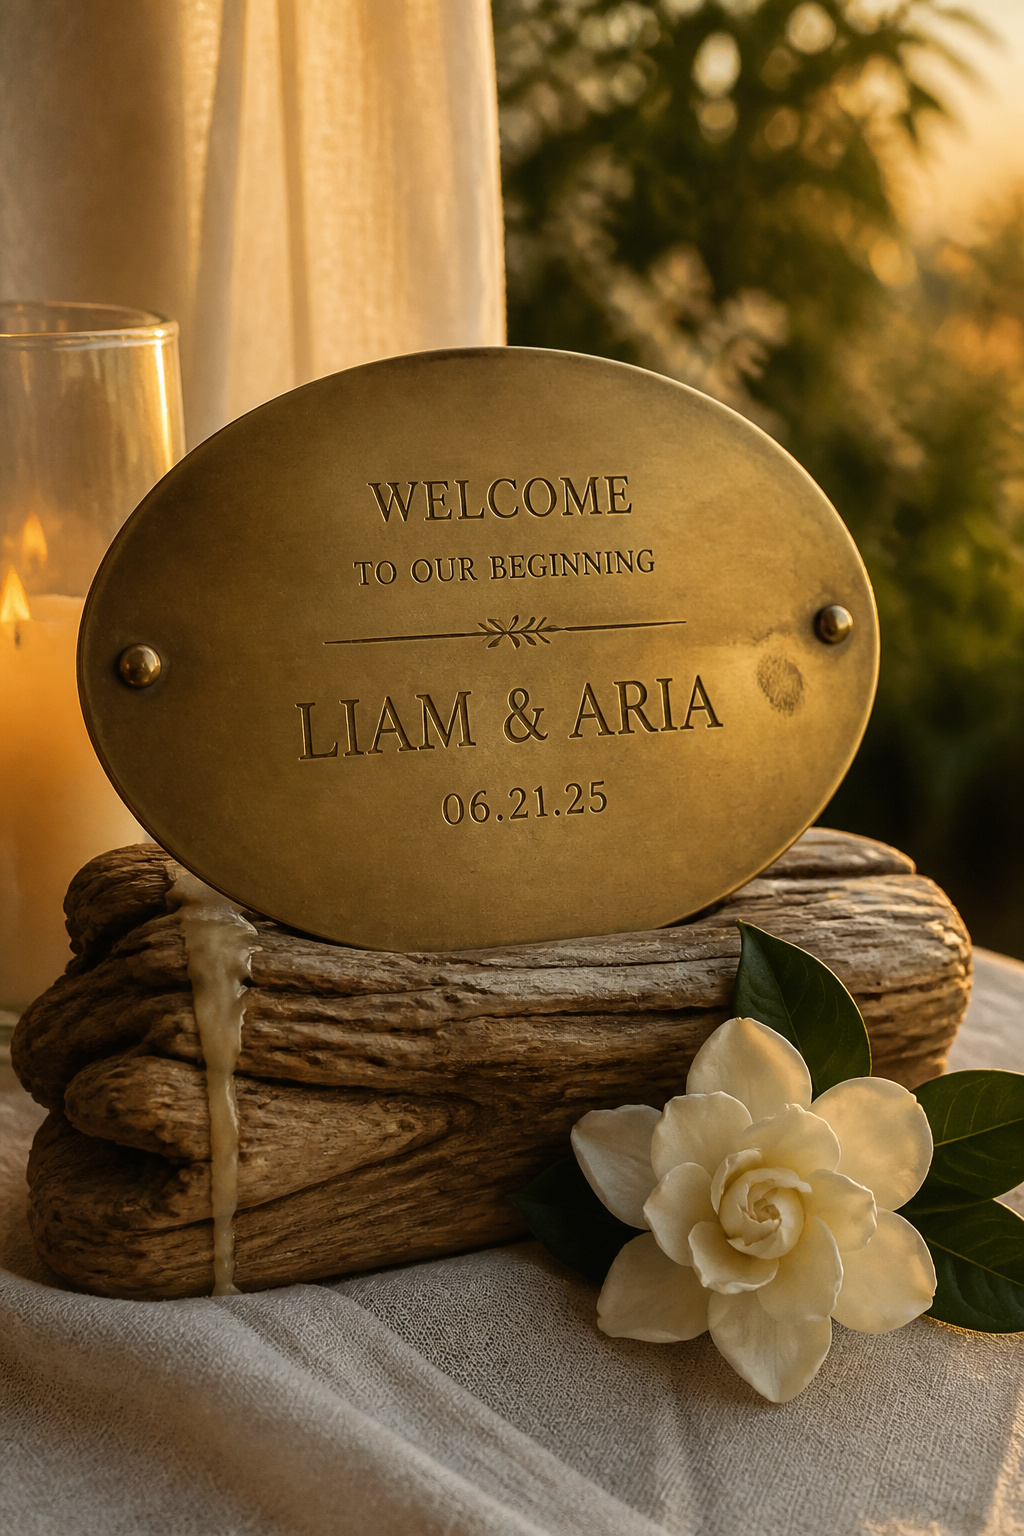
Brass feels polished and heavy enough to resist minor gusts. I mounted a thin brass plate to driftwood with hidden screws and placed it on a low plinth filled with pea gravel. Custom engraving ran about $90 to $150. Practical tip: buff brass with a soft cloth after sea air exposure. Guests paused to touch the plate at a Santa Barbara rehearsal.
Shop this idea:
5. Handheld Welcome Paddle
Style: Tropical Casual | Budget: Under $25 | Best For: Arrival photos
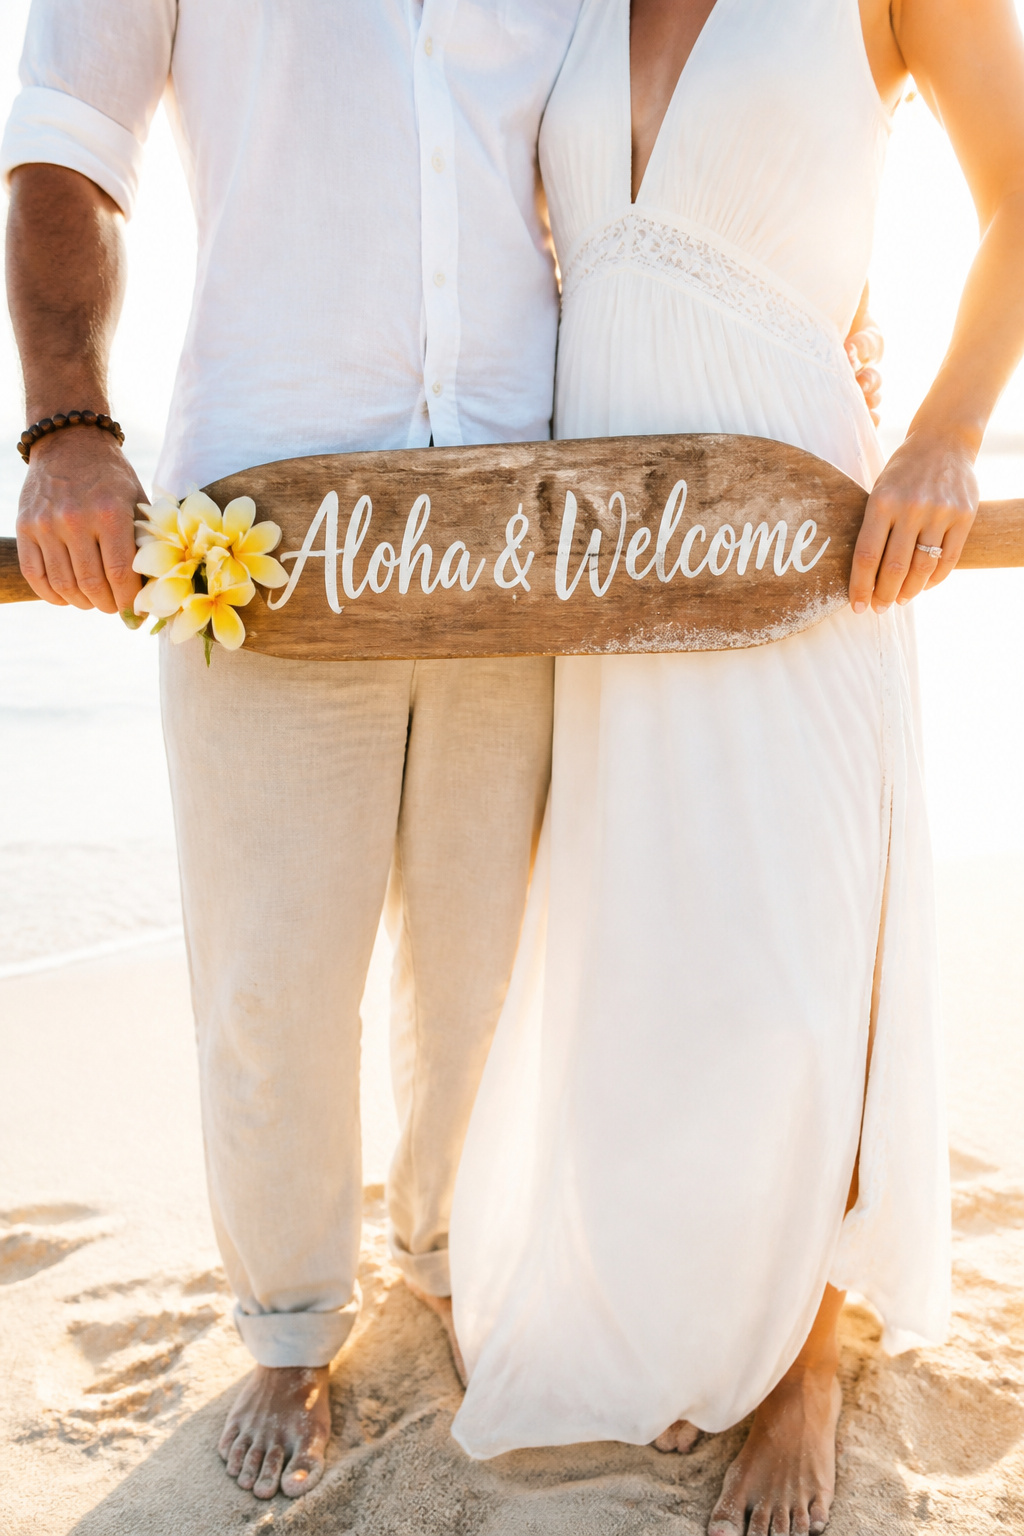
This is one of my quick wins. Someone hands the paddle to the photographer and it becomes an activity prop. Lightweight paddles stay readable when guests pose. I bought a paddle set for about $18 to $30 and painted names with a fine-tip paint pen. Tip: keep a tray of clothespins for guests to clip paddles to chairs if wind picks up. At a Kauai elopement the paddle created candid arrival photos.
Shop this idea:
6. Fabric Banner with Weighted Hem
Style: Boho Breeze | Budget: $25 to $60 | Best For: Soft signage that moves
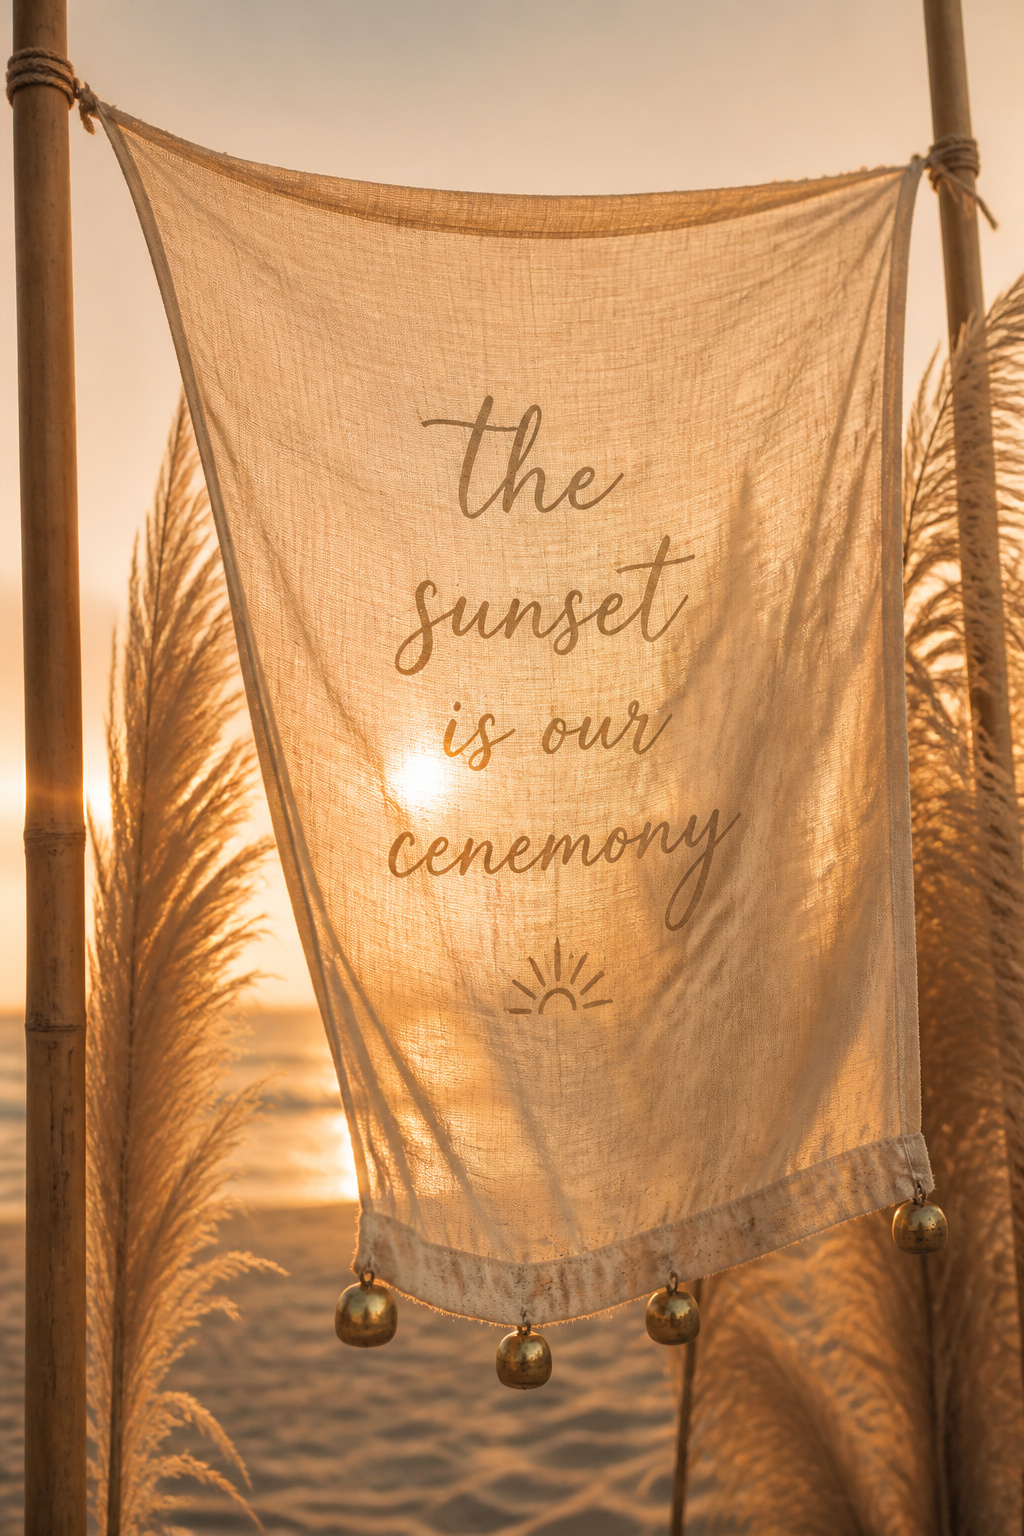
Fabric looks dreamy while staying readable with weighted hems. I sewed brass washers into corners and a 12-inch brass weight into the hem to stop flapping. Use block lettering for legibility. Found a cotton gauze banner for $25 to $45. Tip: suspend the banner low to reduce sail effect. Guests always said the banner felt "so breezy" at a Santa Monica ceremony, which was the point.
Shop this idea:
7. Ceramic Tile on Low Metal Stand
Style: Classic Coastal | Budget: $30 to $80 | Best For: Rain-adjacent setups
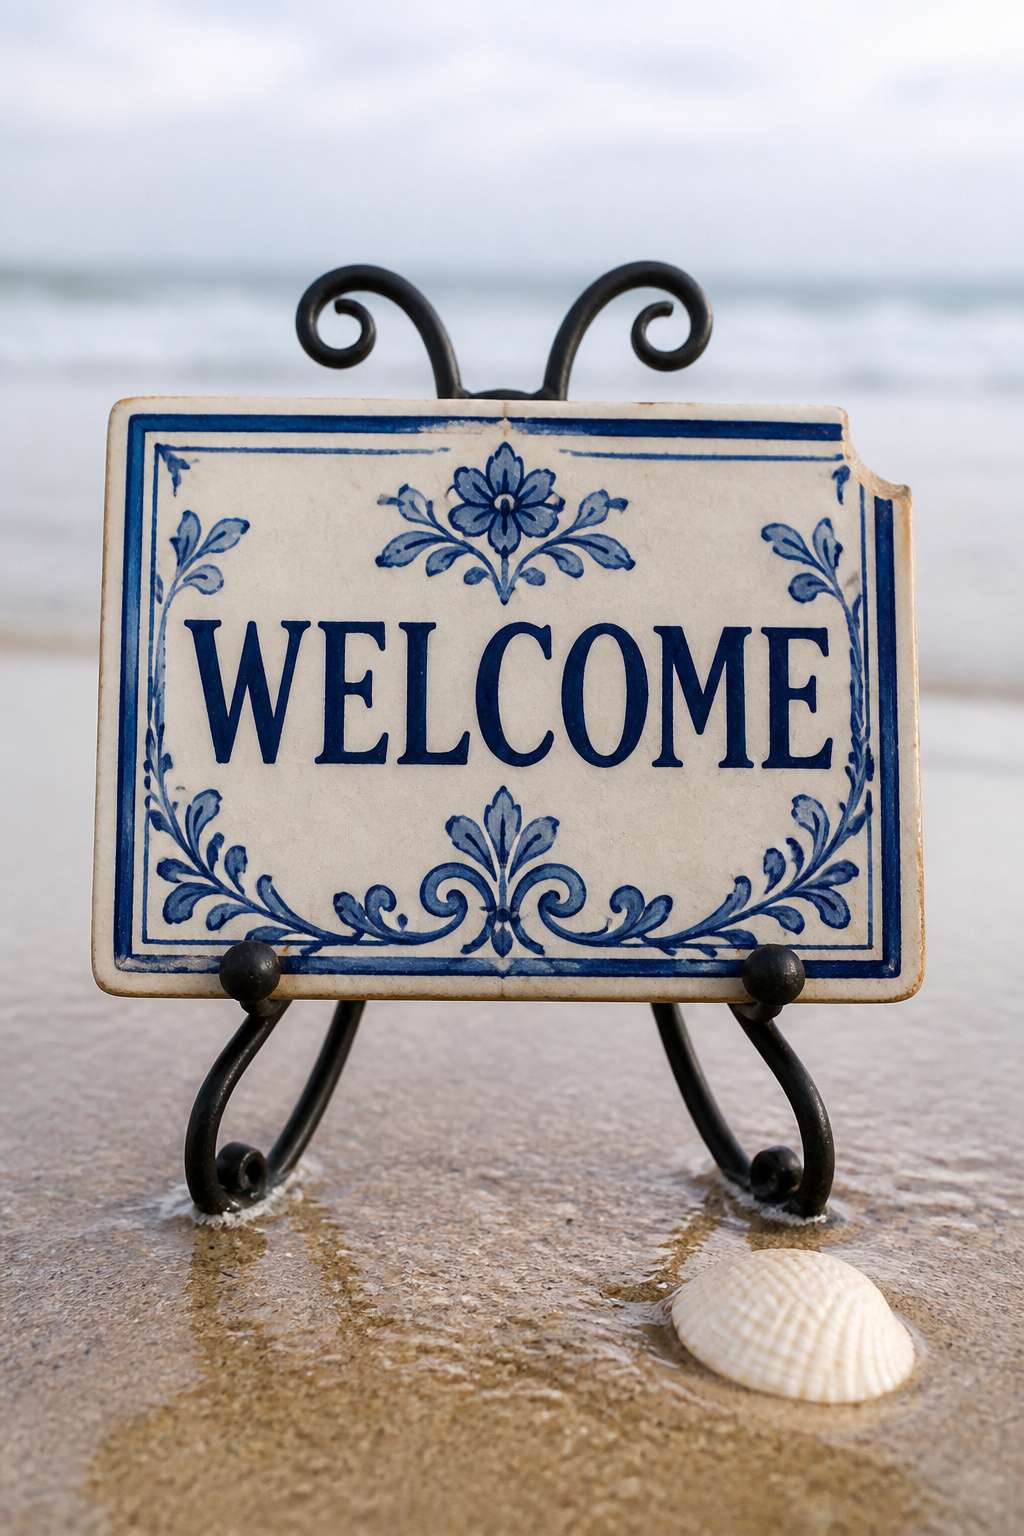
Ceramic tiles don’t catch wind and feel upscale. I set tiles on low metal stands and backed them with a sand-filled canvas pouch for stability. Tiles can be custom for $40 to $80. Tip: place tile on a low plinth so guests can read without bending. I used this setup when a forecast threatened light drizzle, and the tile looked intentional, not weatherproofed.
Shop this idea:
8. Framed Acrylic with Rope Hangers
Style: Nautical Elevated | Budget: $30 to $90 | Best For: Pier or dune entrances
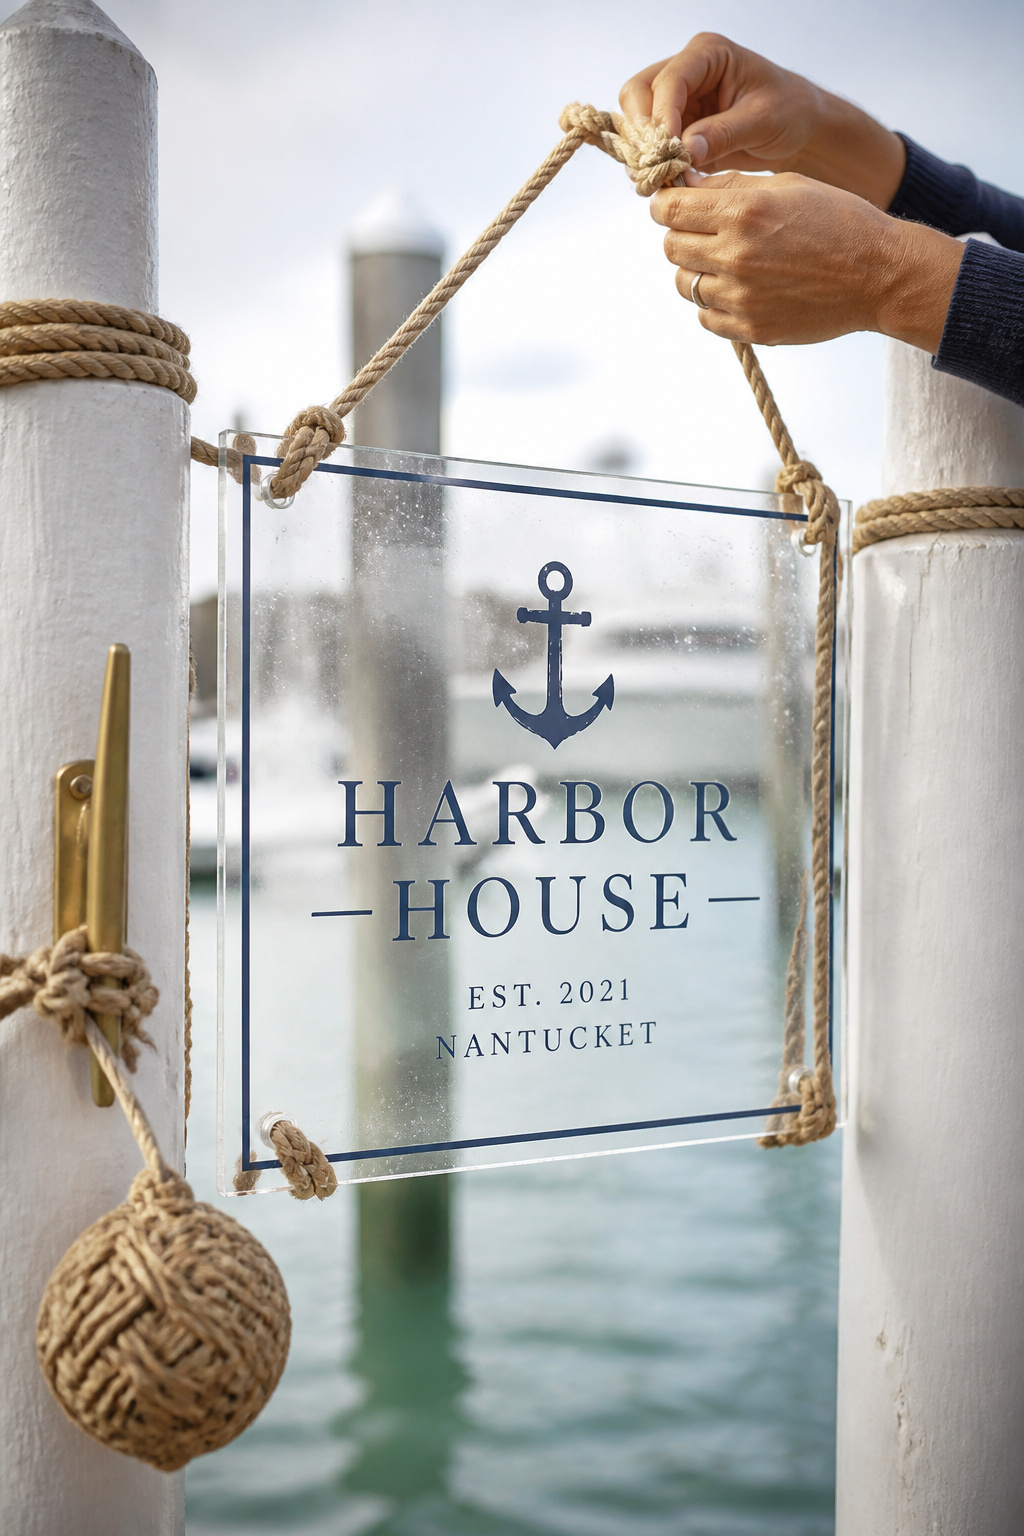
Rope distributes load and reduces swinging. I framed a 20 x 30 acrylic sheet and used marine rope loops anchored to cleats. For extra hold, wrap a small coat-hanger wire inside the top rope loop. An acrylic frame kit ran $40 to $90. Tip: test the rope knot under 30-second gusts. I rigged this at a pier ceremony and the rope added nautical texture guests loved.
Shop this idea:
9. Metal A-Frame with Sand Anchors
Style: Industrial Coastal | Budget: $50 to $120 | Best For: High-wind beaches
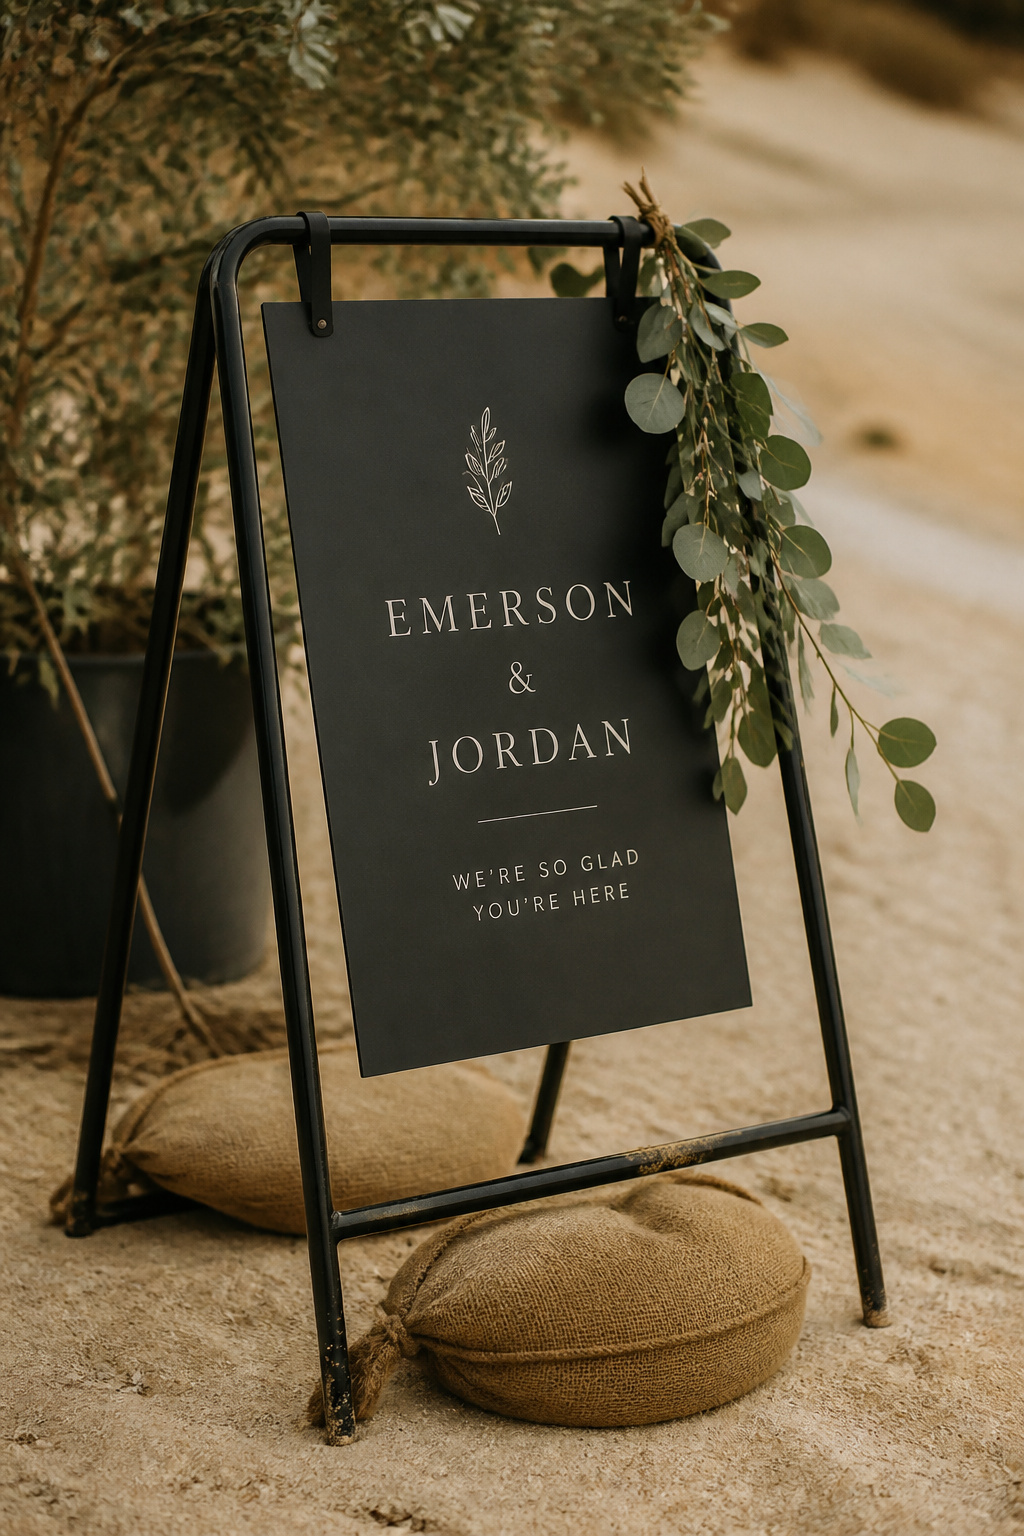
Metal A-frames are workhorses. I used printed foamboard mounted in a powder-coated A-frame and pegged the feet into sand anchor bags. Foamboard holds ink well and is easy to replace. Found A-frames for $50 to $120. Tip: use gaffer tape to secure the foamboard to the frame in case of gusts. Guests tend to lean on them for photos, so check stability.
Shop this idea:
10. Seashell Mosaic Welcome Plaque
Style: Coastal Handmade | Budget: $20 to $60 | Best For: DIY-friendly couples
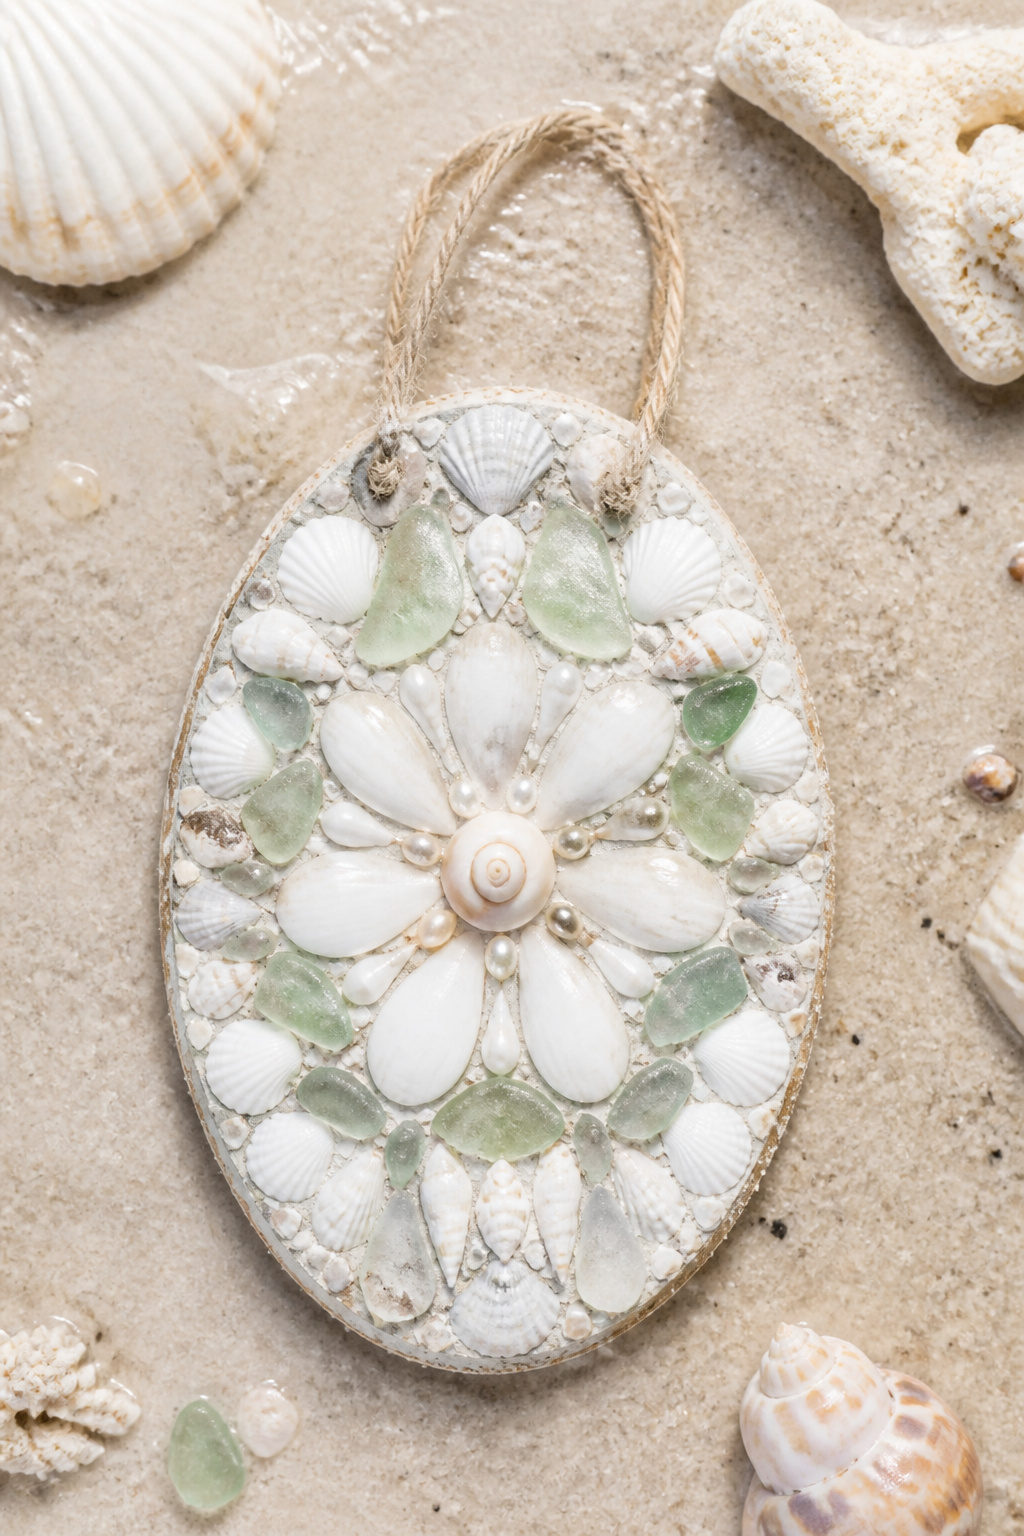
Seashell mosaics are low profile and stay put. I glued shells to a thin wood plaque and sealed it with marine varnish. The weight of the shells helped it resist wind. Materials ran about $20 to $40. Tip: avoid overly tall stands, mount low to the ground. I saw these at a Malibu rehearsal where guests turned them into ceremony favors later.
Shop this idea:
11. Vintage Window Pane with Hidden Stakes
Style: Romantic Coastal | Budget: $45 to $120 | Best For: Garden-meets-beach venues
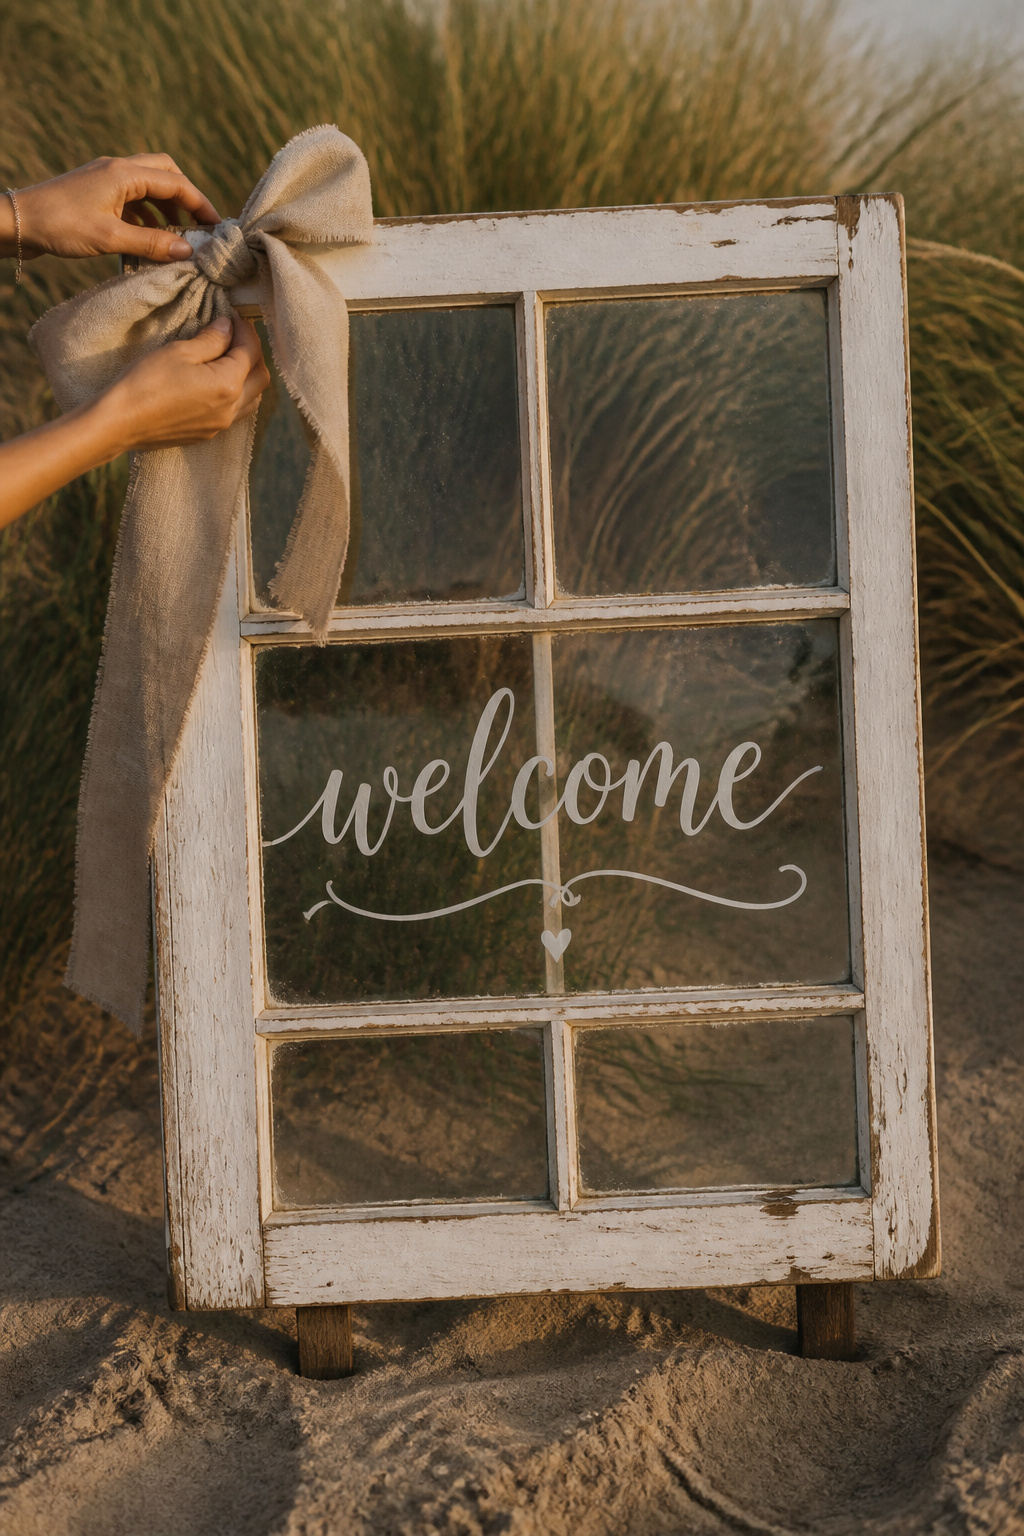
Repurposed window panes look romantic and are stable when staked. I fastened the pane to two metal stakes with clear silicone and anchored stakes deep into packed sand. A 24 x 30 pane cost about $50 to $120 at vintage markets. Tip: place foam pads between glass and stake to prevent cracking. At a Carmel wedding guests loved the reflection of golden hour in the pane.
Shop this idea:
12. Handlettered Linen Flag on Telescoping Pole
Style: Soft Coastal | Budget: $30 to $70 | Best For: Dunes and bluff-top sites
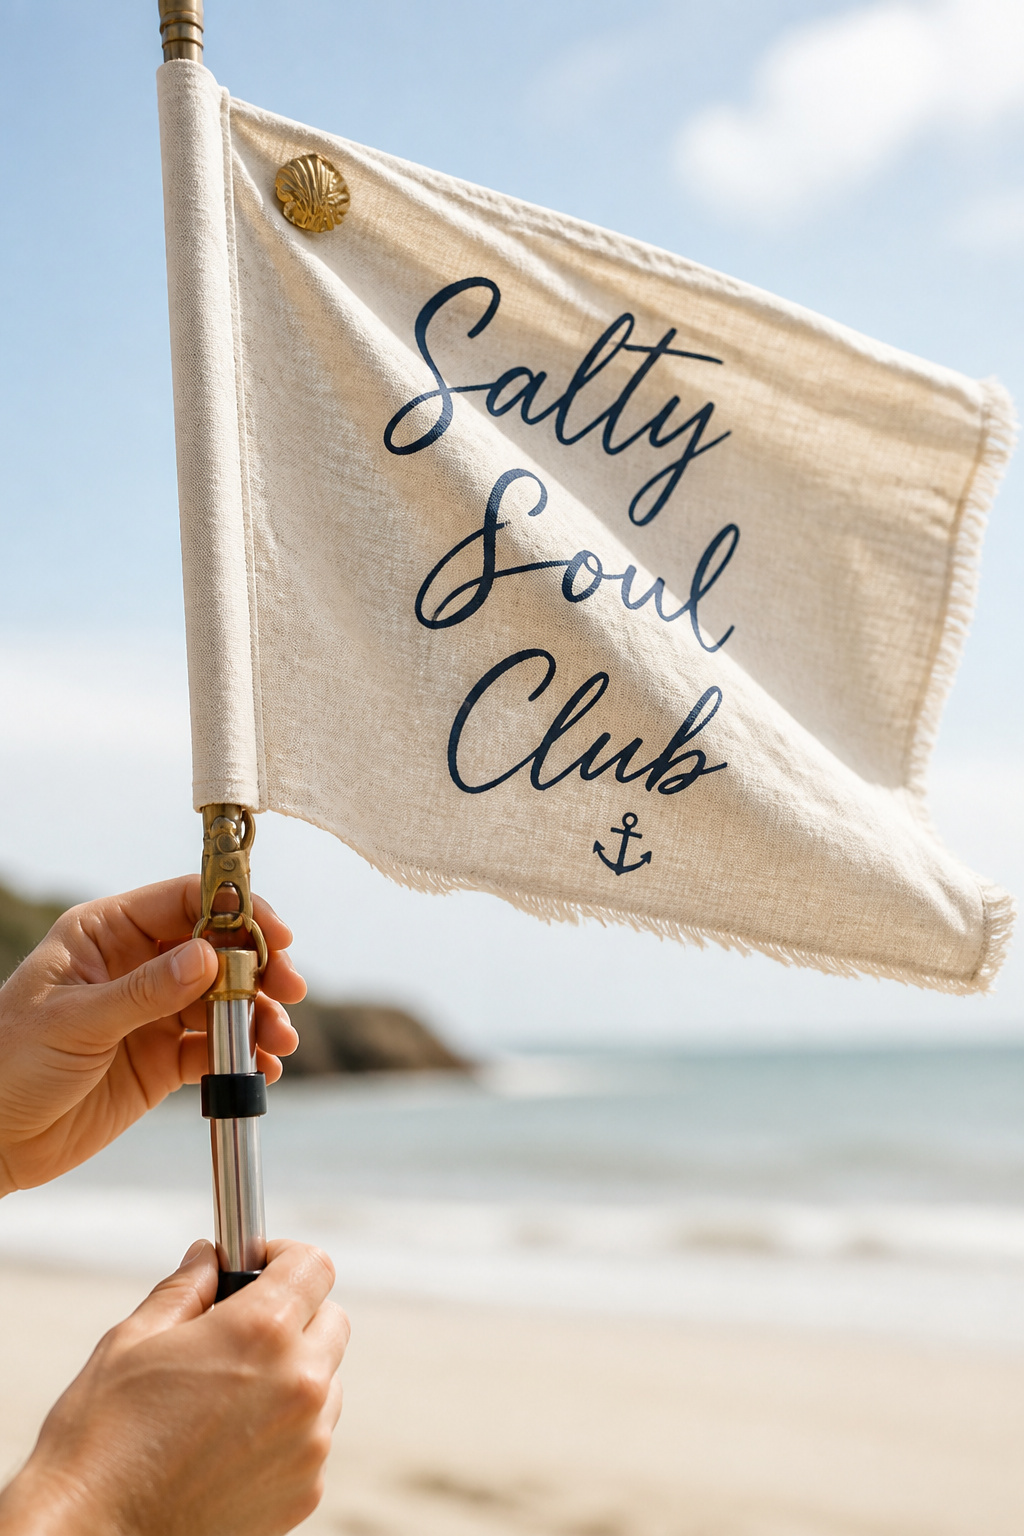
Linen flags flutter beautifully but need weight. I used a telescoping pole to set tension and sewed a small pocket for a brass bar along the bottom. A 3-foot linen flag ran $30 to $70. Practical tip: keep two extra clips in case one pops. At a Laguna Beach rehearsal the flag created motion guests called "breezy and real."
Shop this idea:
13. Foamboard with Velcro Attachments
Style: Budget Coastal | Budget: Under $25 | Best For: Pop-up ceremonies

Foamboard is cheap and replaceable. I used Velcro tabs to attach florals and then sandbagged the bottom edge. If a gust rips the florals, the board stays readable. A full panel is about $10 to $25. Tip: double up Velcro on windy days. I used this at a last-minute beach elopement and it lasted through a surprise gusty interlude.
Shop this idea:
14. Hand-Painted Oar Sign
Style: Nautical Playful | Budget: Under $40 | Best For: Dockside or small beaches
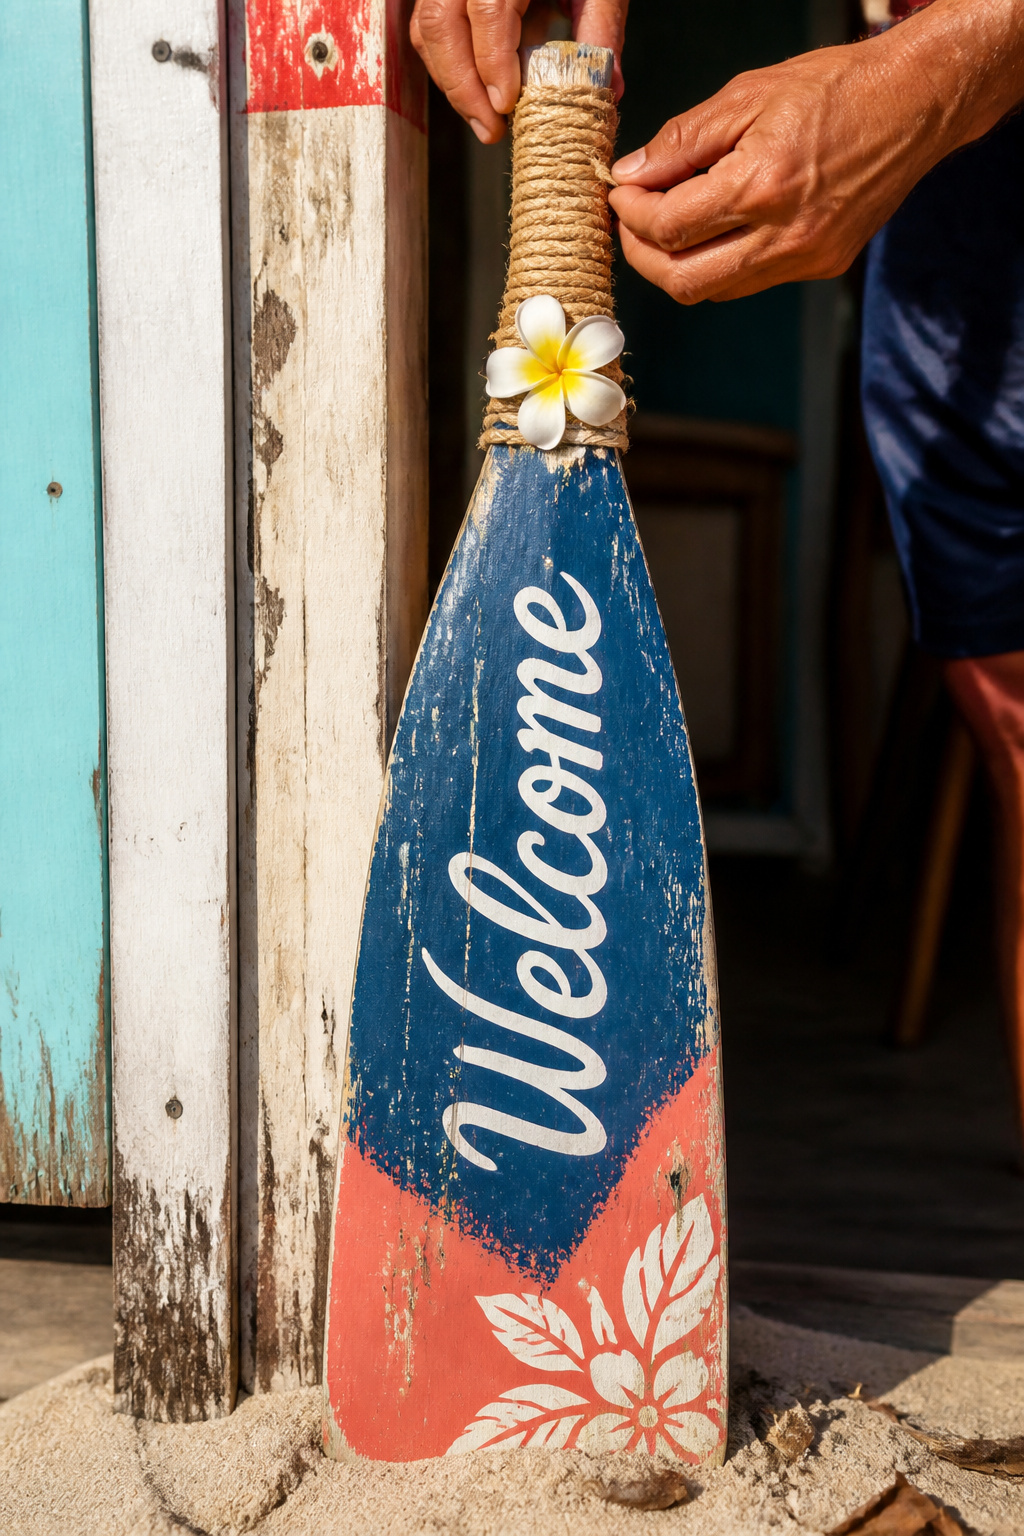
An oar gives directional charm and low profile against wind. I pre-drilled holes and planted the oar into packed sand, then tied a small sandbag to the handle for counterweight. Painted oars run $25 to $40. Tip: pre-bind a rubber foot to the blade so it grips packed sand. I spotted this at a Santa Cruz ceremony and everyone smiled walking past it.
Shop this idea:
15. Rope Frame with Pressed Florals
Style: Moody Golden | Budget: $35 to $90 | Best For: Sunset receptions
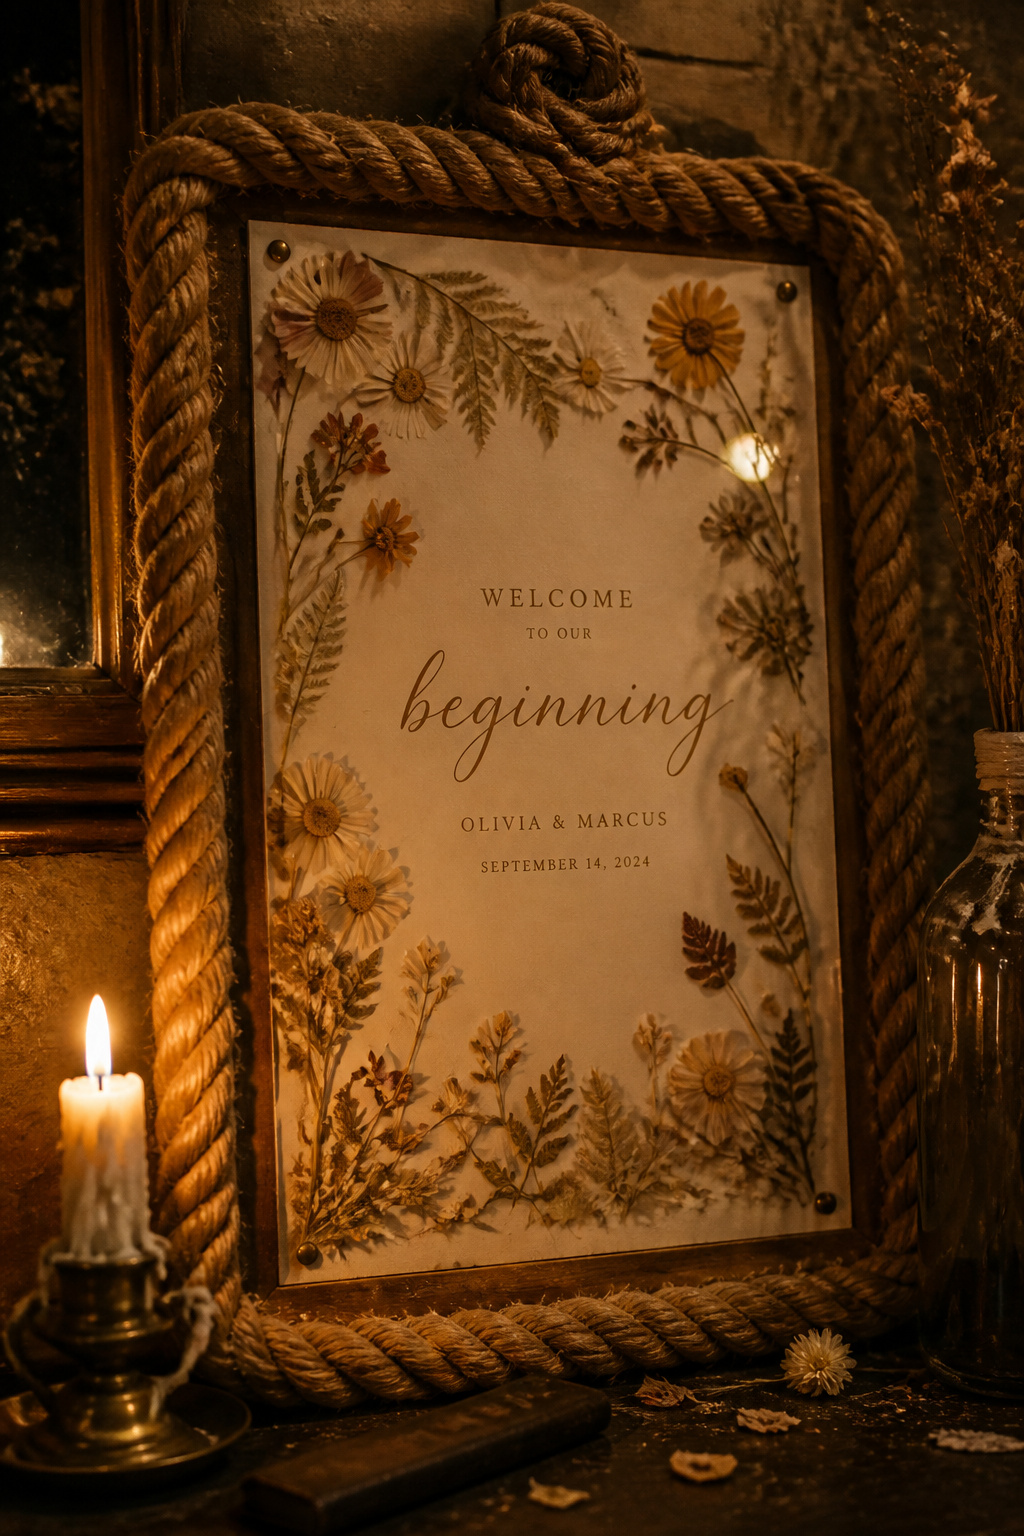
Pressed florals under glass stay flat in wind. I wrapped a wooden frame in rope, placed a thin glass pane, and slid pressed blooms inside. The weight of the glass holds everything together. Expect $35 to $90 for materials. Tip: carrier-cloth the frame while moving it to avoid salt spray. At dusk guests lingered by this frame admiring the dried petals.
Shop this idea:
16. Freestanding LED Lightbox with Weighted Base
Style: Bold Nighttime | Budget: $60 to $150 | Best For: Evening ceremonies
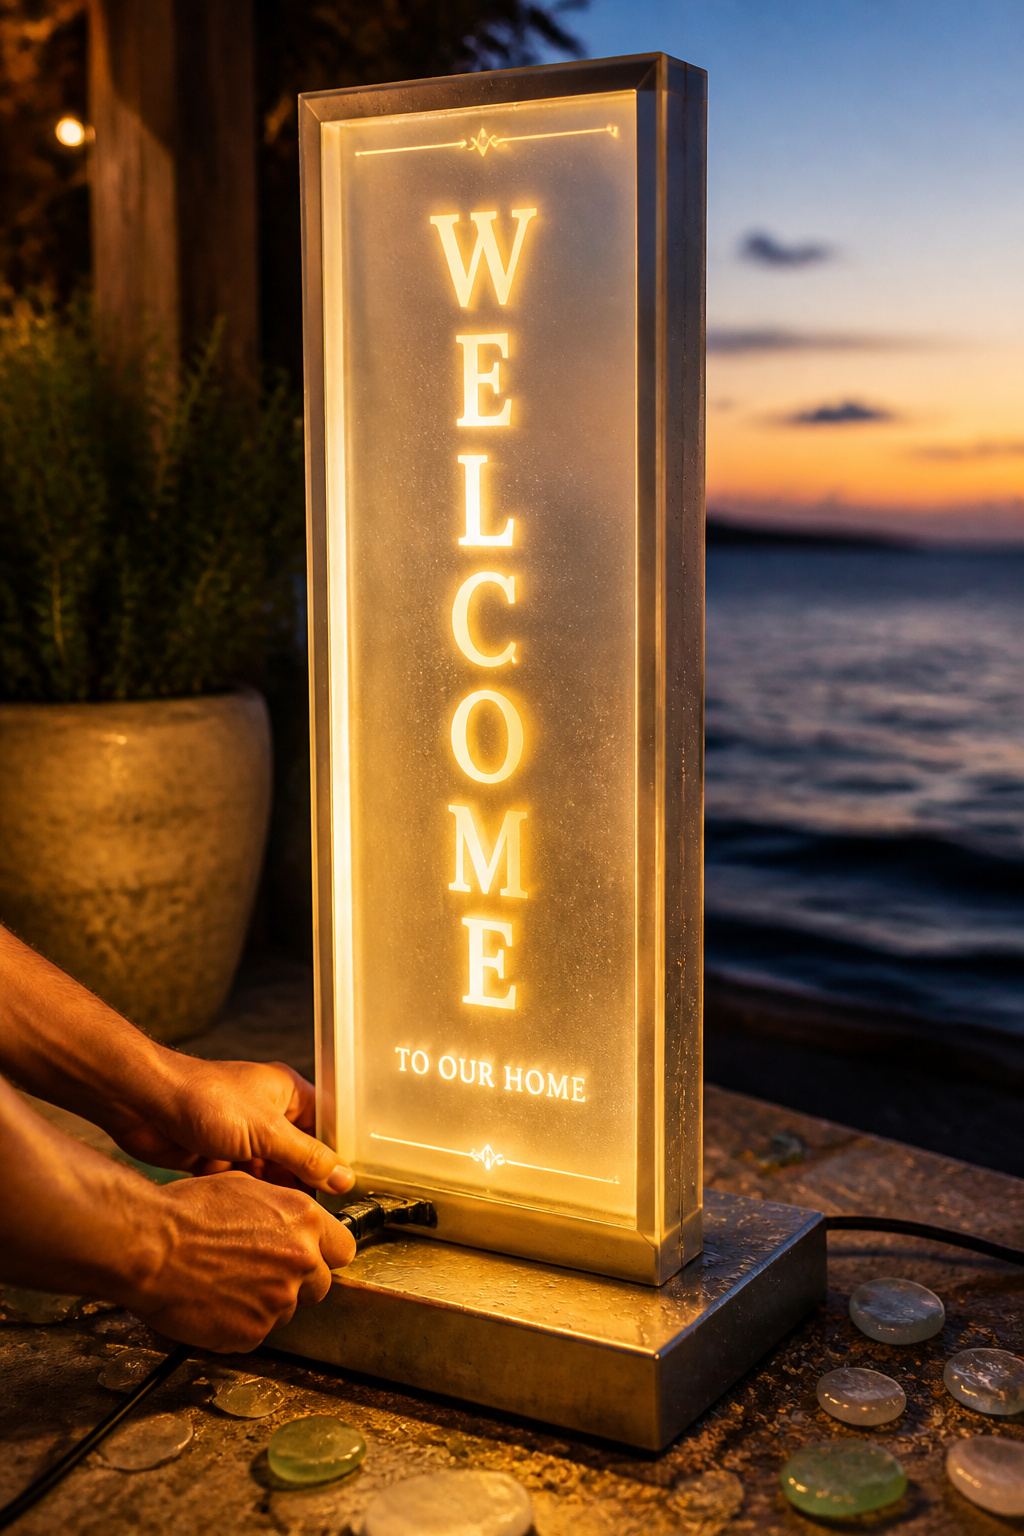
Lightboxes are readable after sunset and hold up to wind when weighted. I used a slim LED box with internal foamboard backing to reduce sail and a 20 lb weighted base. Expect $60 to $150. Tip: bring a small extension cord and battery pack as backup. Guests loved the warm glow at a dusk ceremony on the bluffs, and it doubled as a photo backdrop.
Shop this idea:
What You'll Need to Pull This Off
Ceremony Décor Essentials
- Outdoor sand weight bag around $12 to $35
- Weatherproof paint pen black around $6 to $14
- Metal ground stakes 18 inch around $8 to $22
- Marine rope 1 inch around $10 to $30
Reception Styling & Tableware
- Bleached linen table runner 120 inch around $18 to $35
- Brass hurricane lantern outdoor around $30 to $80
- Sea glass bud vases set around $12 to $28
Bridal & Bridal Party Attire
- Pearl hair clip gold around $8 to $22
- Embroidered linen bridesmaid scarf around $12 to $35
Lighting, Favors & Finishing Touches
- Battery backup extension cord outdoor around $25 to $60
- Small brass banner weights around $6 to $18
- Ceramic tile 8×10 blank around $5 to $15
Budget Swaps
- Large foamboard panel 24×36 around $10 to $25 (swap for custom wood)
- Framed chalkboard sign 18×24 around $20 to $40 (cheaper than hand-painted board)
- Woven sand basket weighted around $12 to $30 (DIY sandbag cover)
Planning Tips for Your Beach Wedding
Check Tide Windows: Consult local tide charts because high tides shift about 50 minutes later each day according to NOAA tide science. Anchor signs higher for rising tides. See tide charts.
Time Your Photos: Golden hour is roughly 45 to 60 minutes before sunset, so place welcome signs where they catch that light. Bring a small LED box if ceremony runs late.
Wind Tests: Do a wind test the morning before setup. Mark positions and add sand weights where gusts concentrate. Invest in a simple anemometer if your site is notoriously gusty.
Mix Rented & Amazon Finds: Rent bulky stands and buy the decorative face on Amazon. It saves truck space and often reduces damage fees. Try foamboard for the face and rent metal frames.
2025 Trend Tip: Couples are layering tactile materials, like brass with cotton gauze, to keep signs readable and photo-ready in wind. Use a weighted hem or hidden base to combine movement and stability.
Frequently Asked Questions
Q: How do I keep my welcome sign from falling over in wind?
A: Anchor low and heavy. Use sandbags or metal stakes and test with a gust. Consider a weighted base or ground stakes to prevent tipping. I recommend a set of sand anchor weight bags for $12 to $35.
Q: What materials hold up best in salt air?
A: Use marine-rated metals, sealed wood, or acrylic. Wipe brass with a soft cloth after exposure. A small can of marine varnish helps protect painted faces.
Q: Can I DIY a weatherproof welcome sign on a budget?
A: Yes. Foamboard, Velcro, and a sand-weighted base make a durable option for under $30. Reinforce edges with gaffer tape for extra hold.
Q: When should I set up signs on ceremony day?
A: Set up signs 60 to 90 minutes before guests arrive and test for wind. That window lets you adjust before golden hour without rushing. Bring extra clamps and a small toolkit.
Conclusion
Start with one sign you can secure well, then add layered details like ribbon, brass, or pressed florals. My final tip is to test for wind and light the day before if possible. Which of these welcome sign ideas fits your venue vibe?