
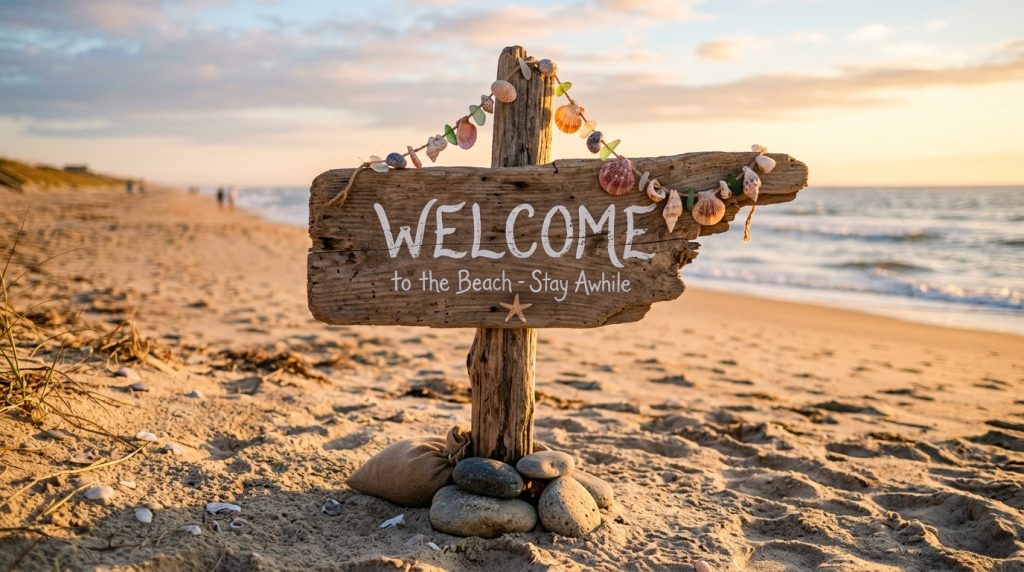
How to paint wedding welcome signs even if your handwriting shakes? I taught myself by doing three signs for my sister’s beach ceremony and turning shaky letters into a sun-kissed, professional-looking welcome.
You’ll learn simple transfer tricks, fail-safe tools, and a sealing method that survives wind, sand, and humidity — all for under $60 in materials per sign.
This look fits barefoot-luxury and boho-coastal vibes.
Think intimate elopements or micro-weddings where DIY signage keeps personality high and budget low — about $50–$150 per sign if you shop smart.
I’ve noticed couples leaning toward natural wood, driftwood tones, and mellow, hand-distressed lettering over glossy, Pinterest-perfect acrylics.
1. Set the Scene: Ceremony Arch and Aisle Styling
The welcome sign should read like the first note of your day.
Place it near the path or propped against a driftwood arch so guests see it before they sit.
Choose board size with the aisle in mind: 18×24″ for intimate groups, 24×36″ for 50+ guests.
I used a reclaimed cedar board (24×36″) and loved how the grain read in photos.
Ugly truth: perfectly centered, tiny script looks great on Instagram but gets lost at 10 feet.
Pick larger, readable lettering. Bold, slightly imperfect letters read better in bright sun.
Style tip: anchor with a rope loop or a sand-filled planter so the sign won’t topple.
Add a small floral cluster at one corner matching the arch flowers. It ties the sign into the overall palette.
2. Paint the Welcome Sign: Transfer, Paint, and Seal
Result first: a sign that reads crisp from 10–15 feet and survives wind and salt.
Supplies I use: primed wood panel or sanded cedar, acrylic outdoor paint (FolkArt or Liquitex Basics), Posca paint pens for fine work, foam roller, sanding block, and a matte clear spray (UV-resistant).
(Estimated materials: $35–$60; see shopping checklist with affiliate picks below.)
Step A — Prep: sand any rough spots, wipe with a damp cloth, then prime with a white or tinted acrylic primer. It helps your letters pop.
Step B — Transfer the design. For shaky hands this is the game-changer:
- Print your text mirrored on regular paper and use graphite transfer (shade the back with a pencil, tape, and trace).
- Or cut a vinyl stencil (I used a Cricut-cut Oracal 651 vinyl mask once and it was flawless).
- If you have $40 to spare, a mini projector (I used a Vankyo projector I bought for $45) lets you trace a projected typeface right onto the board.
Step C — Paint: fill in with a small flat brush or a paint pen for script.
Use short strokes. Don’t try to smooth every edge — tiny imperfections read as handmade charm.
Step D — Seal: two thin coats of a matte UV-protectant spray (Krylon UV-Resistant Clear Coat or Minwax Helmsman for serious weather). Let cure 24–48 hours before transport.
Ugly truth: single coat sealer equals sun-bleached letters by noon. Don’t skip it.
3. Practical Tricks for Wind, Sand, and Shaky Hands
If your handwriting shakes, rely on tools, not willpower.
Tool hacks that work:
- Stencils and vinyl masks hide tremors. Oracal 651 vinyl lasts through several coats.
- Paint pens (Posca or Sharpie Oil-Based for darker woods) give control similar to a marker — perfect for small scripts.
- For faux hand-lettering, print a script font, trace with transfer paper, then distress edges with a tiny dry brush for a natural look.
Stabilizing the sign:
- Add a 2×4 brace at the back, and screw in a metal ground stake for soft sand.
- Weigh bases with sandbags hidden in a burlap sack.
Ugly truth: freehand on-site in wind equals tears. Prep at home. Transport unsealed if you need to touch up, but seal before the ceremony.
4. Layer Texture with Coastal Table Décor
Your welcome sign sets the tone; carry the palette to tables.
Use washed driftwood tones, sand-hued linens, and jute runners to echo the board’s grain.
I paired white script on a teak-stained sign with small potted succulents and brass candle holders for contrast.
Match the sign’s finish: matte boards read more natural; high gloss looks expensive but reflects glare. For beach photos, matte wins.
5. Finish with Florals, Favors, and Final Details
Tiny details sell the DIY look as intentional.
Attach a small shell garland or a sprig of seeded eucalyptus to a top corner of the sign. I found shells at a local coastal shop for $6 and wired them with florist wire — instant coastal charm.
Make a duplicate smaller sign for the welcome table with your hashtag and timeline. Guests love it, and it prevents crowding around the main sign.
Shopping checklist (quick picks I’ve used — available on Amazon, affiliate: theoceanvows):
- Posca Paint Pens (set of 5) — ~ $18 (affiliate: theoceanvows)
- Oracal 651 Vinyl Roll — ~ $12 (affiliate: theoceanvows)
- Mini Projector (budget Vankyo-style) — ~ $40 (affiliate: theoceanvows)
- Krylon UV-Resistant Clear Coat — ~ $10 (affiliate: theoceanvows)
- Foam Roller + Brushes (Princeton/Royal set) — ~ $15–$25 (affiliate: theoceanvows)
Final ugly truth: the sign won’t fix a late ceremony or a bad timeline. But it will be the first thing guests touch emotionally. Spend a little time on transfer and sealing and the rest of the day looks curated.
If you want, tell me the board size and your color palette and I’ll sketch a simple template (font suggestions and spacing) you can print and trace. I’ve been the shaky-hand person; these tricks saved the day and made people stop and take photos.