
The light at that Gulf Coast reception hit a low timber table and made every linen fold look editorial. Elegant beach wedding reception decor that photographs like a magazine page is about layered textures and one or two strong silhouettes. Below are 22 specific details I have seen or built that read expensive on camera and survive salt, wind, and late-night dancing.
I cover boho, tropical, and classic coastal looks that range from clever DIYs to vendor splurges. Expect ideas for elopements and full receptions, budget swaps, and one 2025 trend I keep seeing: dried and preserved botanicals paired with warm, cinematic lighting.
1. Driftwood and Pampas Grass Ceremony Arch
Style: Boho Coastal | Difficulty: Moderate DIY | Best For: Intimate ceremony | Budget: $120 to $700
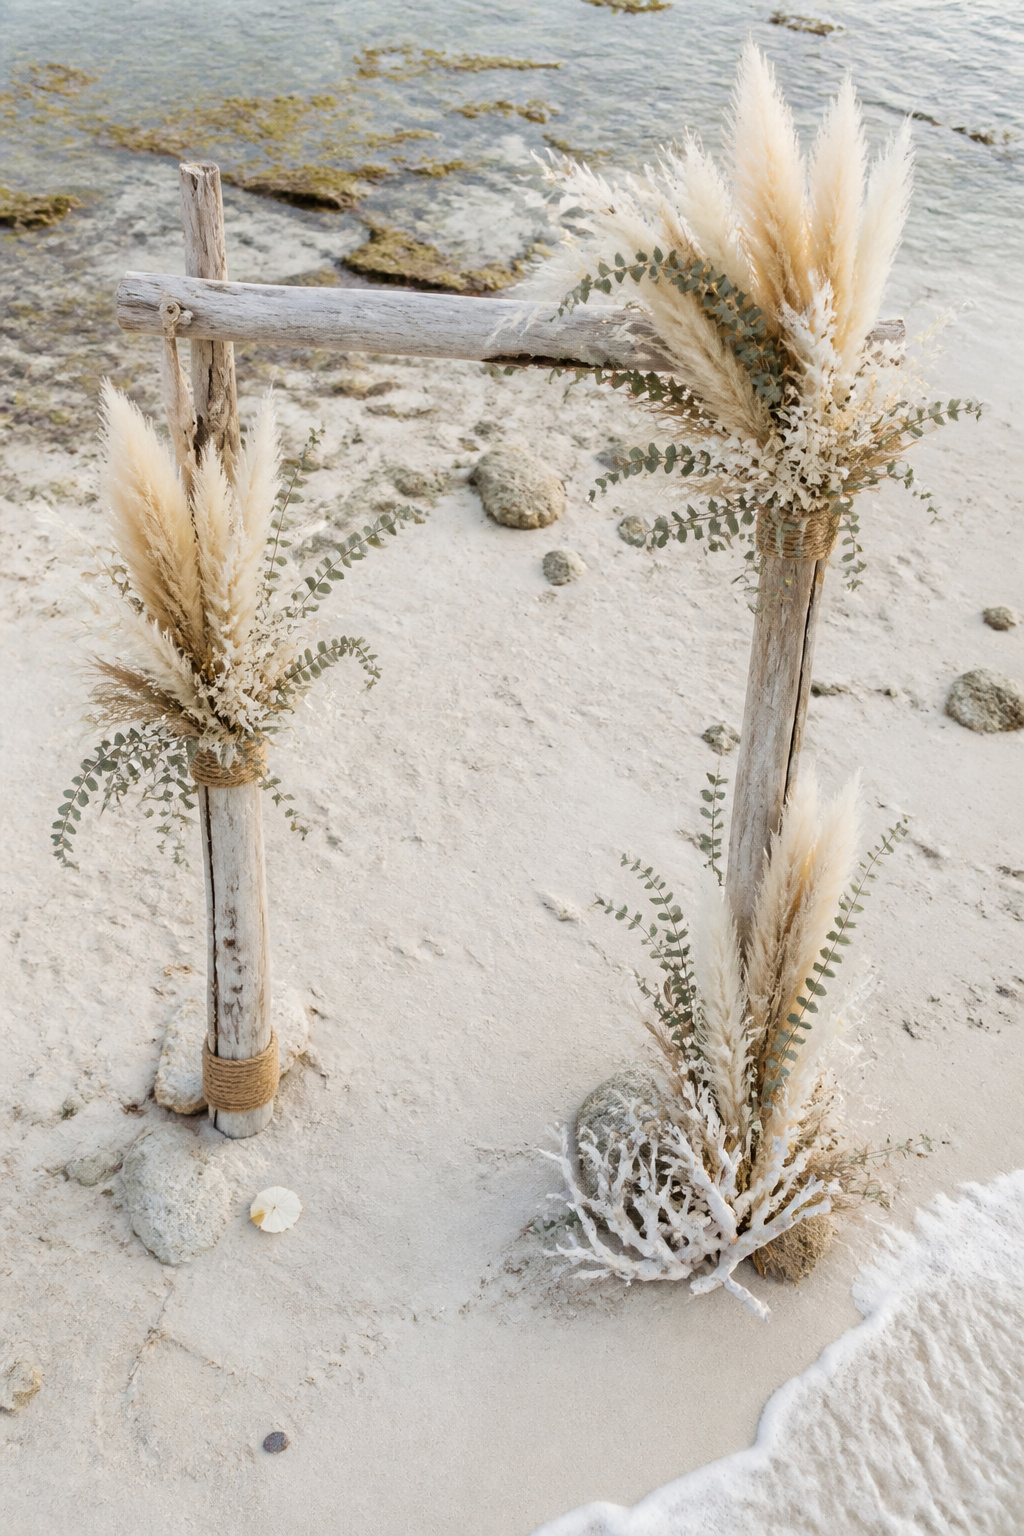
I watched this exact arch at a September shoreline wedding and half the guests took pictures of it instead of the couple. The feathery pampas adds motion and photographs soft against sky.
What You Need:
- 6 to 8 ft reclaimed driftwood uprights, sand base plates
- Bundles of natural pampas grass, bleached coral stems (3-4 large bundles)
- Natural jute rope and stainless steel anchors
- Zip ties, floral wire, and sandbags for ballast
Setup:
- Assemble uprights on plates 60 minutes before arrival, anchor with two 30 lb sandbags each.
- Attach pampas bundles at three points with floral wire, hiding ties with jute rope.
- Place arch at low tide line for wide shoreline, and have a backup canvas base if wind gusts over 20 mph.
2. Edison Bulb Canopy Over Low Tide Table
Style: Moody Cinematic | Difficulty: Professional install | Best For: Evening reception | Budget: $400 to $2,000
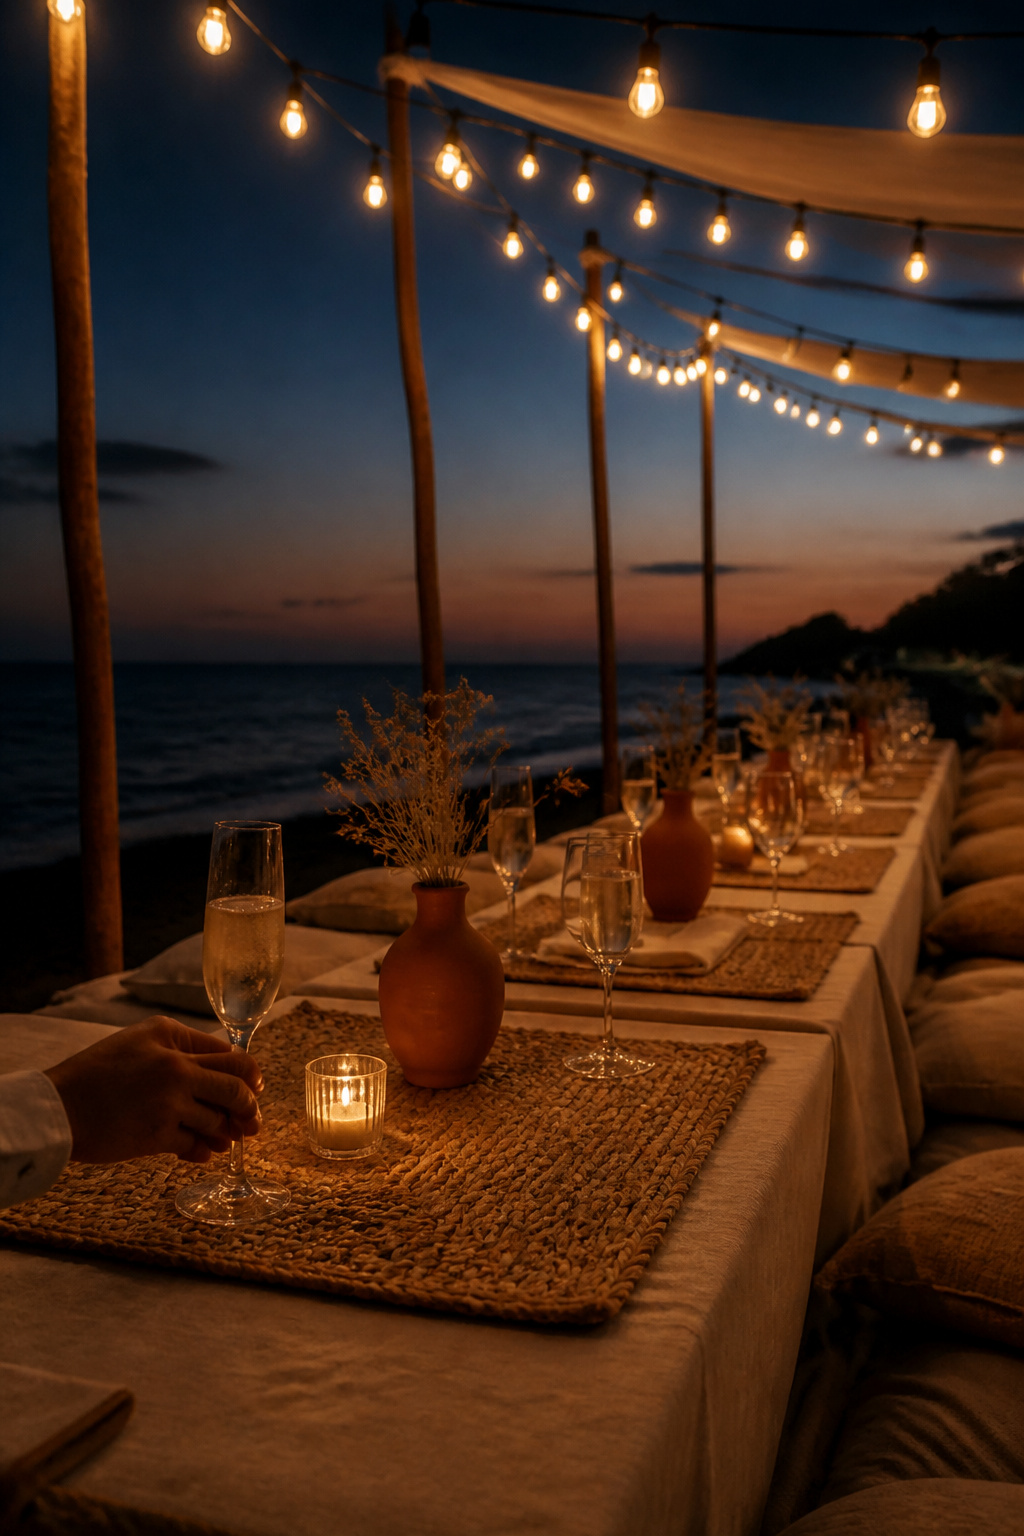
String lights instantly read expensive on camera because they create depth and bokeh behind guests. The trick is proper tension and weatherproof bulbs.
What You Need:
- Weatherproof Edison string lights, outdoor-rated extension cords
- 8 to 12 ft bamboo or timber poles with lock clamps
- Long farm table with woven seagrass runner
- Gaffer tape, sand anchors, and portable generator if no power
Setup:
- Erect poles and string lights 2 hours before sunset, test all bulbs under load.
- Tension lines and secure with sand anchors and ratchet straps; hide cords beneath tablecloth hems.
- Avoid cheap bulbs that flicker in humidity; rent professional lighting if gusts exceed 15 mph.
3. Low-Profile Tablescape with Woven Chargers
Style: Bright and Airy | Difficulty: Easy DIY | Best For: Intimate dinners | Budget: $15 to $75 per place
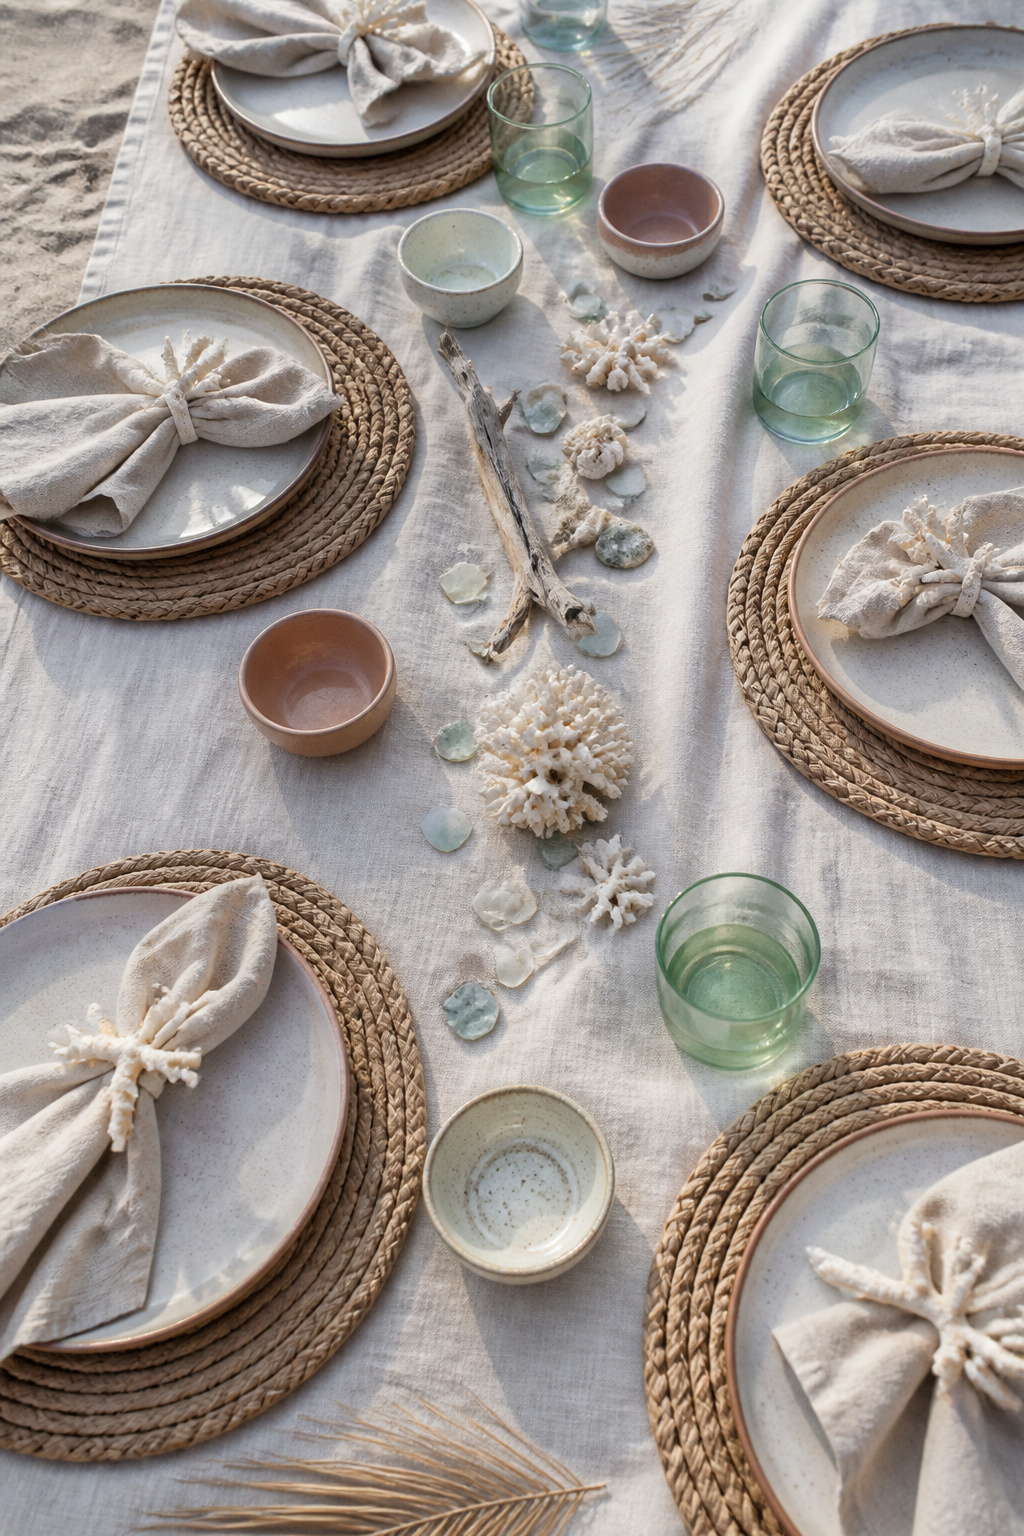
When the table is low, the ocean horizon becomes part of the composition. Woven chargers and artisan ceramics photograph like a spread when arranged asymmetrically.
What You Need:
- Woven seagrass chargers, hand-thrown ceramic plates
- Linen napkins in neutral tones, small terracotta bud vases
- Low candles in glass holders, small dried sprigs for place settings
Setup:
- Lay runners and chargers 90 minutes before guests, stagger plates to create negative space.
- Place candles in clusters of three along the center and light at dusk.
- Skip top-heavy centerpieces that block sightlines for photographers.
4. Shell and Brushed Gold Flatware Accent
Style: Coastal Classic | Difficulty: Easy | Best For: Editorial tablescapes | Budget: $6 to $25 per set
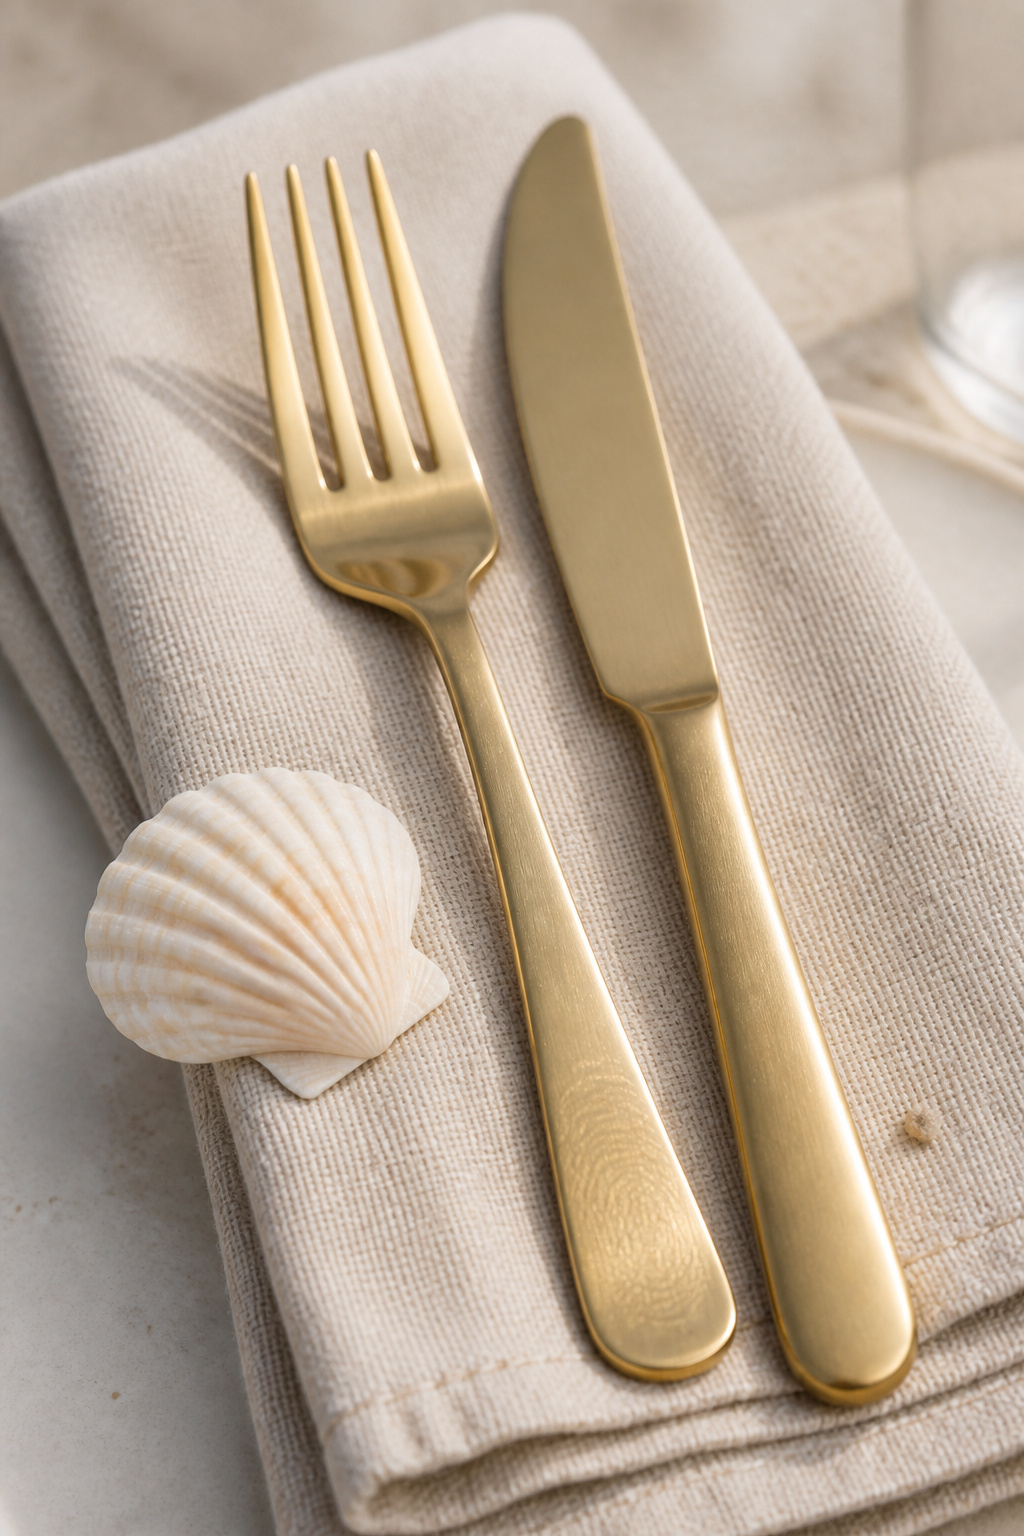
A single polished shell paired with brushed gold flatware creates a luxe contrast in close-up photos. It reads editorial without being flashy.
What You Need:
- Brushed gold flatware sets, pearl or scallop shell accents (1 per place)
- Neutral linen napkins, small adhesive dots to secure shells
- Soft microfiber cloth for quick polishing
Setup:
- Set flatware and napkins 60 minutes before seating; affix shells with a removable adhesive dot.
- Keep a polishing cloth on hand for last-minute fingerprints.
- Don’t use fragile shells if incoming tide or wind will kick up sand near tables.
5. Lantern-Lined Walkway with Candle Clusters
Style: Moody Cinematic | Difficulty: Moderate | Best For: Evening transitions | Budget: $8 to $60 per lantern
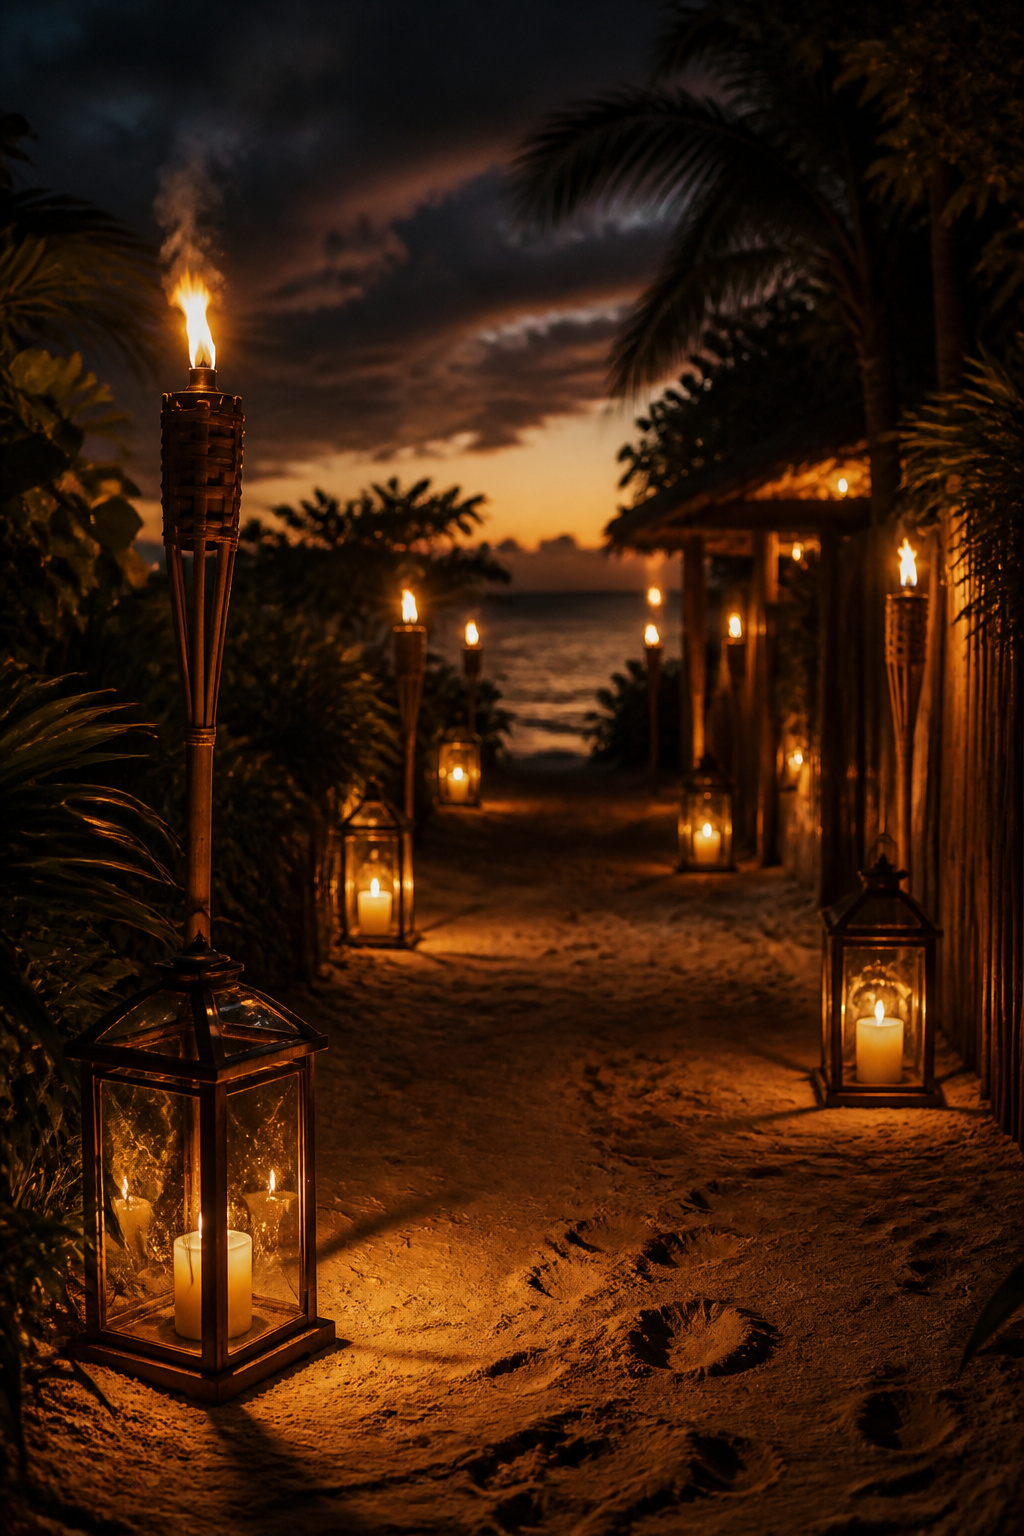
Walking toward a lit reception feels cinematic on camera. Clustering lanterns in different heights gives depth and keeps flame protected.
What You Need:
- Mixed-height glass lanterns with LED or fueled candles
- Low-profile stands or sand anchors, clear votives
- Protective glass chimneys for windy nights
Setup:
- Place lantern clusters along the path and light 30 minutes before guest movement.
- Use LED warm-flame candles if wind gusts exceed 12 mph.
- Keep a fire extinguisher nearby and secure lanterns to avoid tipping.
6. Tide-Line Lounge with Woven Seating
Style: Bright and Airy | Difficulty: Rental | Best For: Cocktail hour | Budget: $300 to $1,200 rental
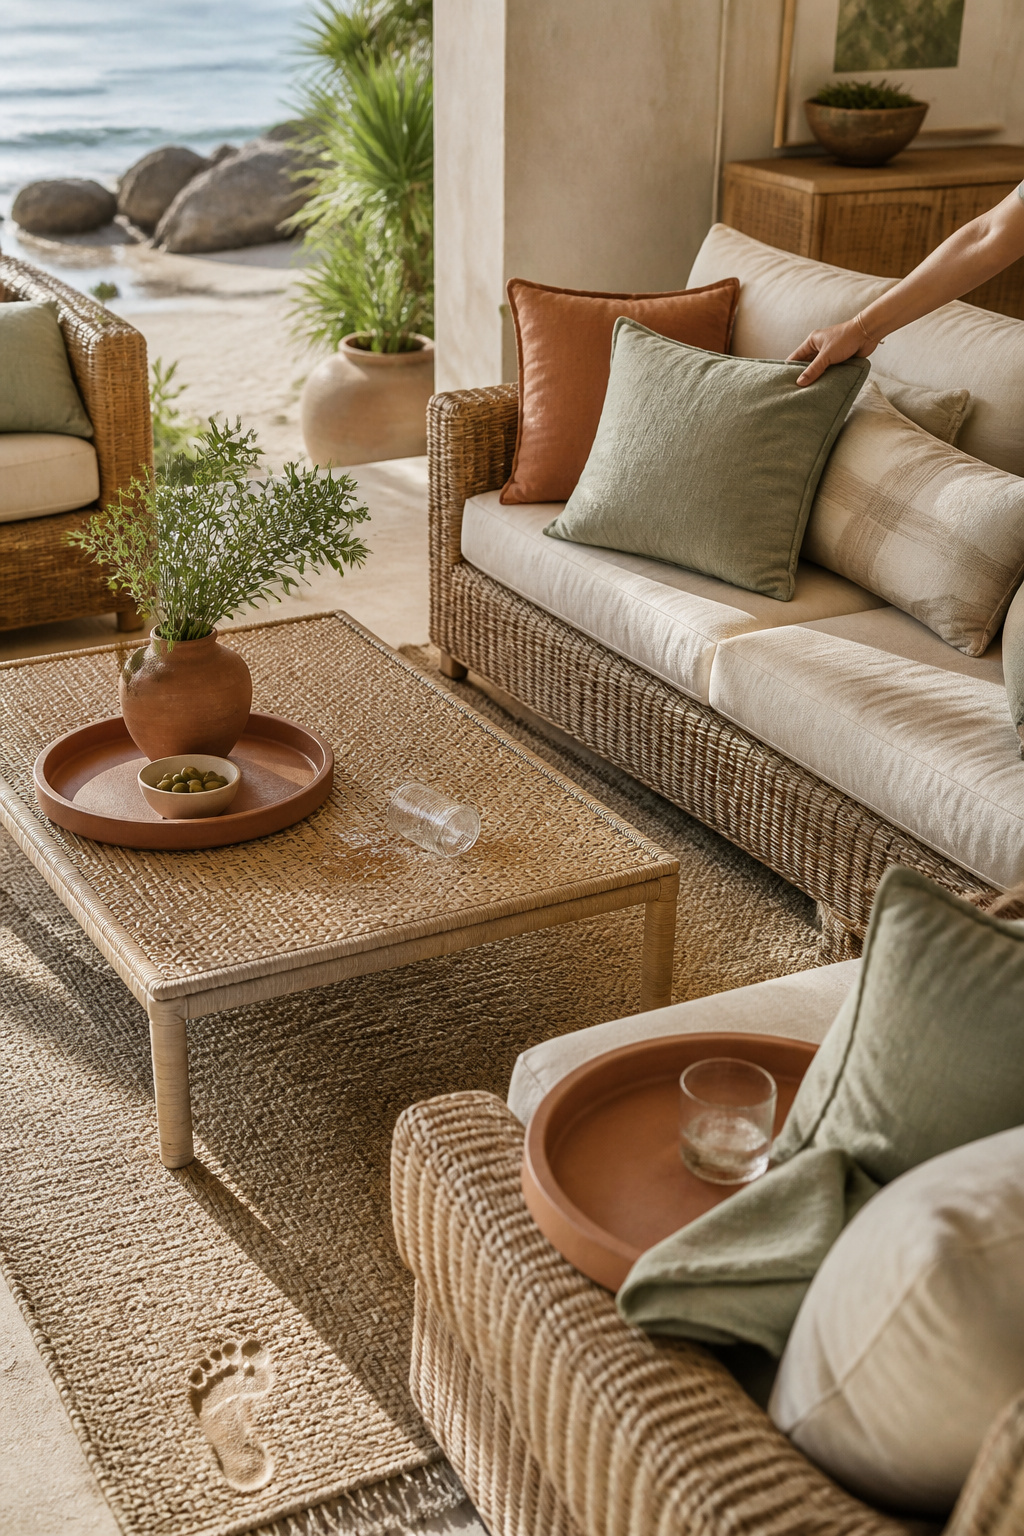
A low lounge by the tide photographs like a resort editorial. Guests relax and photographers get candid, layered shots.
What You Need:
- Woven rattan sofas or daybeds, low coffee tables
- Seagrass rug or jute mat, neutral throw pillows
- Low bowls for shells and terracotta trays
Setup:
- Place lounge at high-tide buffer and anchor rugs to prevent wind lift.
- Keep pillows slightly askew for lived-in looks, but avoid stuffing that collects sand.
- Rent instead of buy for larger guest lists; local rentals usually cut costs 30 to 60 percent.
7. Bleached Coral and Preserved Palm Table Runner
Style: Bold Saturated | Difficulty: Moderate DIY | Best For: Tropical-referenced tables | Budget: $40 to $250
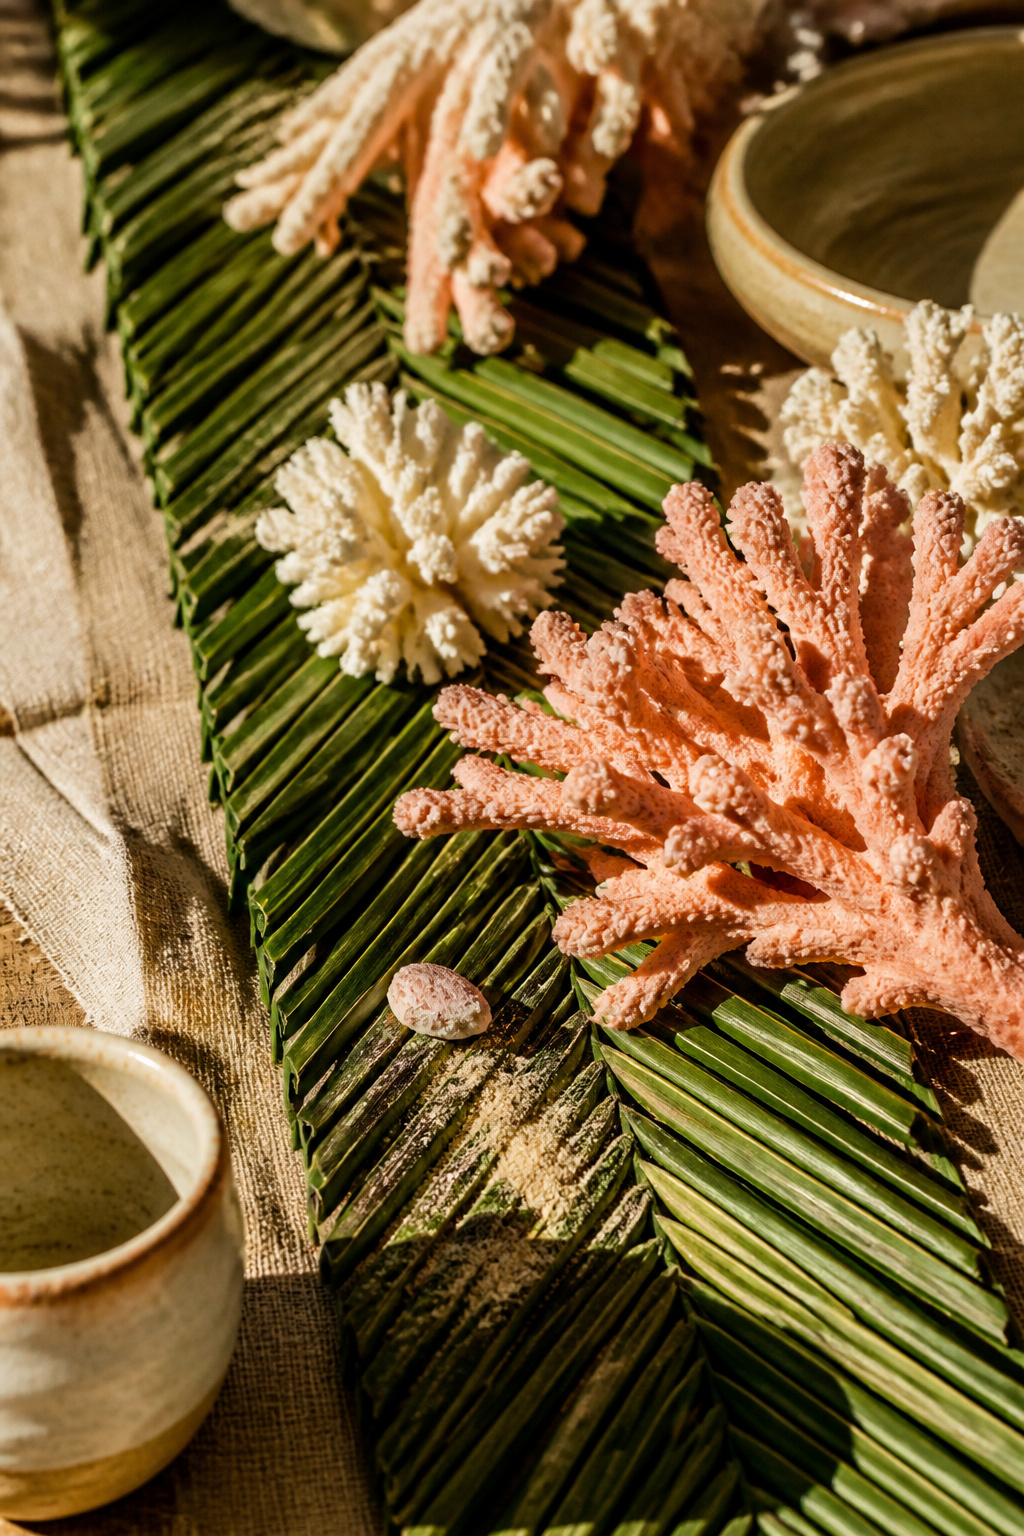
I saw this runner at a Florida Keys reception; photographers loved the sculptural detail. Preserved palms add volume without wilting in heat.
What You Need:
- Preserved palm fronds, bleached coral stems
- Hot glue gun, florists wire, linen runner base
- Small terracotta bud vases to break up scale
Setup:
- Assemble runner sections in the shade the day before; store flat in breathable boxes.
- Lay runner gently and weight edges with ceramics to avoid wind lift.
- Avoid live tropical blooms midday; they can wilt fast in coastal heat.
8. Clear Ghost Chairs for Uninterrupted Horizon
Style: Coastal Classic | Difficulty: Rental | Best For: Elegant ceremonies | Budget: $8 to $20 per chair rental
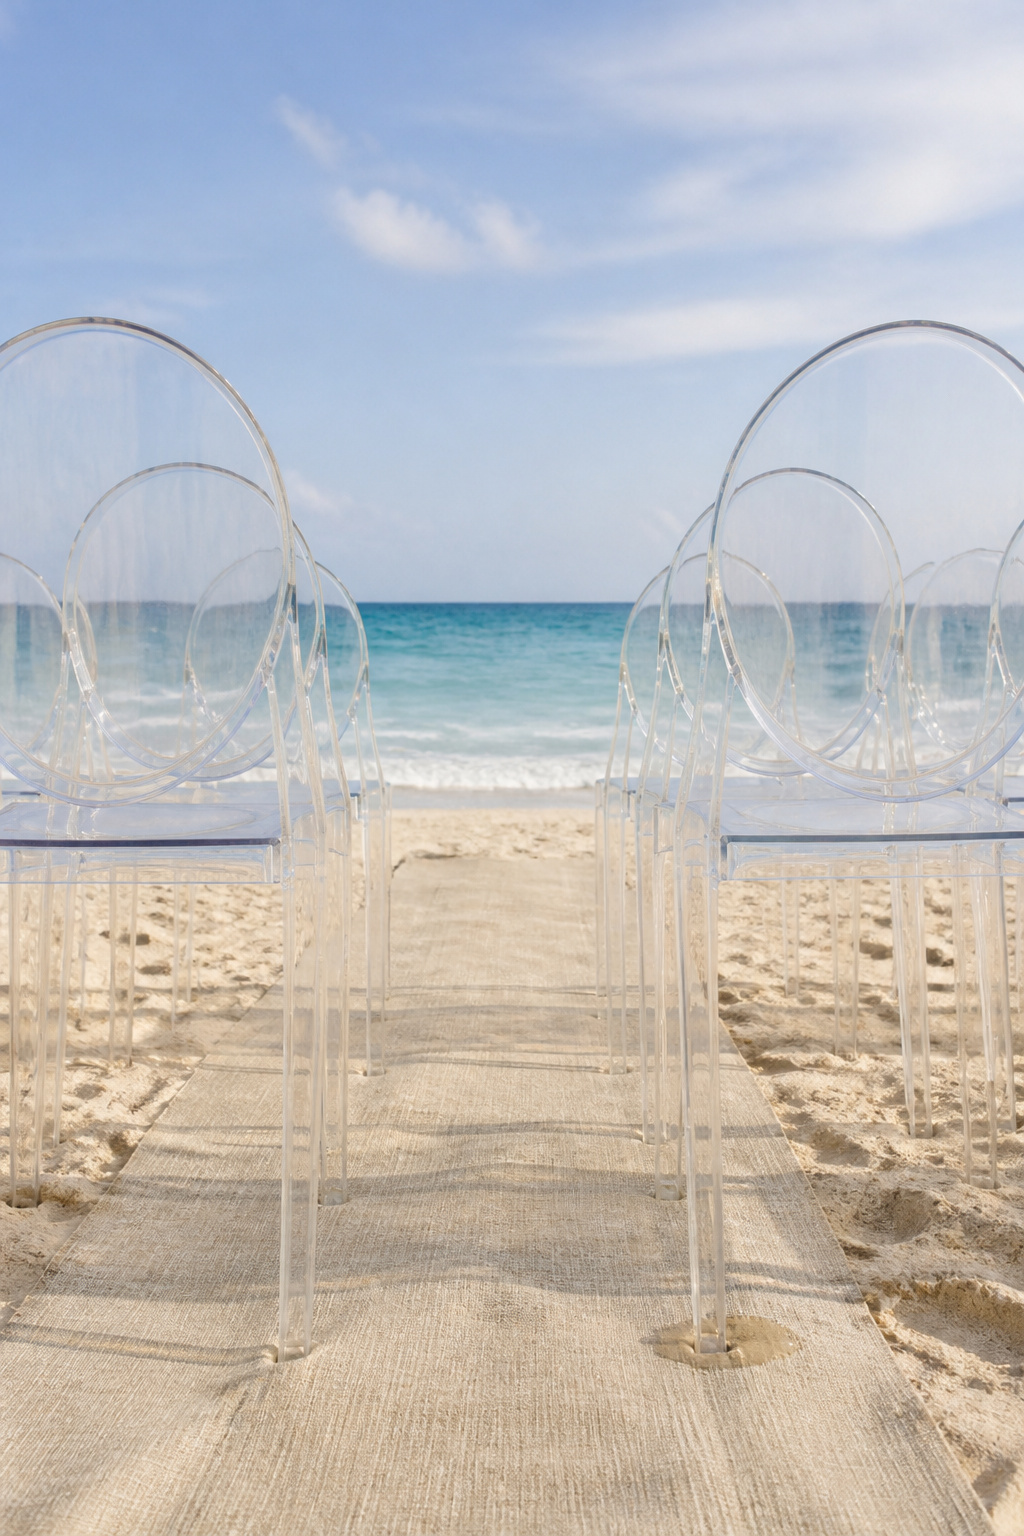
Ghost chairs let the horizon be the backdrop. On camera they create a floating, editorial look without visual clutter.
What You Need:
- Clear acrylic ghost chairs, non-sinking leg caps
- Soft jute or linen aisle runner and rope markers
- Delivery team used to coastal setups
Setup:
- Place chairs at high-tide buffer and insert leg caps to prevent sinking.
- Space chairs slightly wider for airflow and better photo compositions.
- Use rentals that offer 24-hour pickup windows to avoid last-minute transport chaos.
9. Linen Gauze Draping on Timber Structures
Style: Bright and Airy | Difficulty: Easy install | Best For: Soft romance photos | Budget: $40 to $300
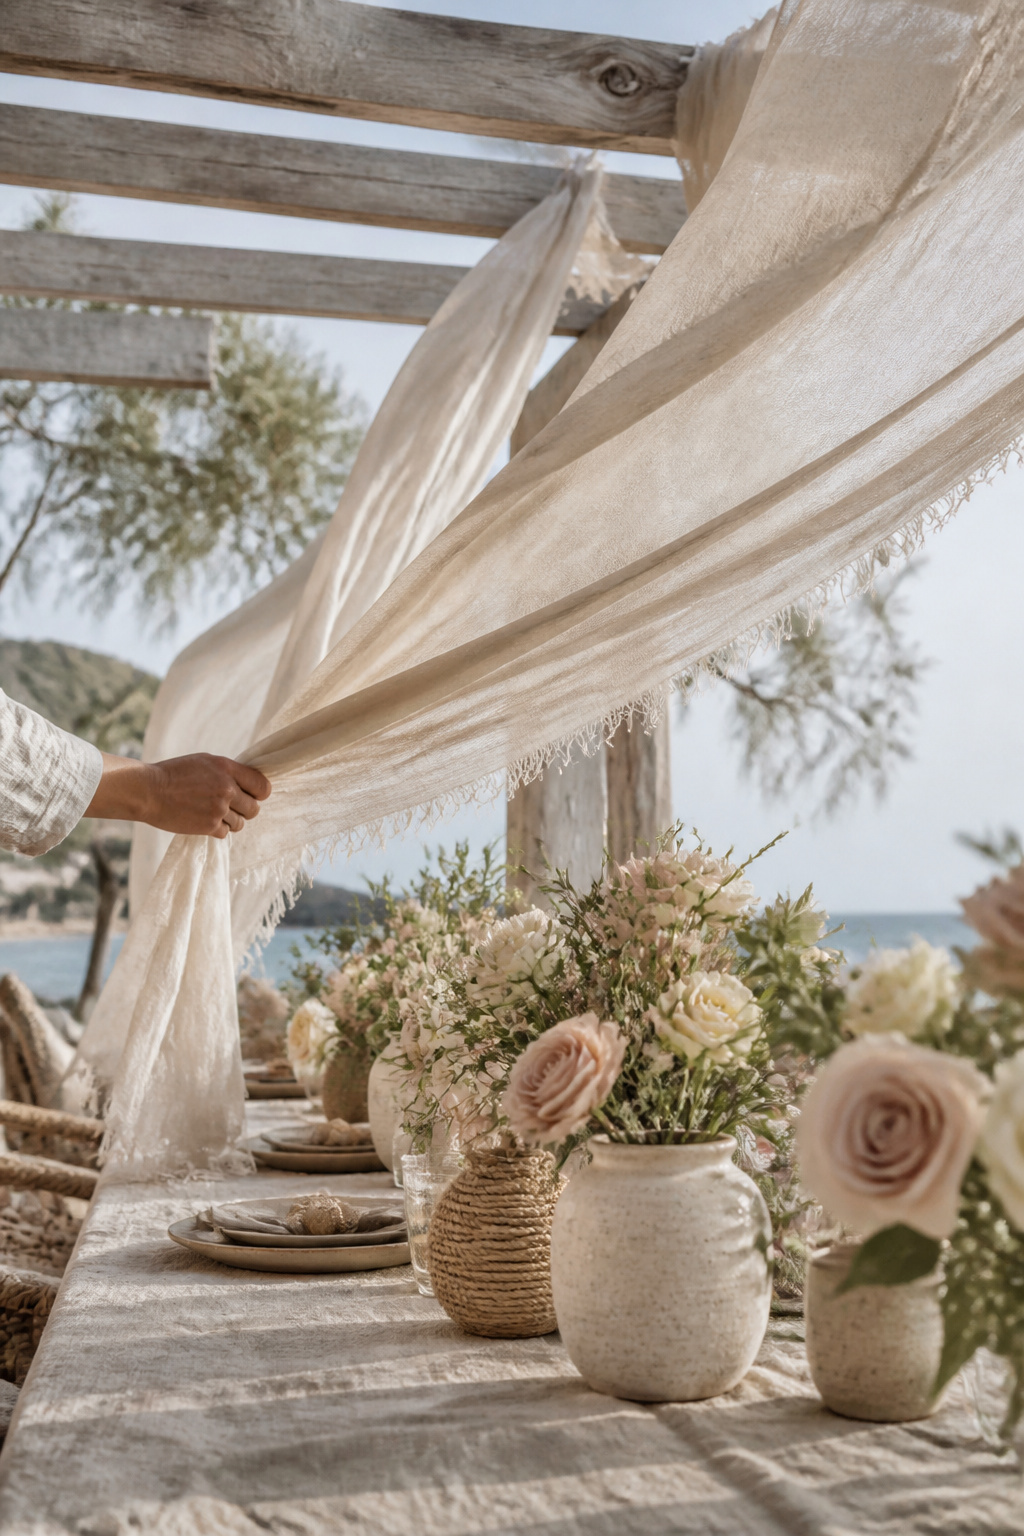
Gauze draping reads expensive because it creates negative space and motion. It also softens harsh midday light for portraits.
What You Need:
- Linen gauze panels, timber pergola or rented frame
- Heavy-duty clips, stainless wire, sandbag anchors
- Fabric weights to keep hems from blowing
Setup:
- Hang gauze loosely 60 minutes before photos to allow natural falling.
- Weight hems with hidden ceramic weights or small sandbags.
- Avoid heavy fabrics; they look blocky and collapse photos into one plane.
10. Sculptural Dried Floral Installations
Style: Bold Saturated | Difficulty: High | Best For: Editorial focal points | Budget: $300 to $2,000
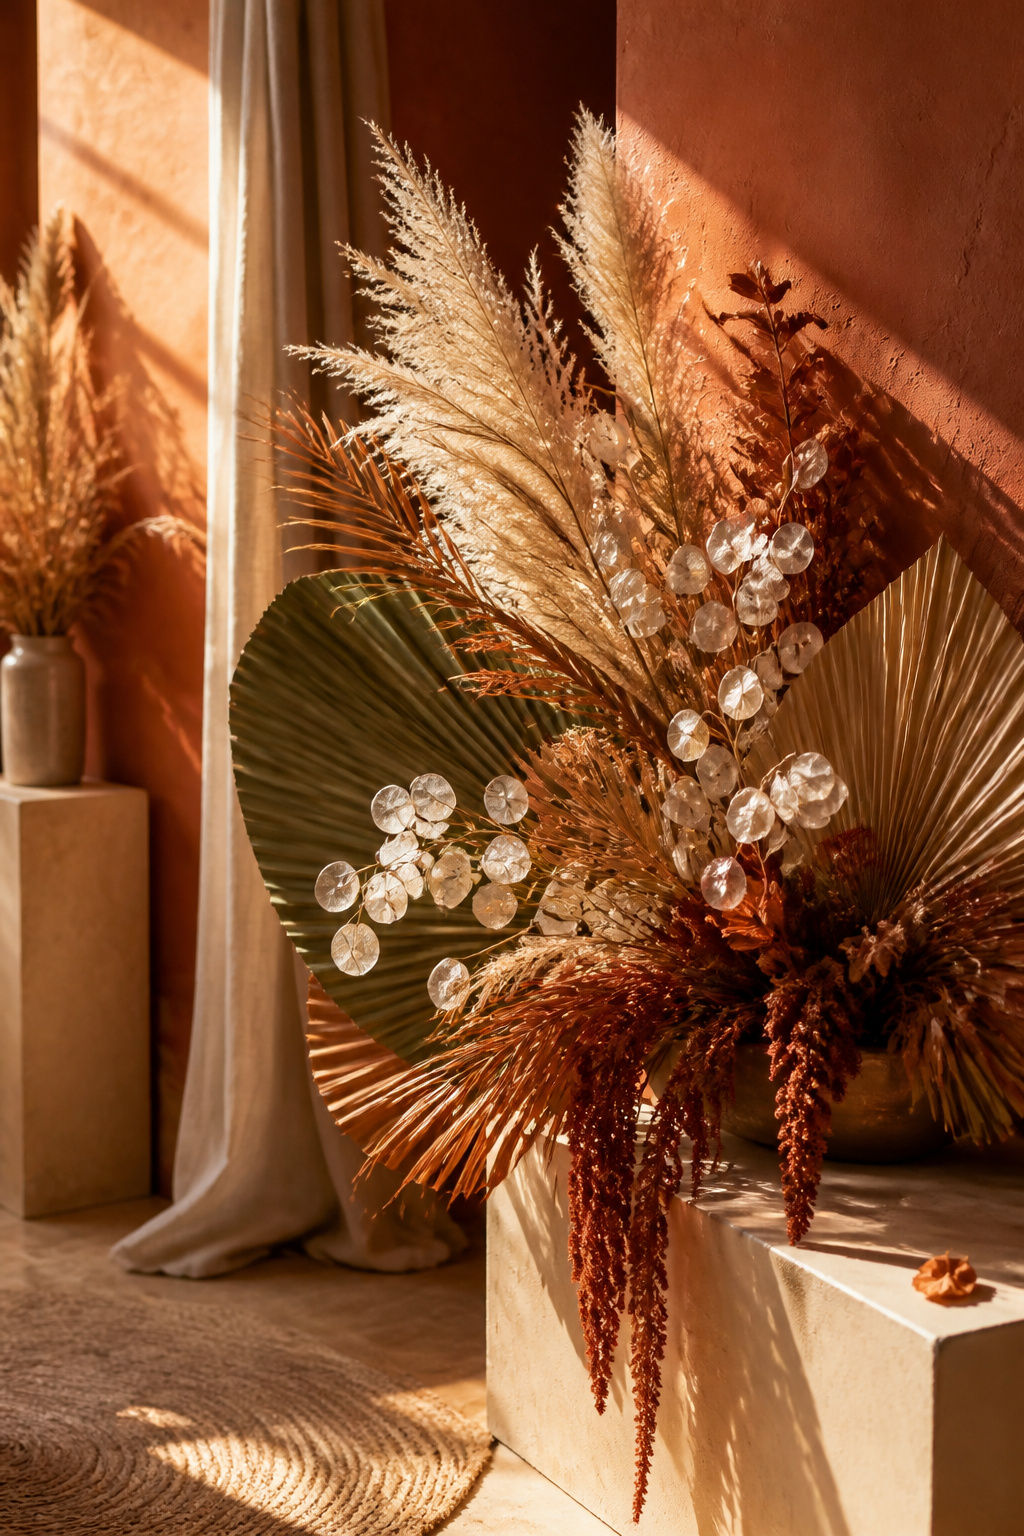
Dried installations photograph like art because they hold form and texture through heat and wind. I have seen them turn a mundane beach entrance into the most photographed corner.
What You Need:
- Assortment of dried stems: pampas, lunaria, preserved palm fans
- Floral foam blocks, wooden pedestals, heavy bases
- Floral tape, industrial glue, and a floral designer for sculpting
Setup:
- Build installation on a sturdy base off-site, transport assembled or in large sections.
- Install with heavy ballast and discreet guy lines 2 hours before event.
- Avoid delicate dried pieces if rain is forecast; have tarps and quick covers ready.
11. Minimal Gold Hoop Escort Display
Style: Coastal Classic | Difficulty: Easy DIY | Best For: Small guest lists | Budget: $30 to $150
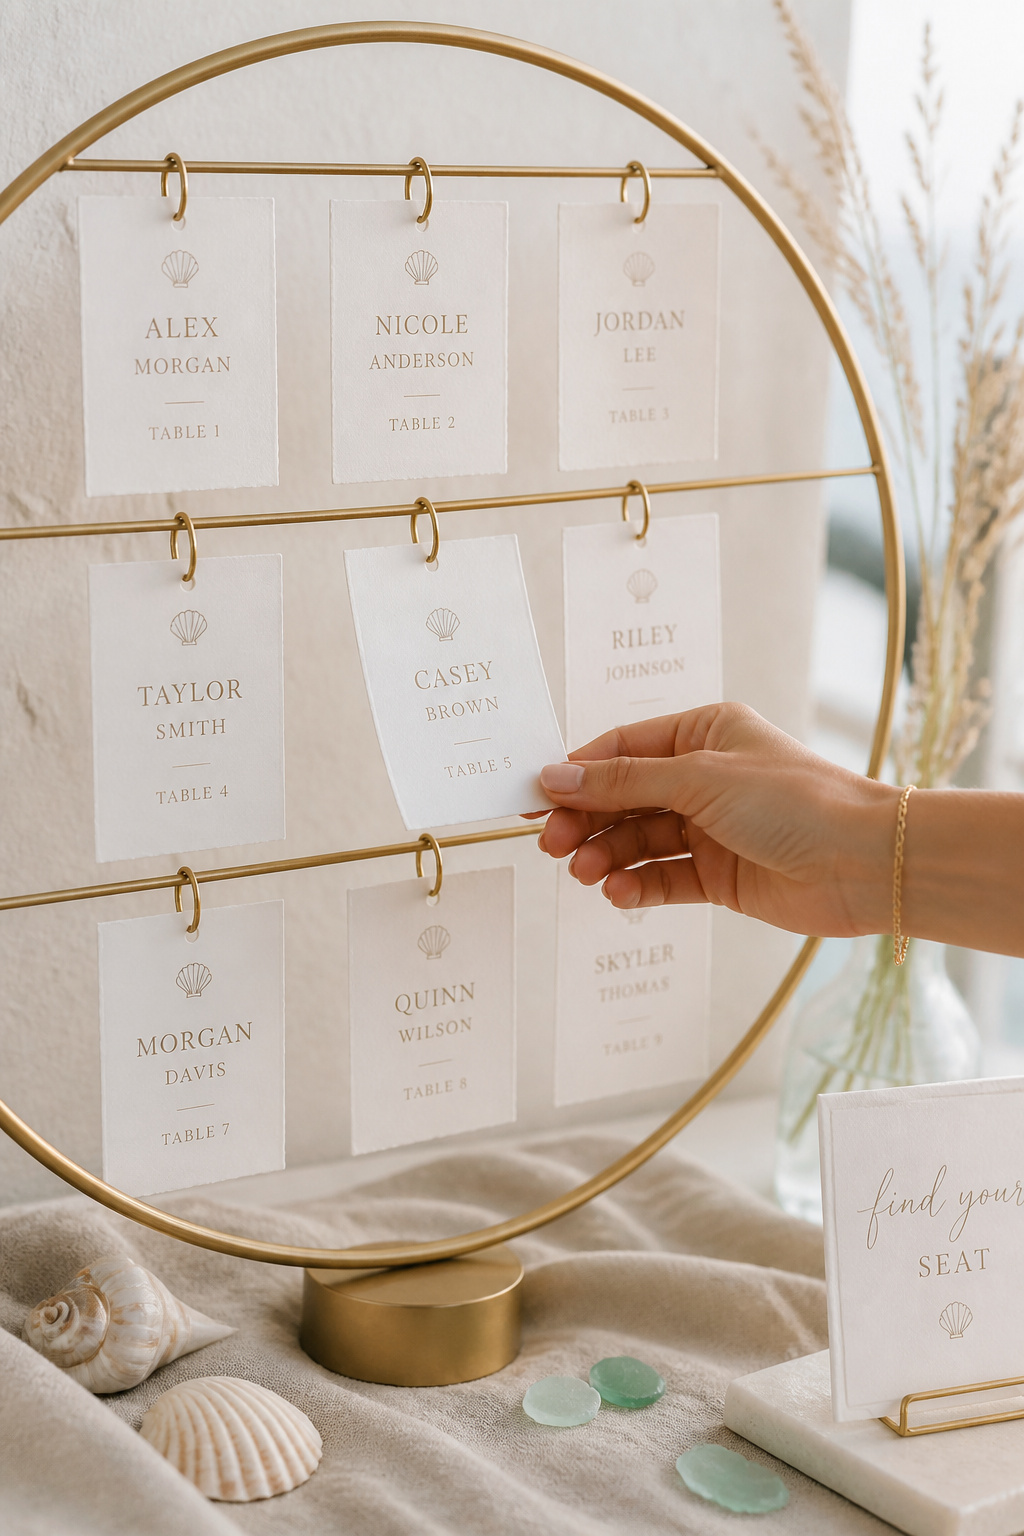
A simple gold hoop suspended from timber or a pergola looks luxe in photos and is far less fussy than a full escort table.
What You Need:
- Gold metal hoops, twine or velvet ribbon for hanging
- Printed cardstock place cards, tiny shell or seed bead accents
- Small clips or mini clothespins
Setup:
- Mount hoop to a stable frame and hang cards an hour before guests arrive.
- Arrange cards by table flow; photographers love the negative space.
- Don’t overcrowd the hoop; keep cards spaced for clean photos.
12. Sunset Champagne Toast Bar
Style: Moody Cinematic | Difficulty: Easy | Best For: Cocktail hour | Budget: $100 to $800
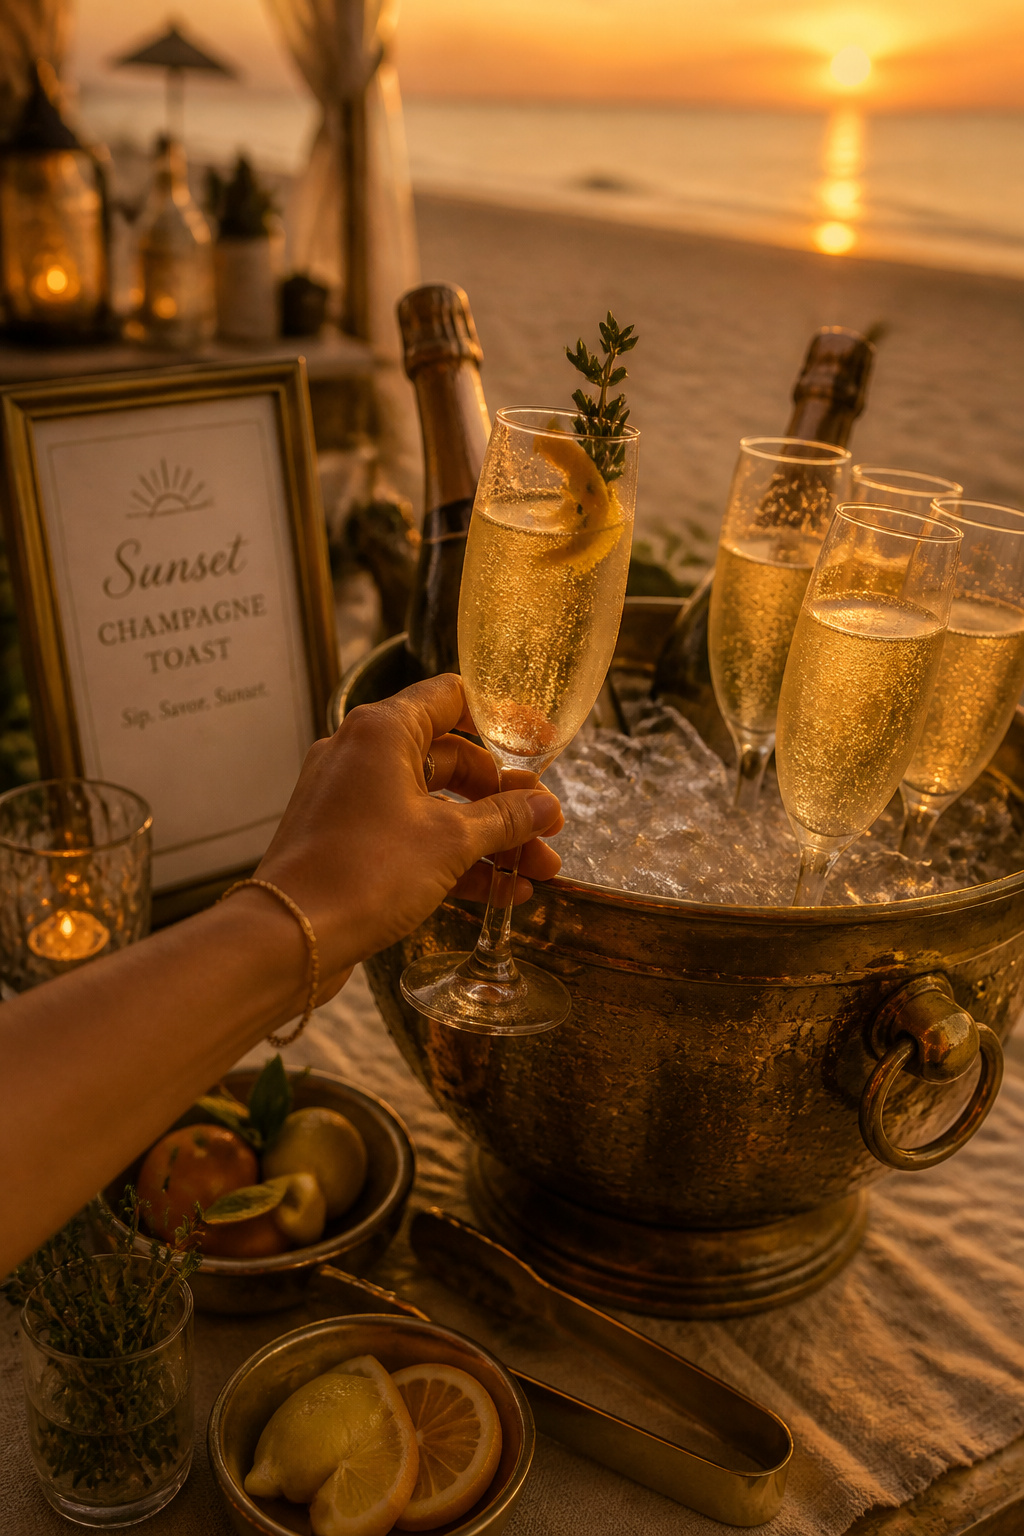
The visual of flutes raised against the sun frames hands and silhouettes beautifully. A dedicated bar staged at sunset creates a cinematic moment.
What You Need:
- Champagne in insulated buckets, brass tongs, chilled flutes
- Simple garnish station with citrus twists and herbs
- Small table with a linen and wind guard
Setup:
- Position bar on the golden-hour side and chill bottles 90 minutes in advance.
- Offer garnishes in small bowls; instruct bartenders to pre-garnish half the flutes for speed.
- Use ice buckets with lids to keep sand out when wind picks up.
13. Textured Cake with Natural Elements
Style: Editorial Coastal | Difficulty: Professional baker | Best For: Close-up dessert photos | Budget: $200 to $800
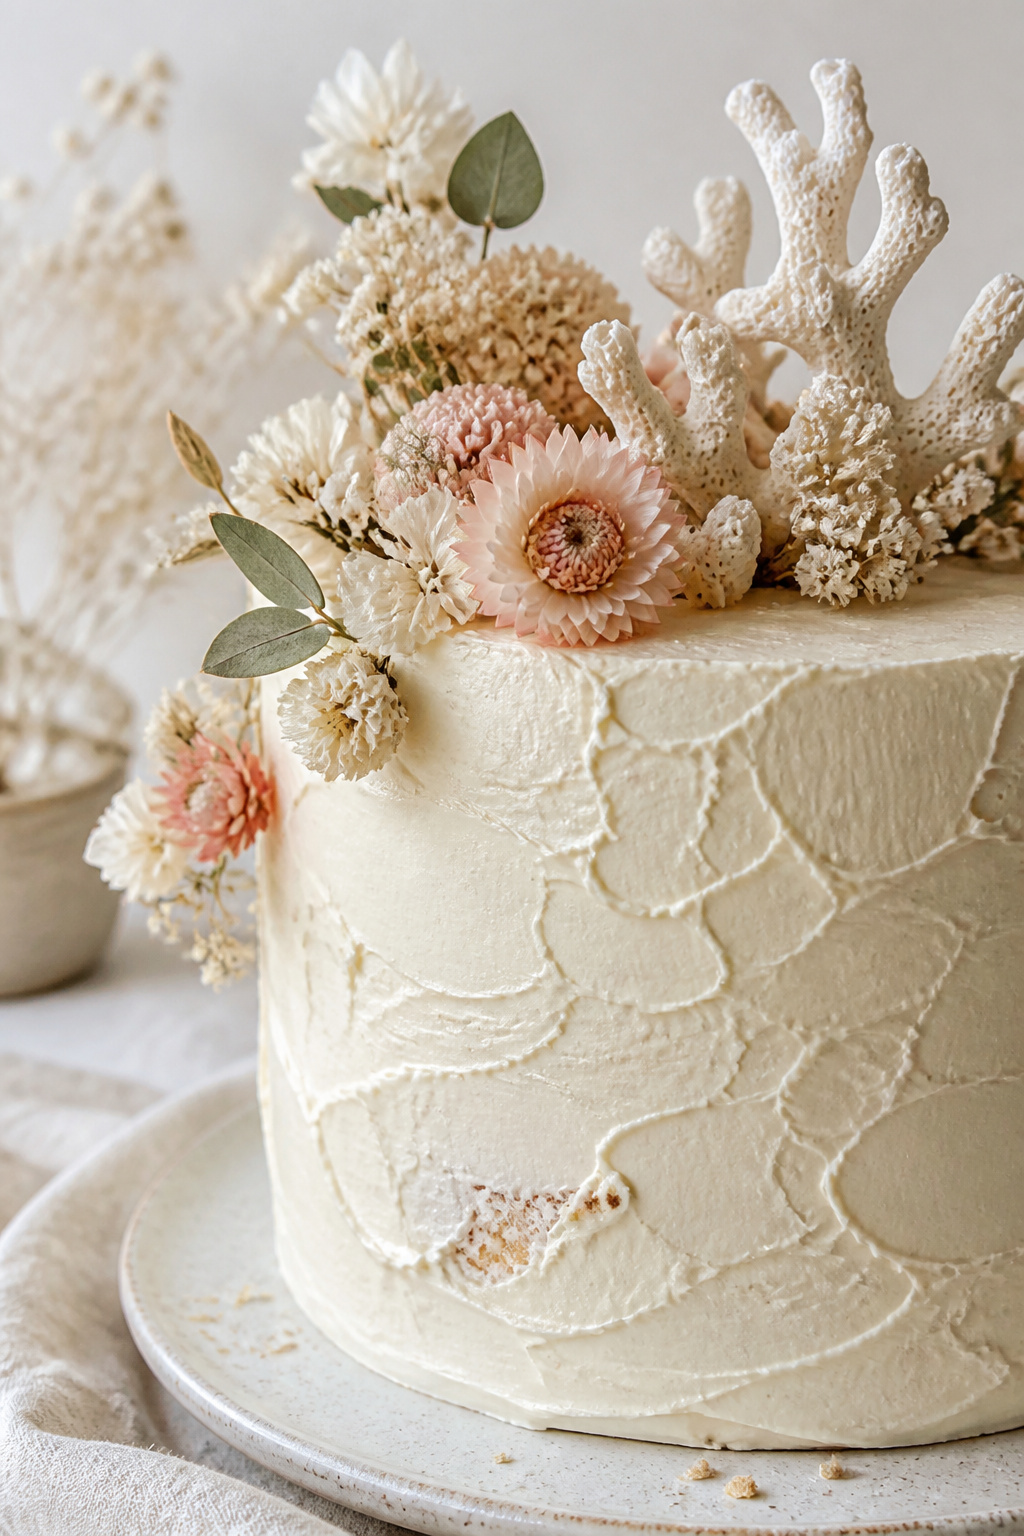
A cake with rough buttercream texture and a few dried stems photographs like a prop. Keep decorations sparse to highlight texture.
What You Need:
- 2 to 3 tier textured buttercream cake, spot of edible gold or powdered dust
- Preserved blooms and dried stems for garnish, small coral element if venue allows
- Linen cake cloth and ceramic cake stand
Setup:
- Place cake on table 30 minutes before cutting, away from direct sun.
- Add non-edible coral or decor only after baker confirms placement is safe.
- Keep blade and server nearby and a damp cloth for quick cleanups.
14. Shell Favor Display on Driftwood Planks
Style: Bright and Airy | Difficulty: Easy DIY | Best For: Favor table visuals | Budget: $2 to $12 per favor
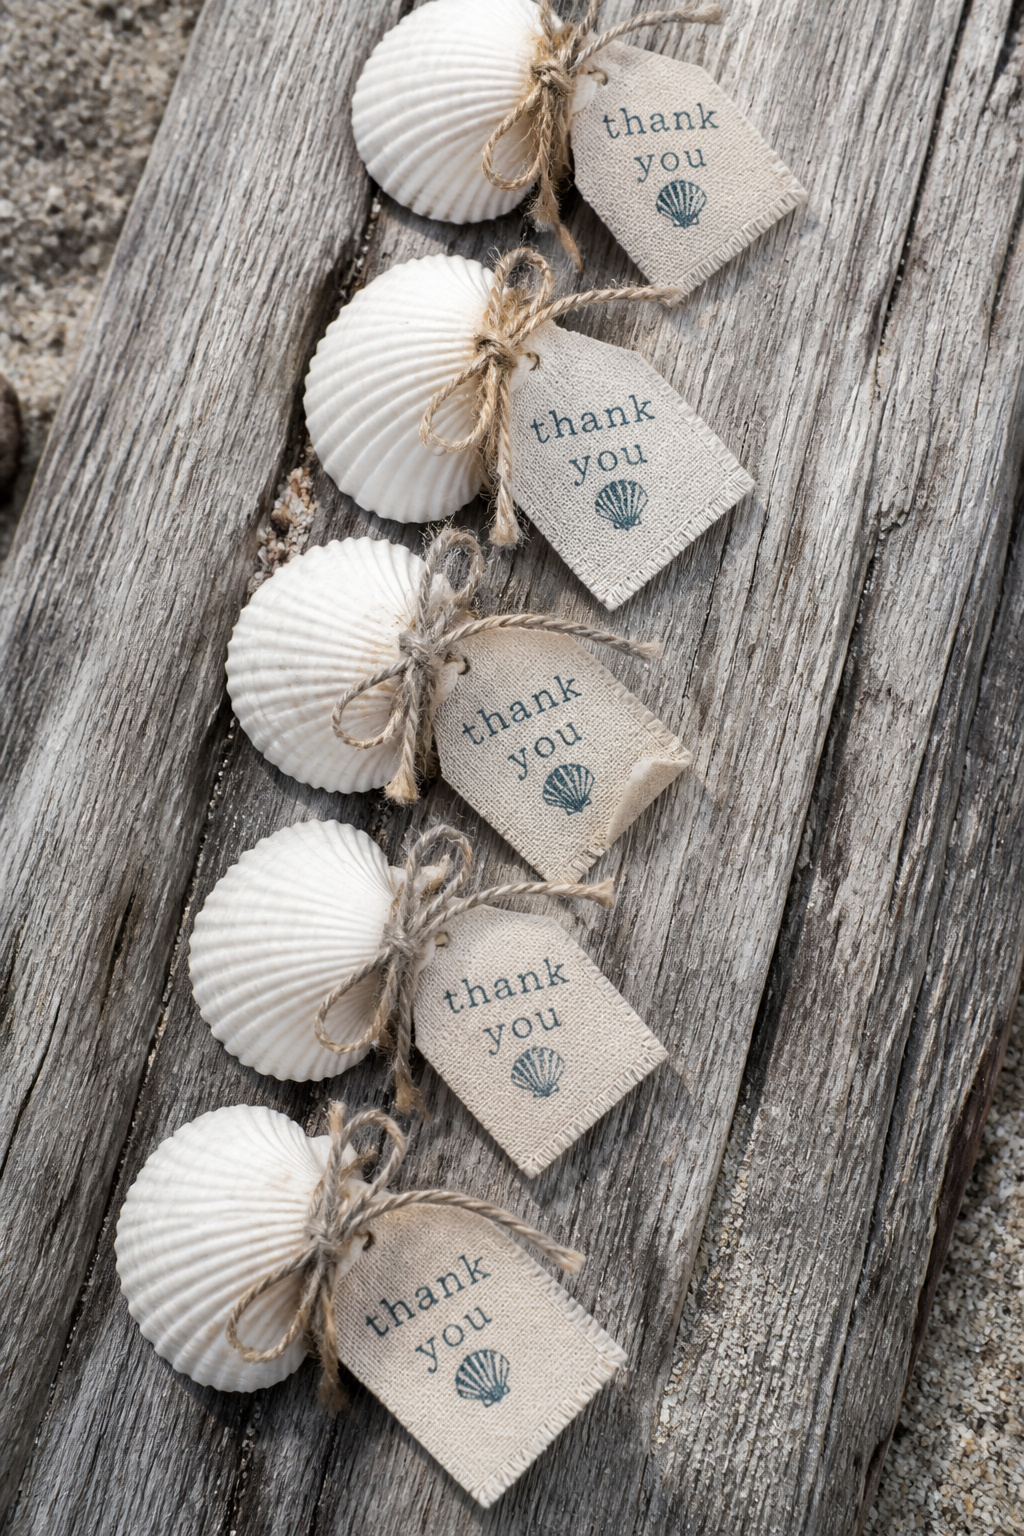
Hand-tied shell favors on planks feel artisan and show well in overhead shots. They are small touches that look costly in detail photos.
What You Need:
- Assorted small shells, linen gift tags, natural twine
- Weathered driftwood planks for display, small tweezers for placement
- Clear labeled signs or hand-lettered tags
Setup:
- Arrange favors the morning of; secure tags to shells with small knots.
- Use planks elevated on small ceramic stands for varied height.
- Keep an eye on humidity that can curl paper tags; laminate if needed.
15. Beach-Side Fire Pit with Lounge Lights
Style: Moody Cinematic | Difficulty: Permits required | Best For: Nighttime afterparty | Budget: $150 to $1,000
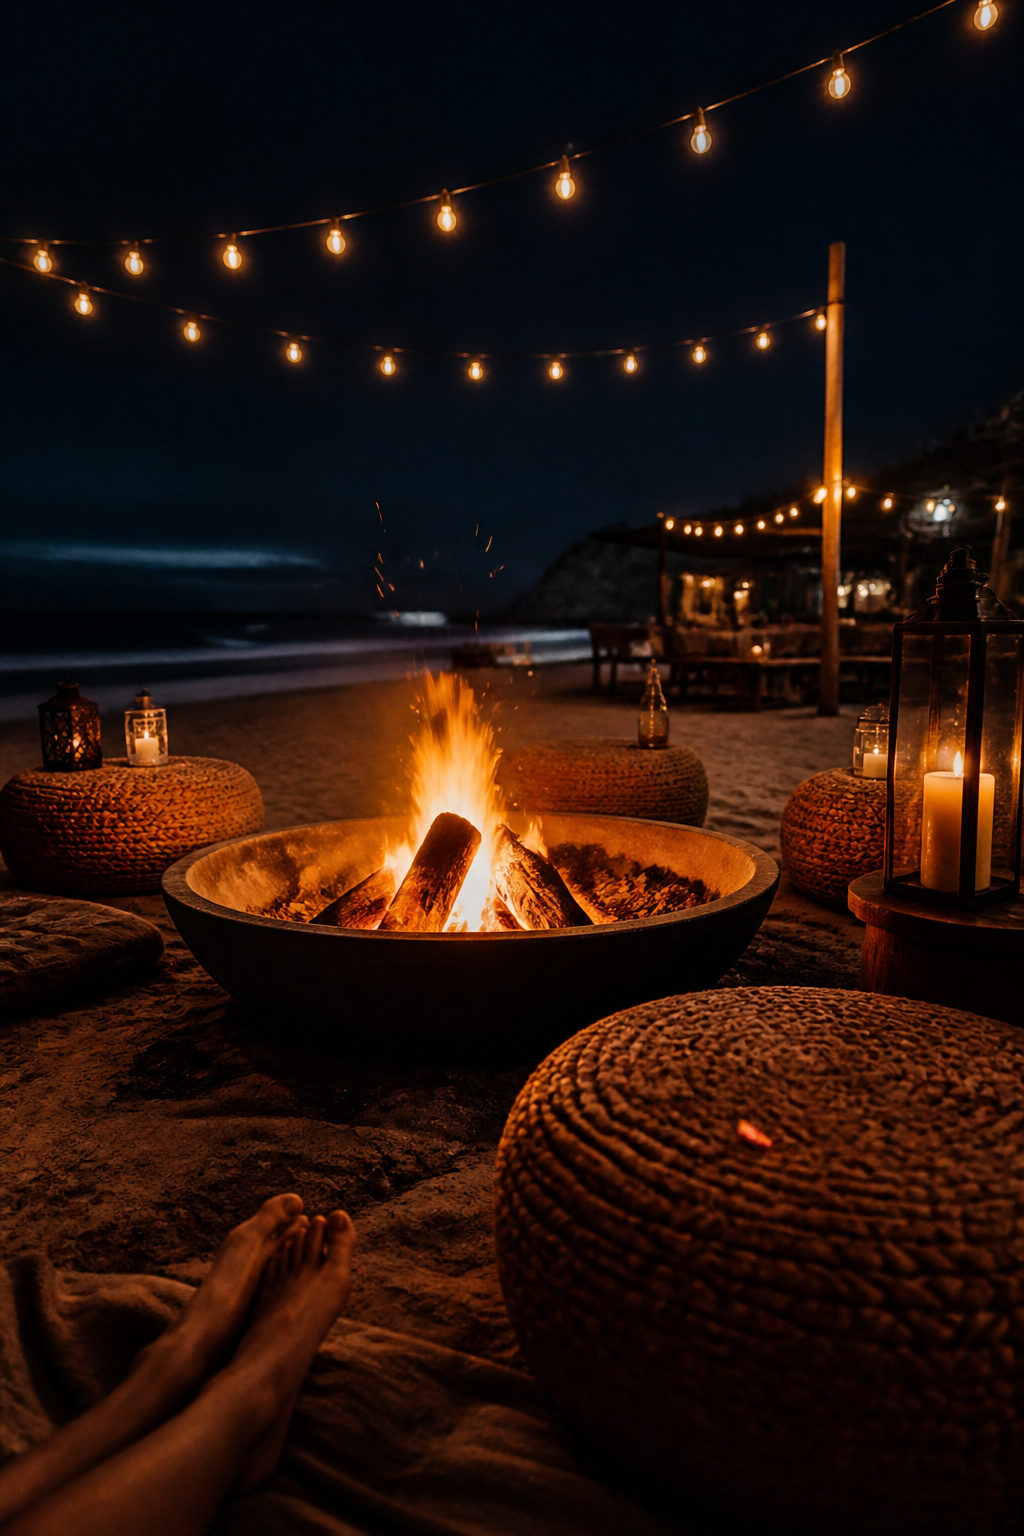
A controlled fire pit reads cozy and expensive in photos, but the ugly truth is many beaches require permits and time buffers.
What You Need:
- Portable ring fire pit, fireproof base, metal mesh cover
- Woven poufs or low seating, warm throws
- Fire extinguisher and permit if required by local code
Setup:
- Secure permits weeks ahead and schedule delivery at least an hour before desired start.
- Keep fire size moderate and staff a safety attendant throughout the event.
- If permits deny open flame, swap for propane tabletop fire bowls for the same glow.
16. Monochrome Place Setting with Textural Contrast
Style: Editorial Coastal | Difficulty: Easy to moderate | Best For: Fine dining photo ops | Budget: $25 to $120 per place
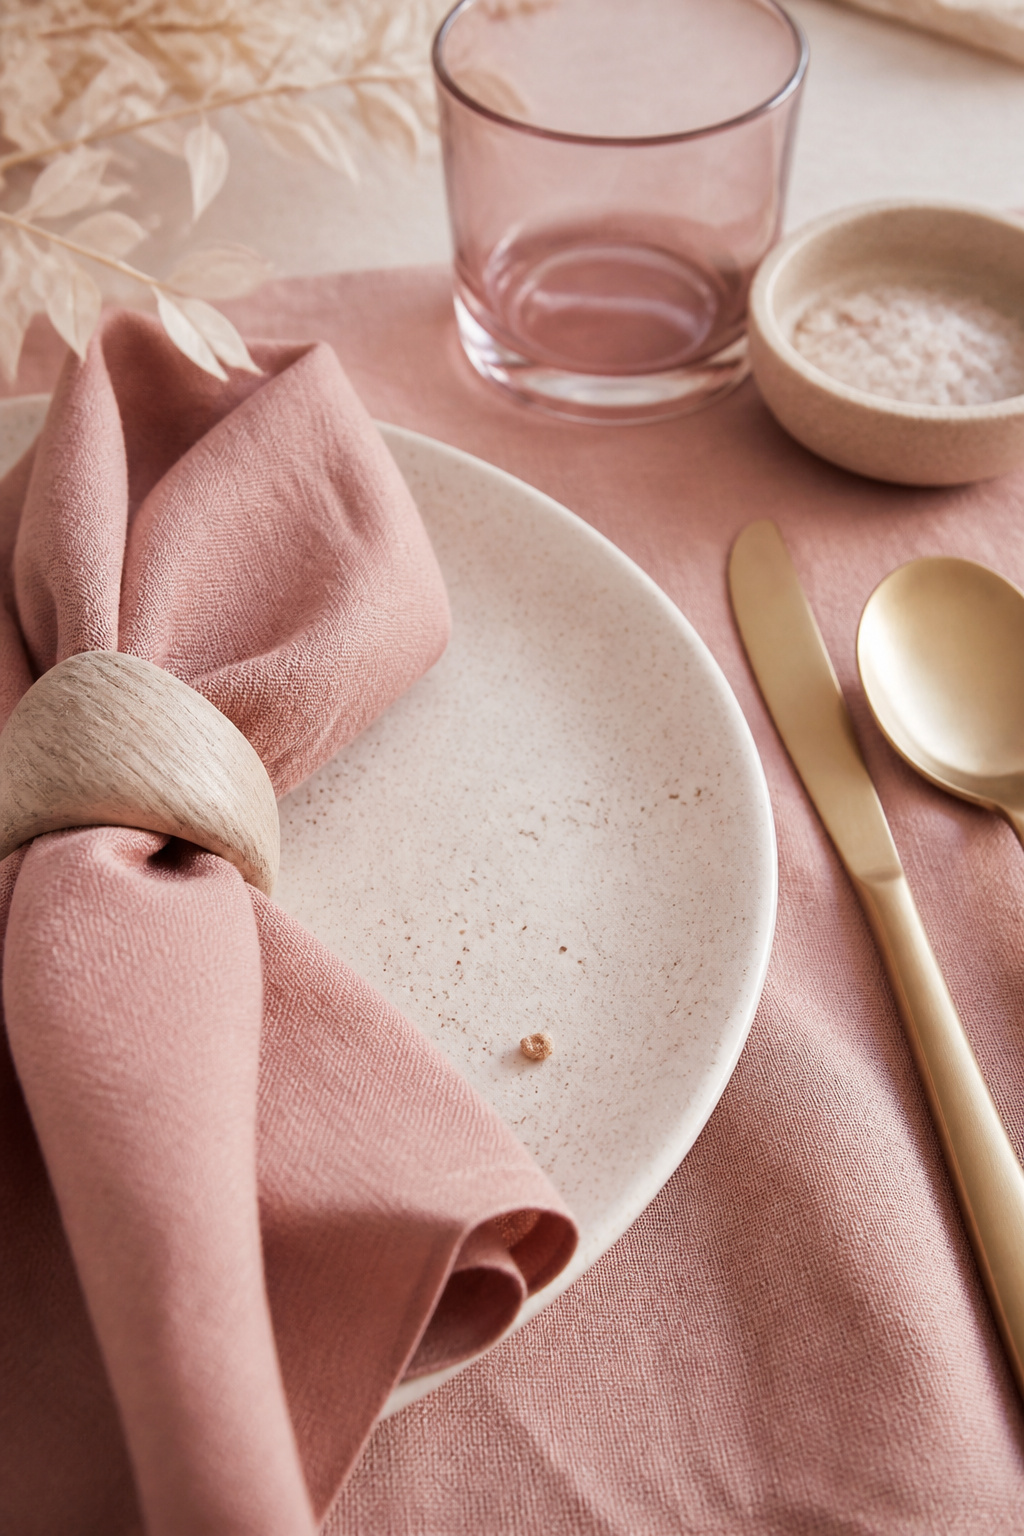
A monochrome palette with varied texture reads editorial and simplifies the frame for close-ups.
What You Need:
- Ceramic plates in one tone, textured linen napkin, matte flatware
- Small dried bud and name tag in same hue
- Subtle charger in natural fiber for contrast
Setup:
- Lay each setting with slight variation to avoid a manufactured grid.
- Fold napkins with one corner tucked under plate for depth.
- Avoid reflective metals that will catch harsh highlights in midday sun.
17. Overhead Photo-Friendly Aisle Pattern
Style: Bright and Airy | Difficulty: Easy DIY | Best For: Photo runs and processional shots | Budget: $50 to $300
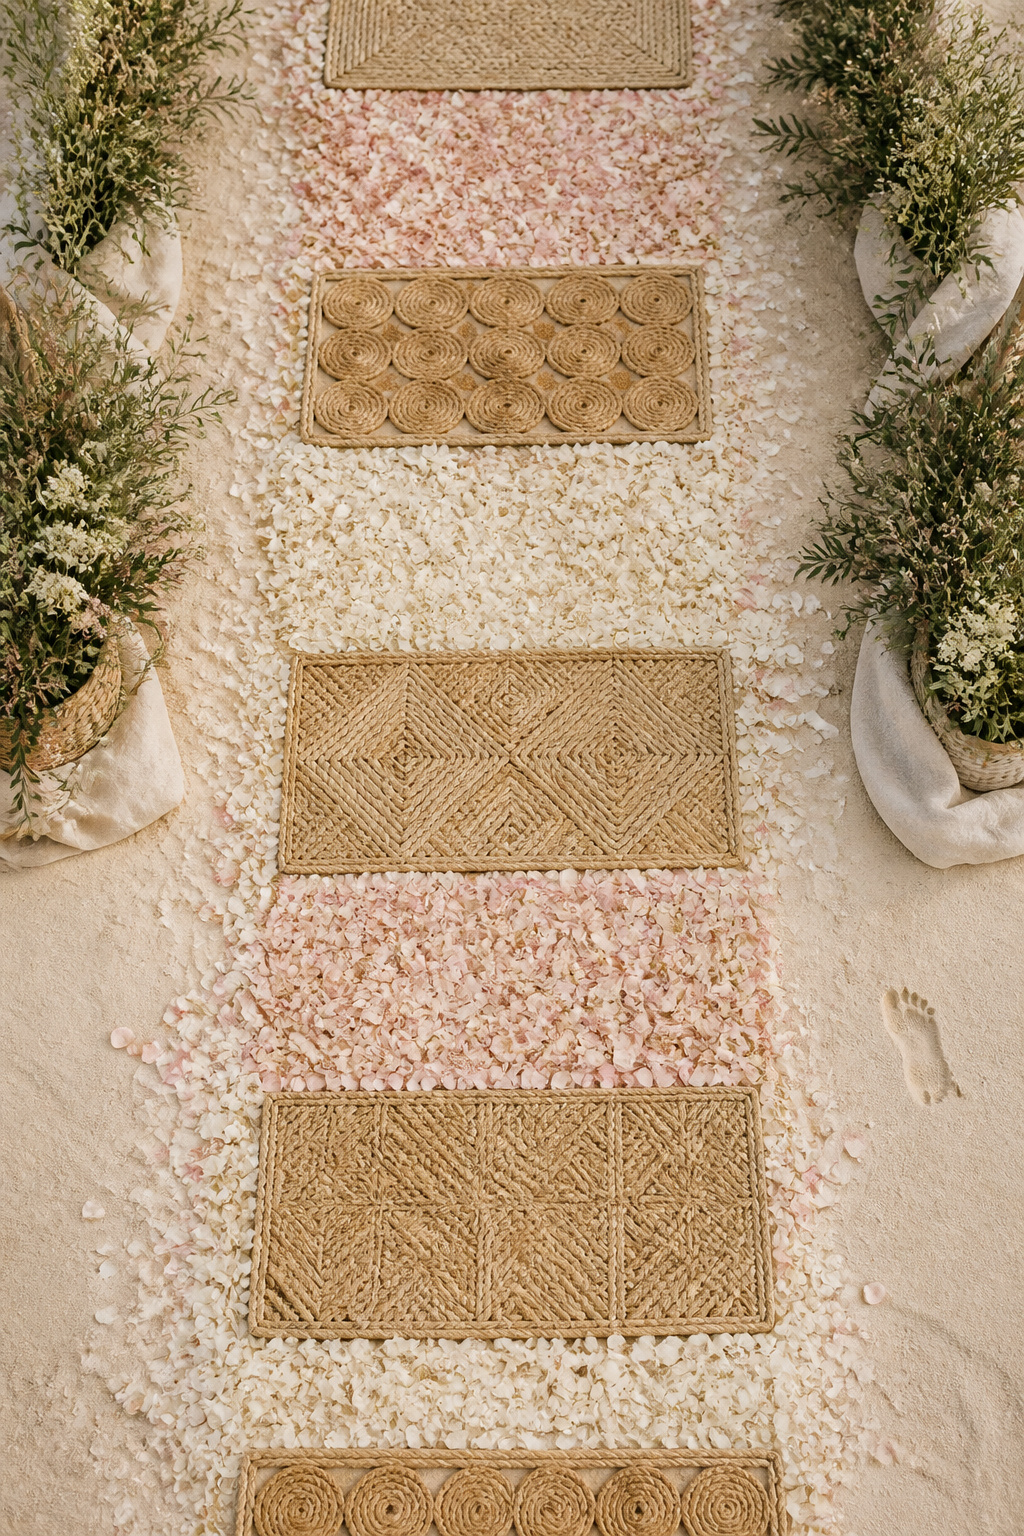
I’ve seen photographers love aisles that read graphic from above. Alternating textures give a clear line to the horizon and strong compositions.
What You Need:
- Narrow woven aisle mats or jute circles, dried petal scatter in blush and ivory
- Small adhesive anchors to keep mats flat
- Drone-friendly clear zone signage for safety
Setup:
- Lay mats starting 30 minutes before the ceremony; press edges into sand.
- Scatter petals in a looser pattern to avoid wind creating clouds of debris.
- Reserve a 10 ft clearance for drone shots and inform guests.
18. Handwritten Menu Boards on Driftwood
Style: Coastal Rustic | Difficulty: Easy | Best For: Casual plated meals | Budget: $20 to $200
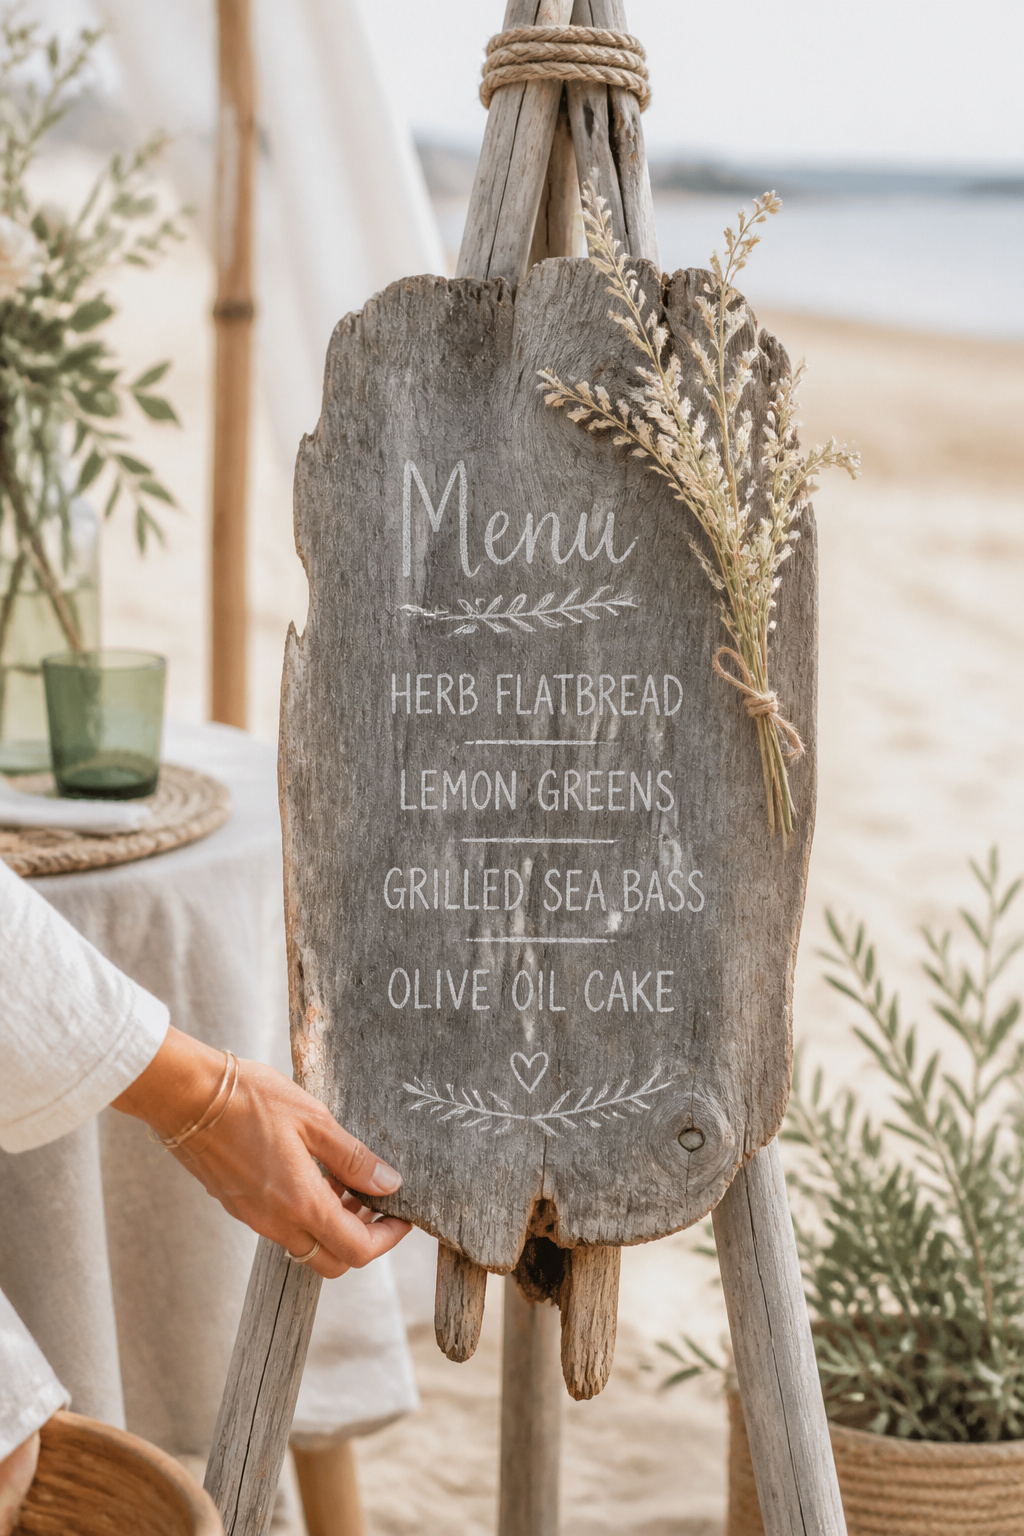
A handwritten menu on driftwood feels curated and photographs with strong line and texture. It is inexpensive but looks special.
What You Need:
- Weathered driftwood plank or reclaimed signboard, chalk markers
- Small easel or tripod, dried sprig accents
- Protective spray for rain-proofing
Setup:
- Write menus the day before and test for legibility in bright sun.
- Prop on an easel 60 minutes before guests and angle slightly toward photography lanes.
- Keep an extra printed copy inside if high humidity causes smudging.
19. Minimal Cocktail Napkin Stack with Wax Seal
Style: Editorial Coastal | Difficulty: Easy | Best For: Small parties and boutique bars | Budget: $0.50 to $3 per napkin
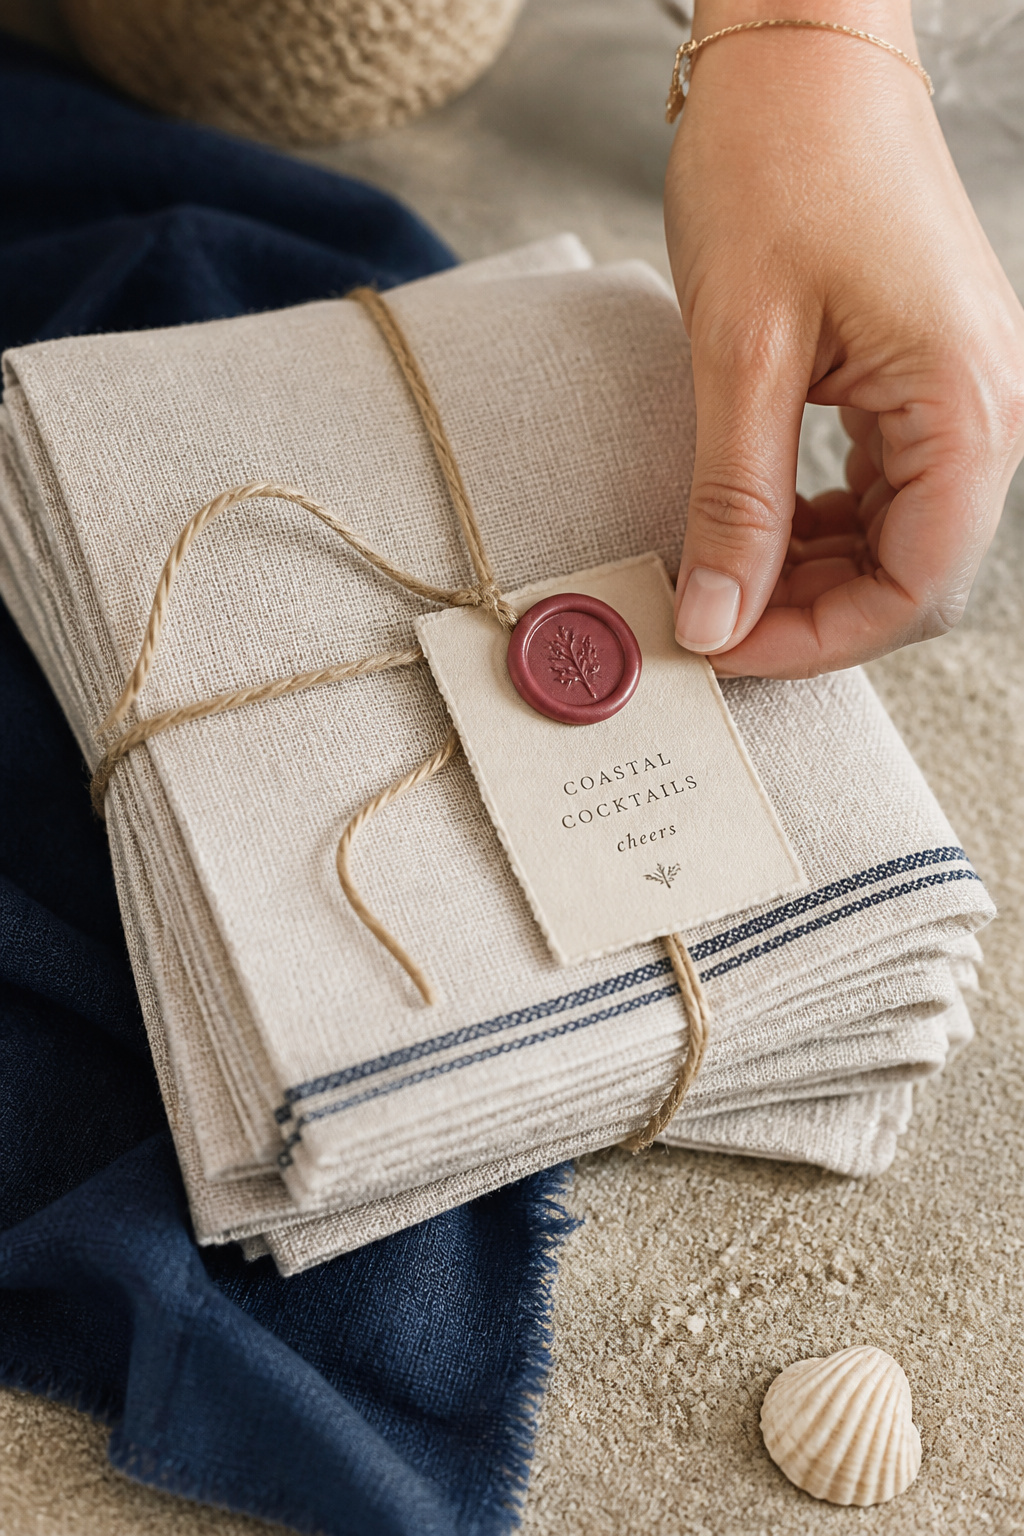
Small details like a wax seal photograph with tactile interest. They show up in cocktail shots and look bespoke.
What You Need:
- Linen cocktail napkins, twine, small wax seal kit and personalized stamp
- Pre-cut tags with guest initials or simple logo
- Heat gun and parchment for melting wax safely
Setup:
- Seal and stack napkins the week of and store flat in a breathable box.
- Add seals to each stack 24 hours before event to avoid brittle wax in high heat.
- Replace wax with stamped paper tags if venue policy forbids open flame for sealing.
20. Tinted Glassware for Color Pop
Style: Bold Saturated | Difficulty: Easy | Best For: Tropical looks | Budget: $2 to $12 per piece
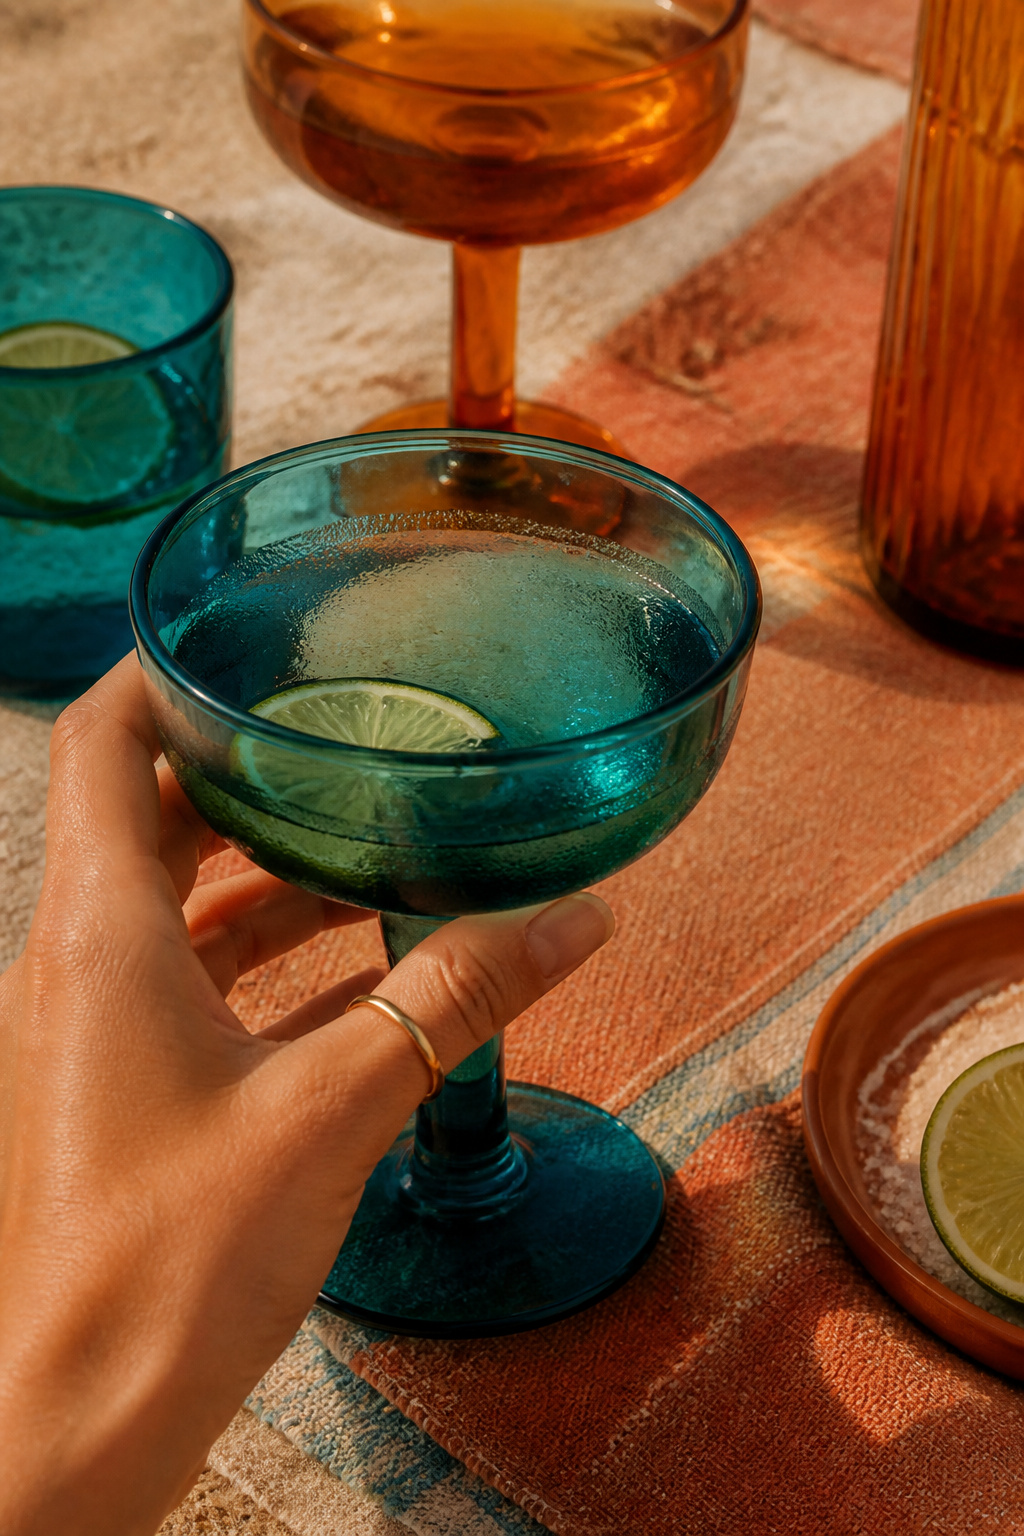
Colored glassware adds a modern editorial pop and looks intentional in photos. Mix two hues for contrast and depth.
What You Need:
- Assorted tinted glassware in two complementary colors
- Linen napkins in neutral tones, small coaster plates
- Soft brush for quick glass polishing
Setup:
- Stage glassware on the table after flatware and plates to avoid water spots.
- Consider renting colored glass for large parties; buying can be costly.
- Avoid neon tones that can reflect unnatural casts in portraits.
21. Photographer-Friendly Sunset Timeline
Style: Editorial Timing | Difficulty: Planning | Best For: Portrait-heavy couples | Budget: Free except timeline changes
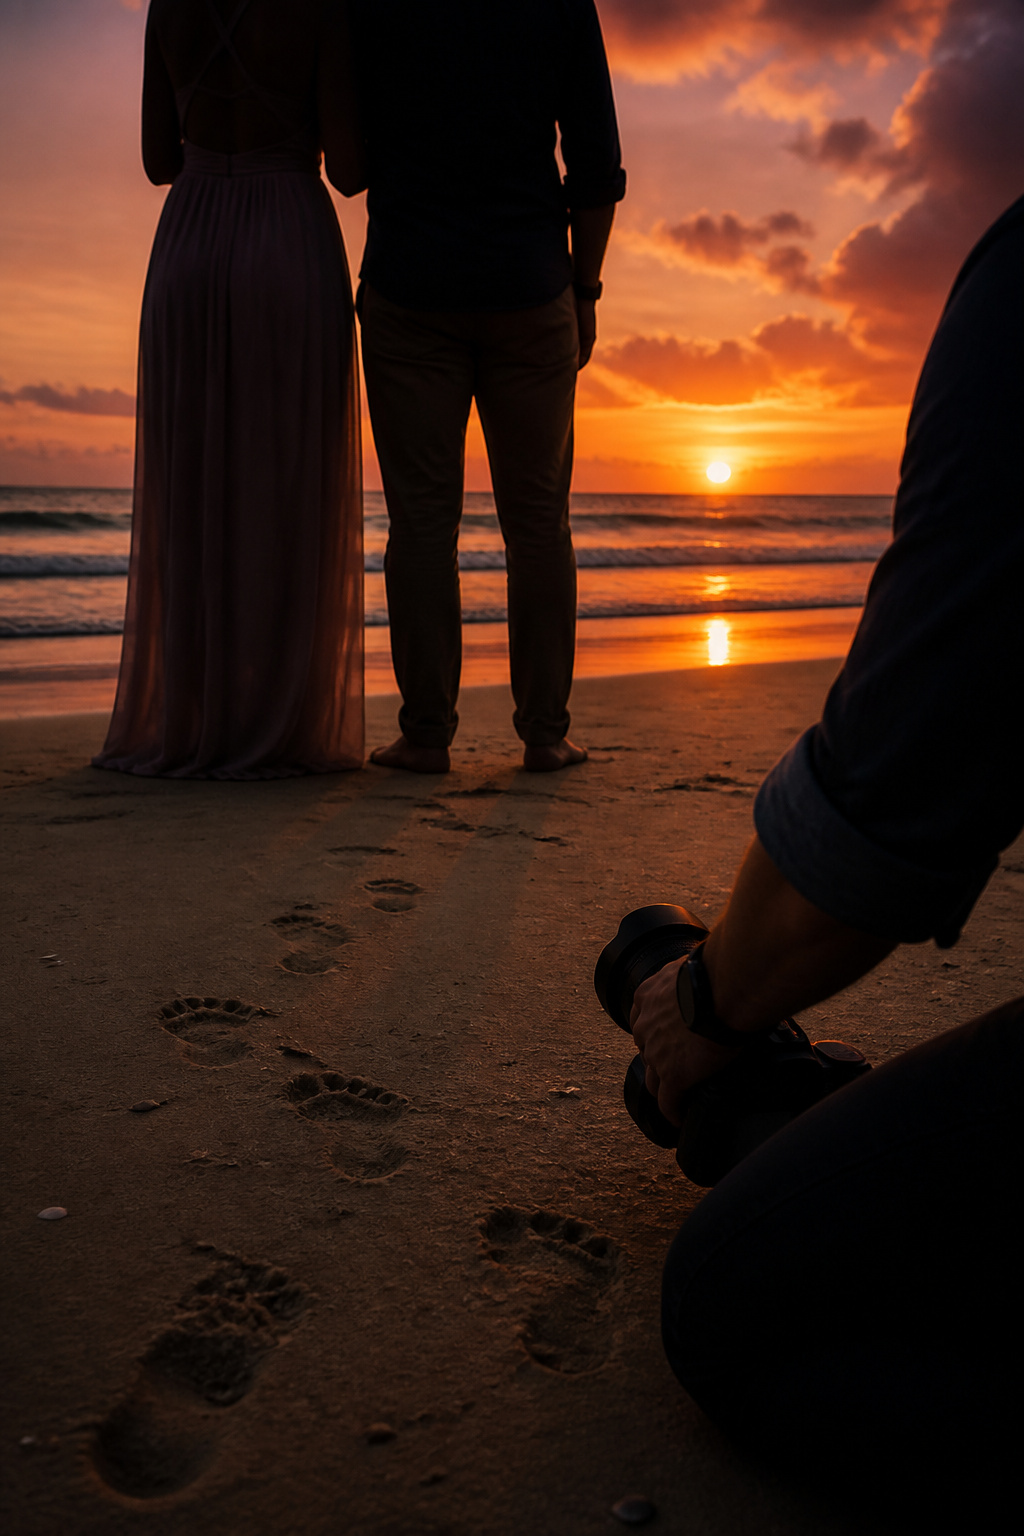
The ugly truth is a beautiful setup is wasted without a timeline that accounts for golden hour. Schedule photos 60 to 90 minutes before sunset.
What You Need:
- Sunset time for venue date, buffer windows of 30 minutes, contact list for quick scene changes
- Photographer timeline shared with vendors, walk-test of key shots
- Portable reflector and assistant to manage light
Setup:
- Confirm sunset time and set portraits 60 minutes prior for softer light.
- Coordinate with vendors so tables are staged but not fully seated during portrait window.
- If weather shifts, reassign photographer to capture moody dusk portraits at last minute.
22. Weather-Proofed Soft Drapes for Windy Nights
Style: Coastal Practical | Difficulty: Moderate install | Best For: Wind-prone beaches | Budget: $100 to $600
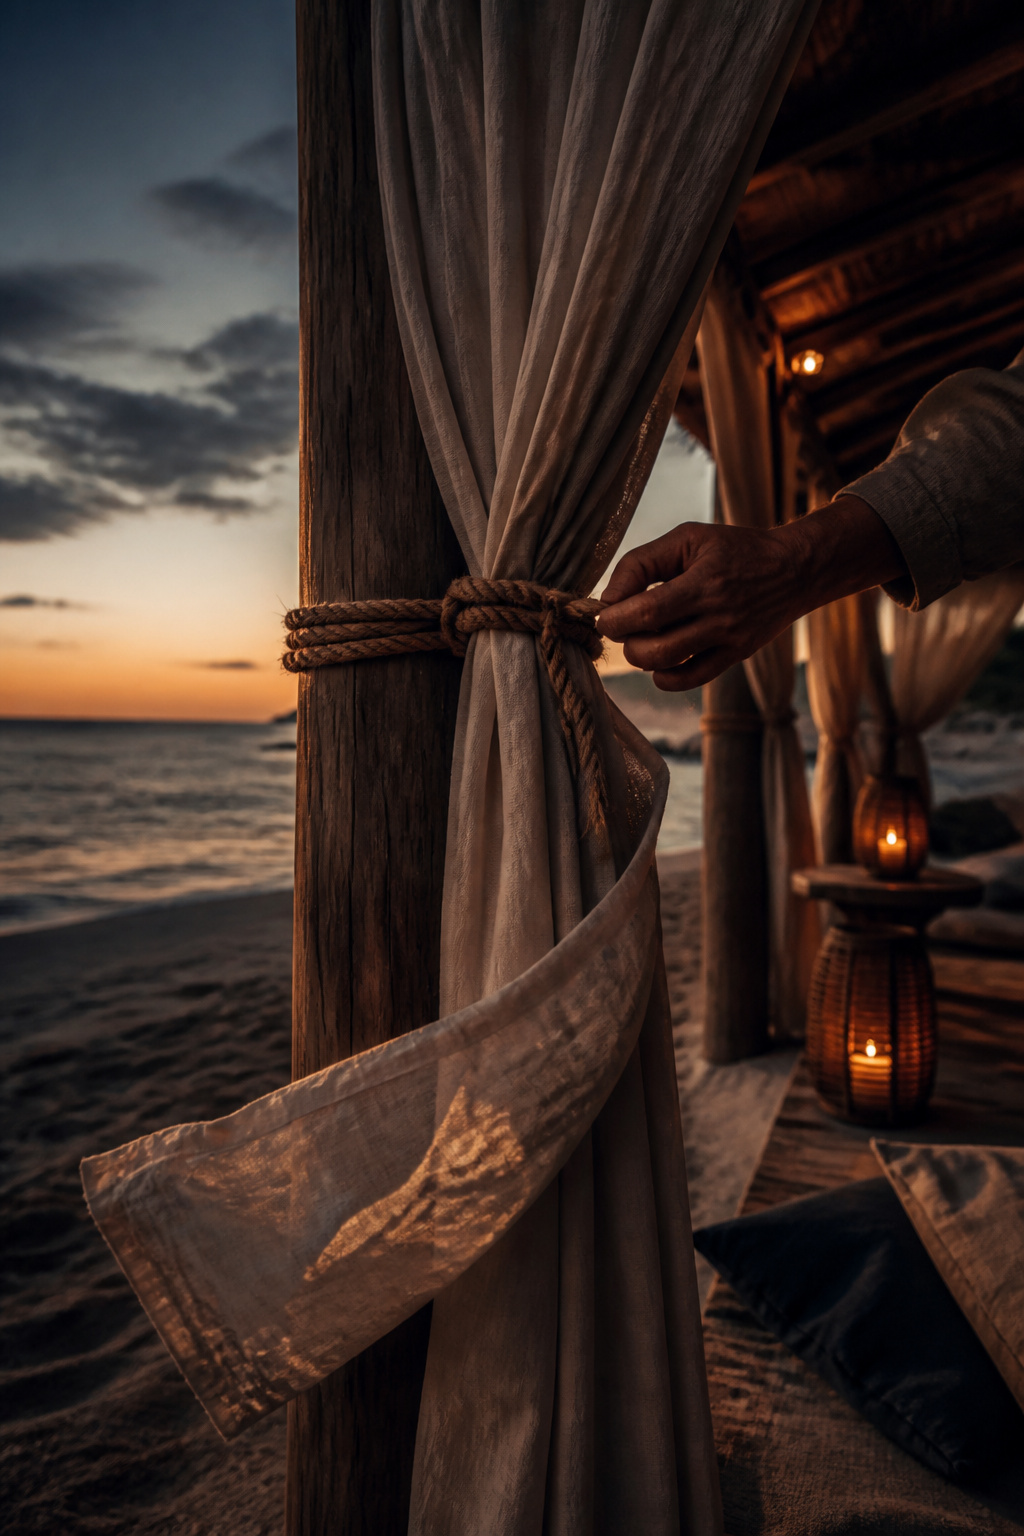
The ugly truth is lightweight draping can become a tangled mess in coastal winds. Heavier linen and smart tiebacks keep movement graceful.
What You Need:
- Heavier-weight linen panels, marine-grade rope tiebacks
- Stainless steel grommets and wind clips
- Weighted hem bars or sewn-in pockets for sand weights
Setup:
- Install drapes with grommets and secure with rope ties 45 minutes before event to control fall.
- Add discreet weighted hems or sand pockets to stop wild billowing.
- Have a spare set of ties and an assistant to retie after any gust.
What You Will Need to Pull This Off
Structural Essentials
- Timber poles or bamboo frames, 8 to 12 ft tall, with sand base plates and 20 lb sandbags each, $60 to $200 per pole
- Portable lighting kit: weatherproof Edison strings, LED uplights, extension cords with GFCI, $150 to $1,200
- Heavy-duty tarps and quick-deploy canopies for sudden rain, $40 to $300
- Rental clear ghost chairs with non-sink caps, $8 to $20 per chair
- Portable fire pit or propane fire bowls with permit-friendly specs, $150 to $800
Florals and Organic Elements
- Dried pampas and preserved palm bundles, order 2 to 4 weeks in advance, $15 to $80 per bundle
- Bleached coral stems or sculptural driftwood accents, sourced from artisan vendors, $20 to $200
- Small terracotta bud vases and hand-thrown ceramics for low clusters, $6 to $45 each
Lighting
- Edison string lights (outdoor-rated), 100 ft runs, $40 to $250
- Glass lanterns with LED warm-flame candles, $8 to $60 each
- Portable battery votives and warm LED uplights for trees, $3 to $40 each
Textiles and Surfaces
- Linen gauze panels and heavier linen runners, $25 to $200 per piece
- Woven seagrass chargers and jute aisle mats, $2 to $35 per item
- Neutral linen napkins, 18×18 in, $4 to $12 each
Planning Resources
- Tide chart tools: NOAA tide tables or local tide apps for specific beach timing
- Permit checklist: town or county beach use department and local fire safety office
- Vendor platforms: Etsy for handcrafts, local rental houses, Zola or The Knot for vendor discovery
Where to Source It
Etsy is the best bet for one-off artisan pieces like gold hoops, wax seals, and small hand-thrown ceramics. Rent large items like ghost chairs, dining tables, and lighting from local party rental houses; renting is often half the cost of buying for a single event. For dried botanicals, order from preserved floral wholesalers two to four weeks ahead; demand for pampas spiked in recent seasons and lead times can stretch. For lighting and technical gear, work with local production companies if your venue lacks power access.
Planning Tips for a Beach Wedding
Permits First: Start permit applications 8 to 12 weeks before the date. Beaches often require proof of insurance and vendor lists.
Tide and Timing: Use NOAA tide charts or local tide apps and plan ceremony at low tide if you need extra shoreline. Golden-hour portraits should be 60 to 90 minutes before sunset.
Wind-Proof Your Décor: Add ballast to every freestanding item, choose heavy linens, and avoid balloons or loose confetti. Most setups fail because they skip anchors.
Weather Backup: Have a canvas canopy or rented tent option on standby with a clear plan for seating rearrangement. Choose one go-to point person to call contingency moves.
Make-Ahead Guide: Assemble non-perishables like place cards, lanterns, and draping one to two days ahead. Save floral installs and perishables for the day-of, staged in shaded coolers.
2025 Trend Tip: Preserved and dried botanical installations paired with warm, cinematic lighting keep appearing in industry roundups like Pinterest Predicts 2025. Plan lead times accordingly.
Frequently Asked Questions
Q: Do I need a permit for lighting and fire pits on the beach?
A: Usually yes. Check with local beach authorities 8 to 12 weeks out for permits and any insurance requirements. Have vendor certificates ready.
Q: How do I keep candles from blowing out during a windy reception?
A: Use glass lanterns or enclosed votives and cluster candles with wind shields. Battery-powered warm-flame lights are a fail-safe backup.
Q: How late should I schedule the ceremony for the best photos?
A: Schedule portraits 60 to 90 minutes before sunset for golden-hour light. If you need daylight family shots, do those first and stagger portraits later.
Q: Can I use live flowers in hot, humid coastal locations?
A: Yes, but choose hardier blooms and keep them hydrated in coolers. For extended displays or tropical heat, preserved or dried options photograph more reliably.
Conclusion
Start with one strong visual element that fits your venue, like an arch or a lighting canopy, and build texture around it. The best beach receptions photograph expensive when textures, layers, and a simple timeline work together. Which of these 22 details fits your shoreline and vibe best?