
The light at that Gulf Coast reception in September made everyone slow down. Boho beach wedding reception inspiration poured from every corner of the shoreline, and I counted 24 setups that made guests actually kick off their shoes. This list is for couples who want barefoot sunset vibes, tactile layers, and setups that survive wind, salt, and applause.
I cover airy coastal boho to bold tropical boho, low-budget DIY to rental splurges, elopements to full receptions. I keep it real on lead times and weather backups. Also, The Knot’s Real Weddings coverage shows outdoor and intimate celebrations growing, and Brides’ trend notes for 2024 and 2025 point to dried florals and rental sustainability as core shifts I’ve seen on the sand.
1. Driftwood and Pampas Grass Arch (Low-Profile)
Style: Boho Coastal | Difficulty: Easy DIY | Best For: Intimate Ceremony | Budget: Budget-Friendly
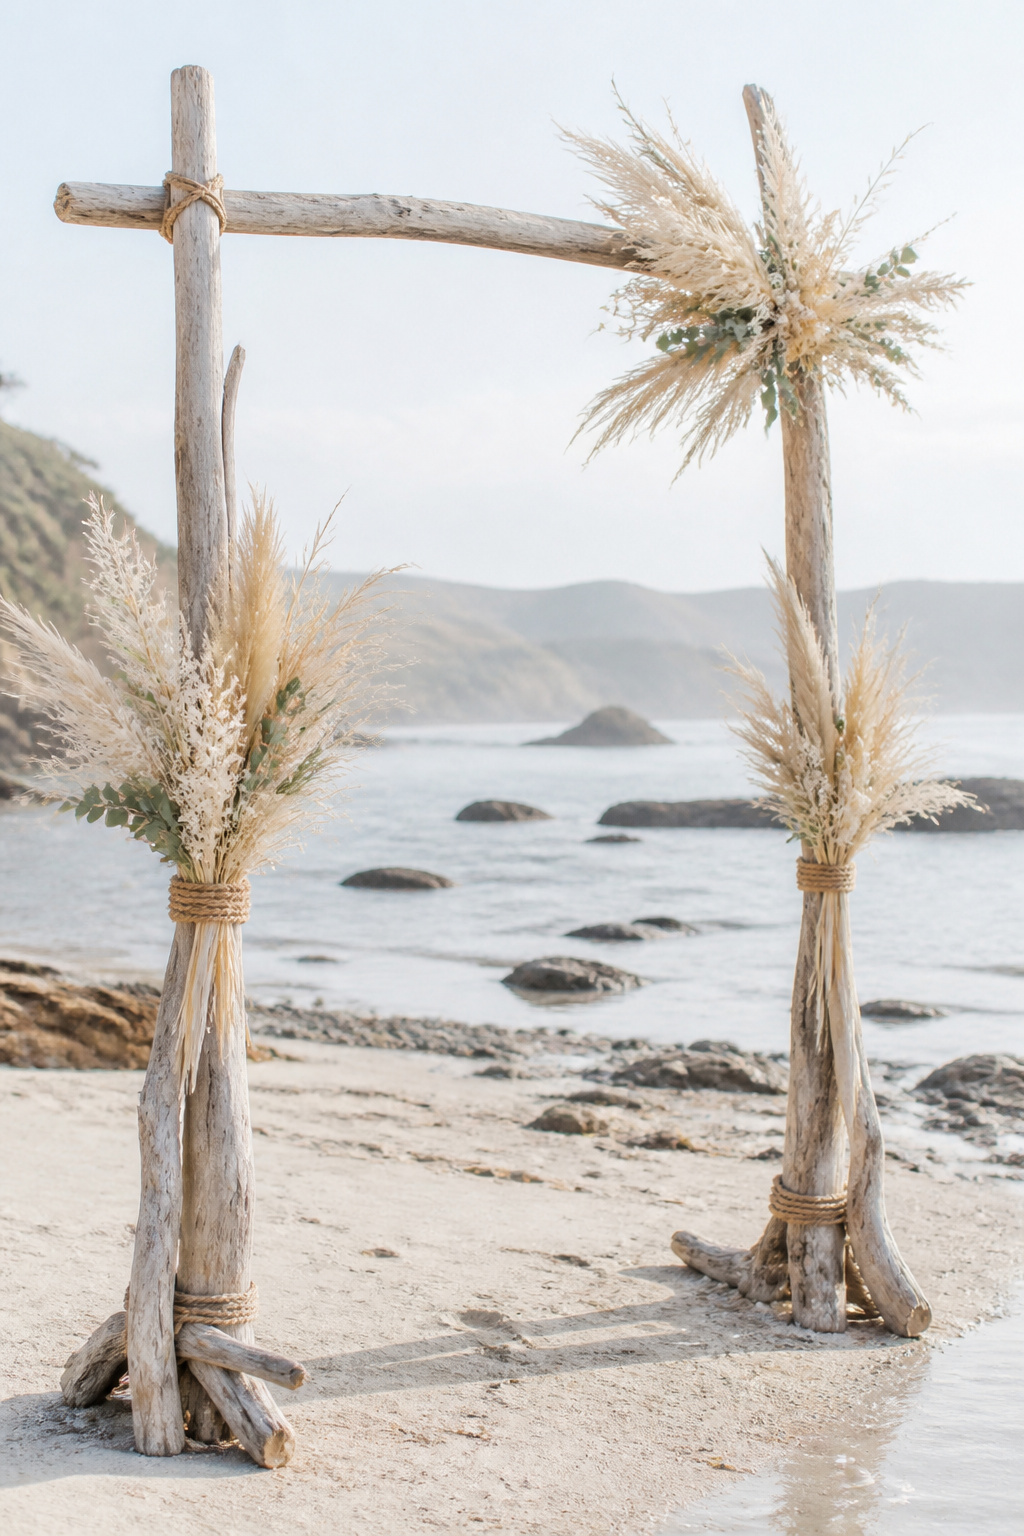
The arch was simple, but the way the pampas moved with the breeze drew every camera. I saw this exact setup at a small sunset ceremony and everyone photographed the base more than the vows.
What You Need:
- Reclaimed driftwood uprights, 5 to 6 ft tall
- Bundles of natural pampas grass, trimmed and tied
- Bleached coral stems or preserved lunaria for texture
- Heavy-duty sand anchors or rebar stakes, 2 to 3 per post
Setup:
- Assemble uprights and lash with jute rope, anchor with rebar 45 minutes before ceremony.
- Tie pampas bundles in asymmetrical clusters, leave movement room for the breeze.
- Avoid over-clustering at the top; heavy wind will turn it into a sail.
2. Edison Bulb Canopy Over Low Table
Style: Moody Cinematic | Difficulty: Moderate | Best For: Sunset Dinner | Budget: Mid-range
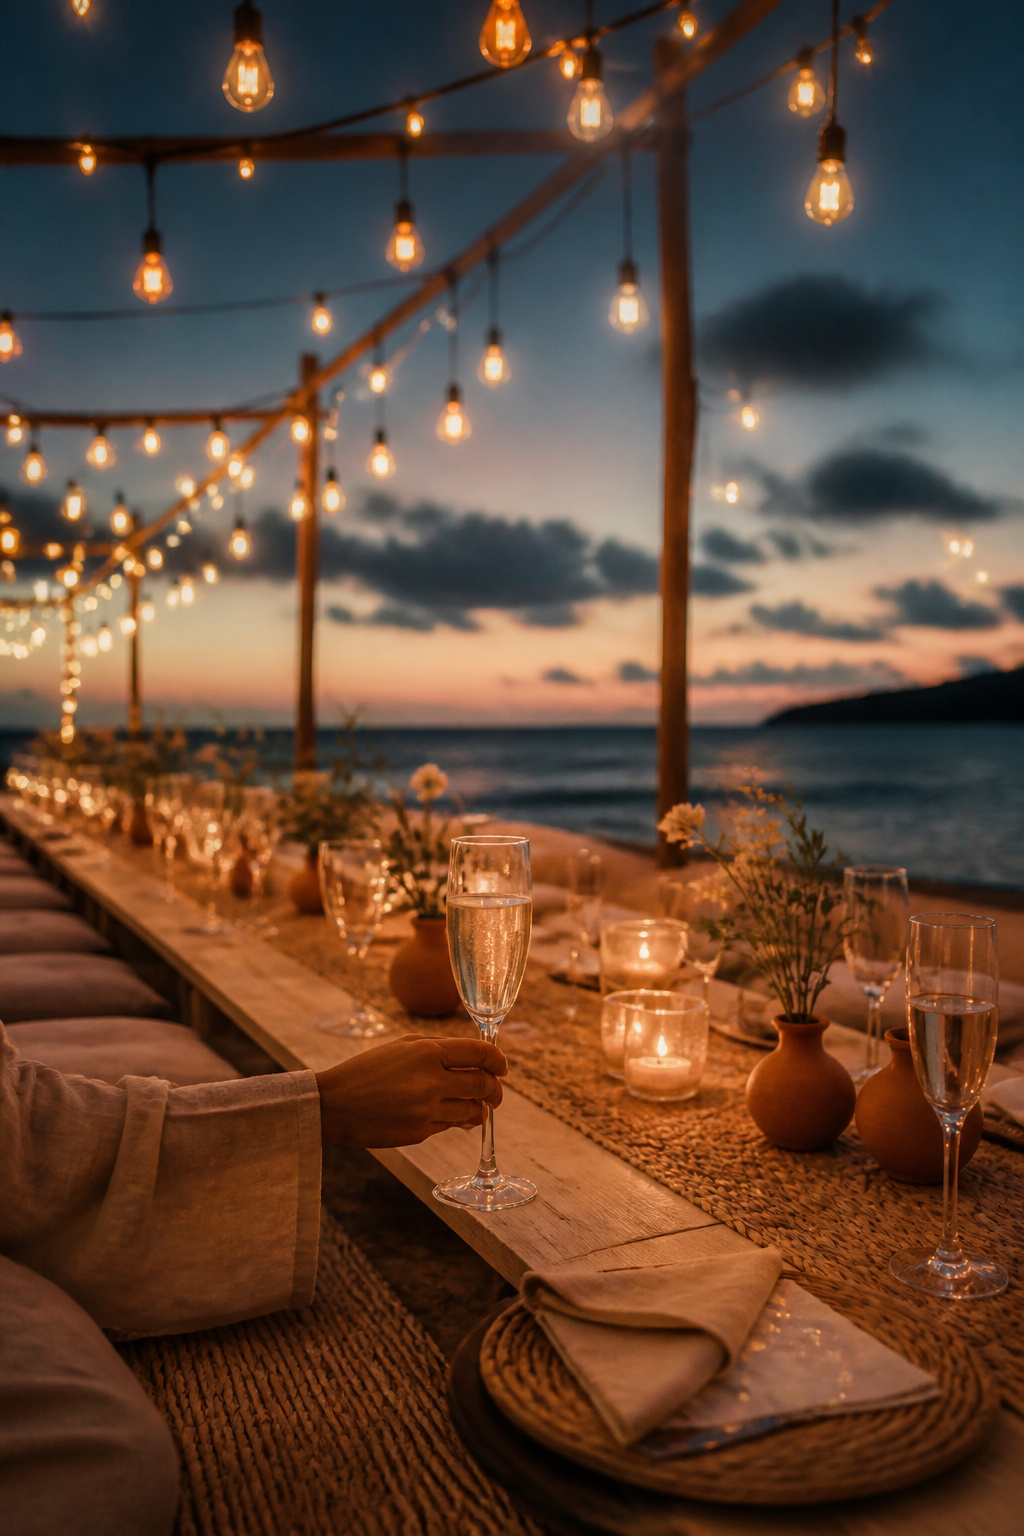
The bulbs made the ocean horizon glow like stage lighting. Guests lingered under that canopy. I watched a table of 12 stay until the tide nearly touched their toes.
What You Need:
- Bamboo poles or rental light poles, 8 to 10 ft high
- Edison string bulbs with waterproof sockets, 25 to 40 bulbs depending on length
- Low farm table or modular low tables, seating cushions or poufs
- Woven seagrass runners and terracotta bud vases
Setup:
- Set poles in sand and brace with sandbags or ground anchors three hours before dusk.
- String bulbs in staggered rows, test all bulbs and GFCI power source an hour before guest arrival.
- Keep candles in weighted holders; wind will blow unprotected candles out or send wax everywhere.
3. Bleached Palm Fan Photo Nook
Style: Bold Saturated | Difficulty: Easy | Best For: Guest Photos / Favors Table | Budget: Budget-Friendly
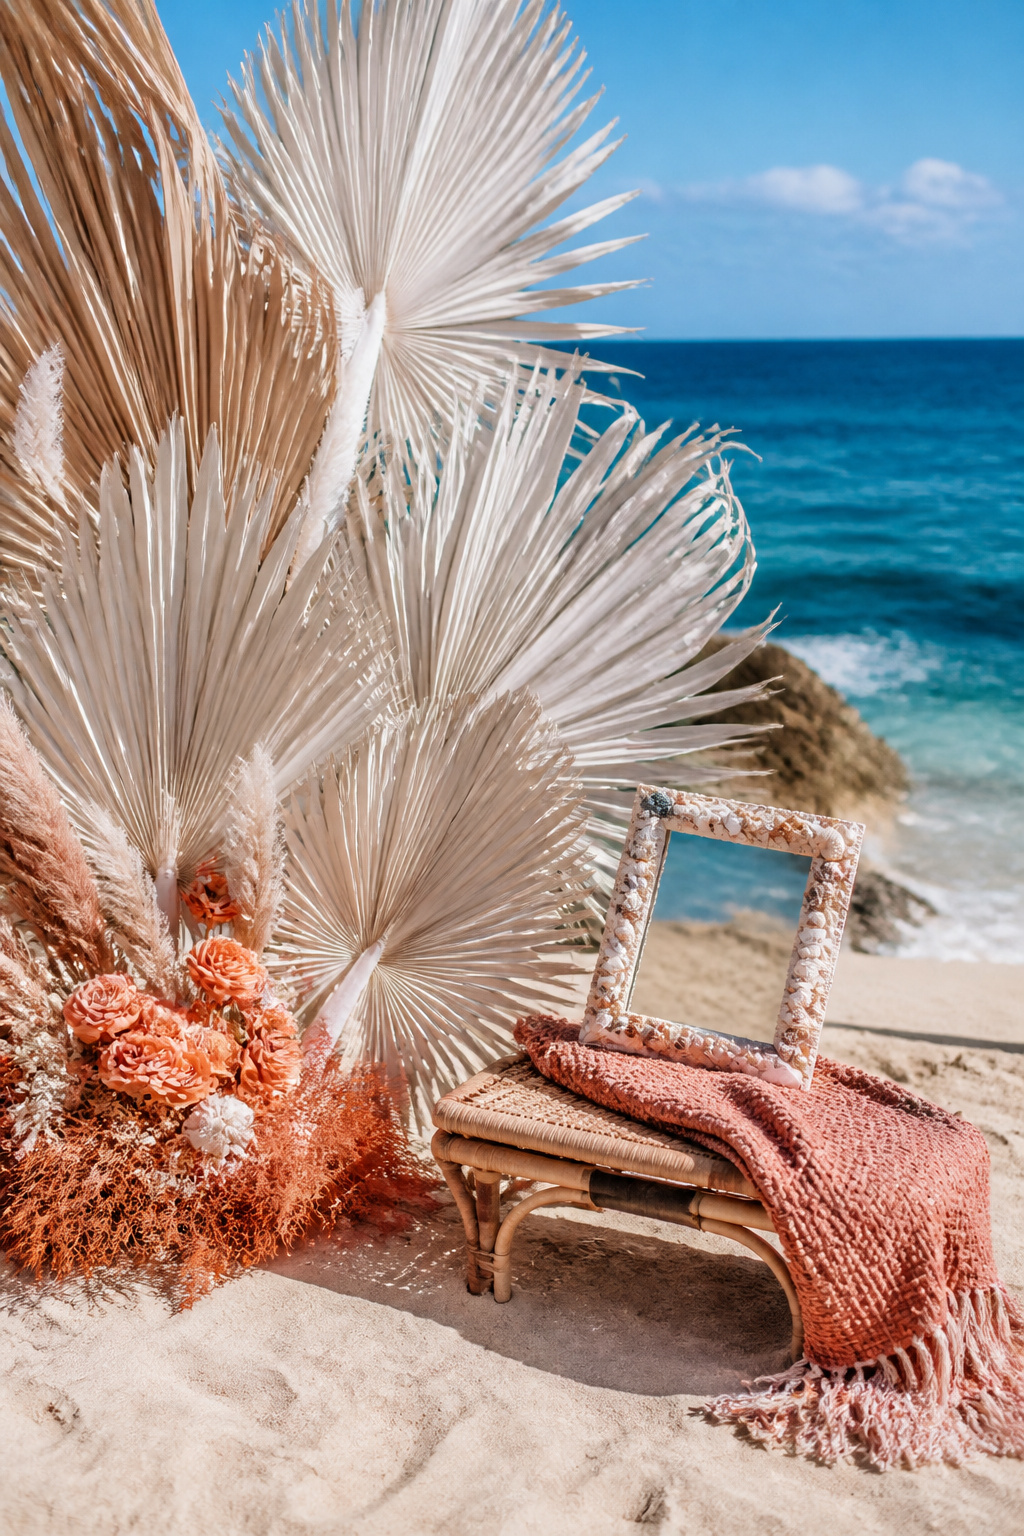
Half the guests used this exact nook for portraits. The bleached fans read editorial and survive heat better than fresh palms. I helped a cousin bleach fans in the garage for a weekend and saved on floral budget.
What You Need:
- Bleached palm fans, several sizes, 18 to 30 inches across
- Low rattan bench or vintage stool
- Woven throw in terracotta or sage
- Small shell or bleached coral accents
Setup:
- Cluster fans into a weighted base 90 minutes before guests start taking photos.
- Place bench slightly off-center to catch golden light, add a single throw for contrast.
- Avoid fresh palms if inland heat is extreme; they wilt visibly in under two hours.
4. Low Long Table With Gauze Draping
Style: Boho Coastal | Difficulty: Moderate DIY | Best For: Communal Dinners | Budget: Mid-range
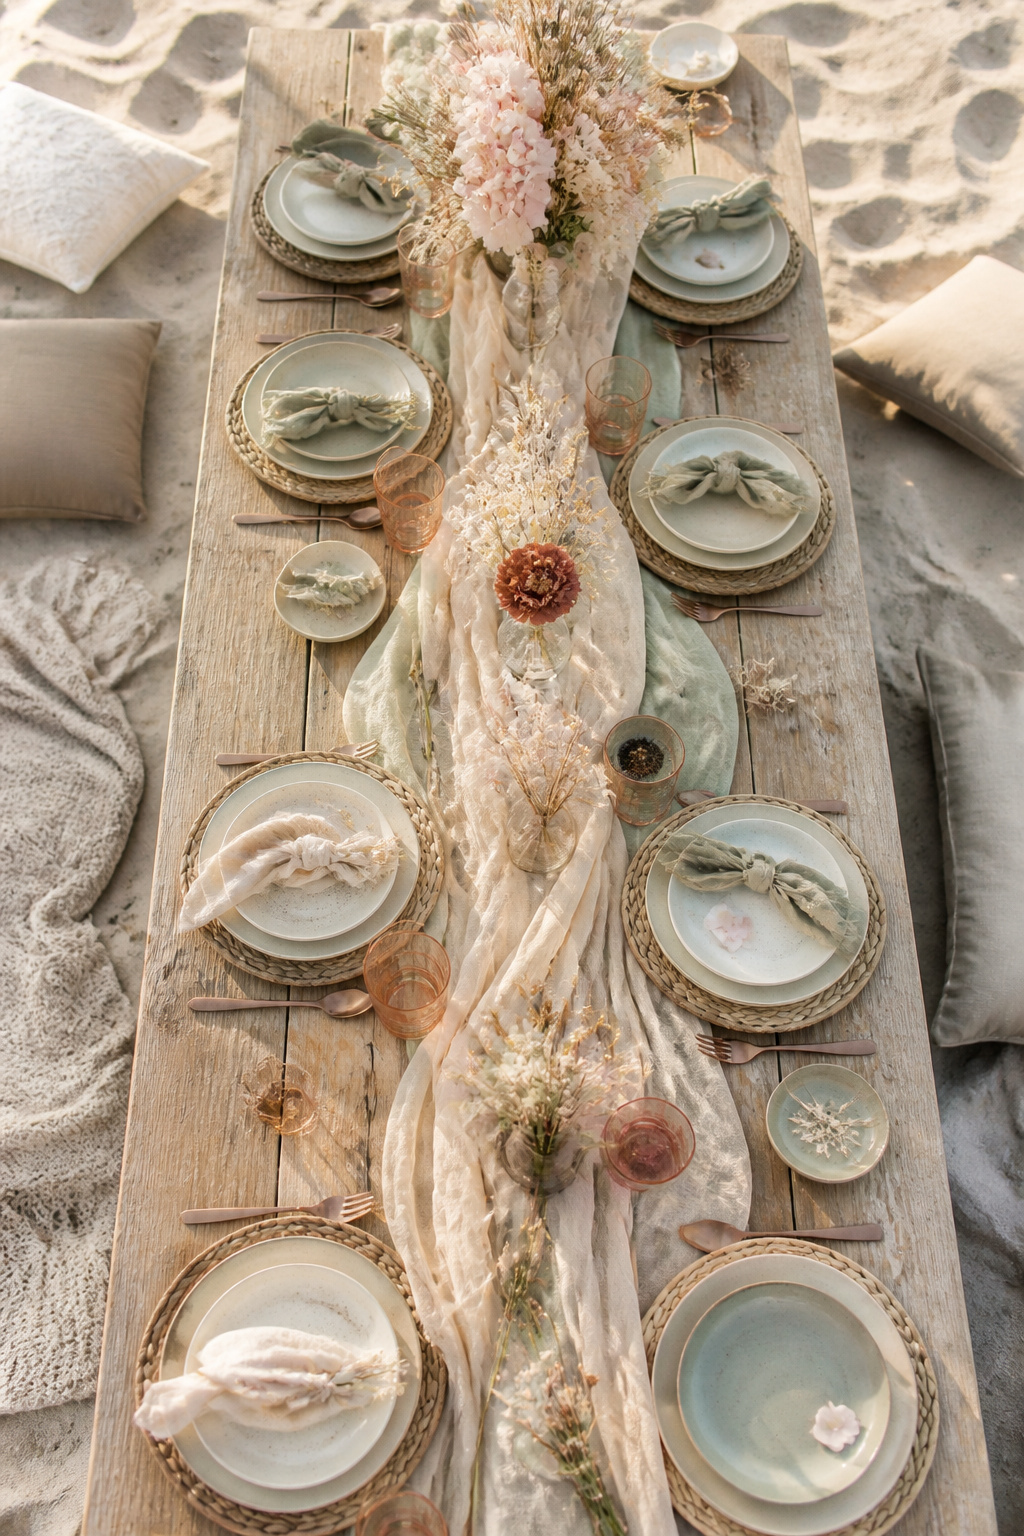
A low table makes everyone feel close, barefoot and laughing. I watched kids crawl between cushions while elders stretched their legs. It felt lived-in, not staged.
What You Need:
- Modular low wooden tables or one long reclaimed table
- Linen gauze runners, 2 to 3 yards per table length
- Floor cushions and poufs for seating, mixed textures
- Hand-thrown ceramic plates or rental earthy chargers
Setup:
- Lay tables at low tide to avoid tide creep, set cushions around each side 45 minutes before seating.
- Drape gauze loosely, let it catch the breeze for movement, secure corners with small stones under the tablecloth.
- Have a plan B on hard surfaces if sand becomes too unstable after rain.
5. Tiki Torch Aisle With Dried Petal Scatter
Style: Bold Saturated | Difficulty: Easy | Best For: Sunset Processional | Budget: Budget-Friendly
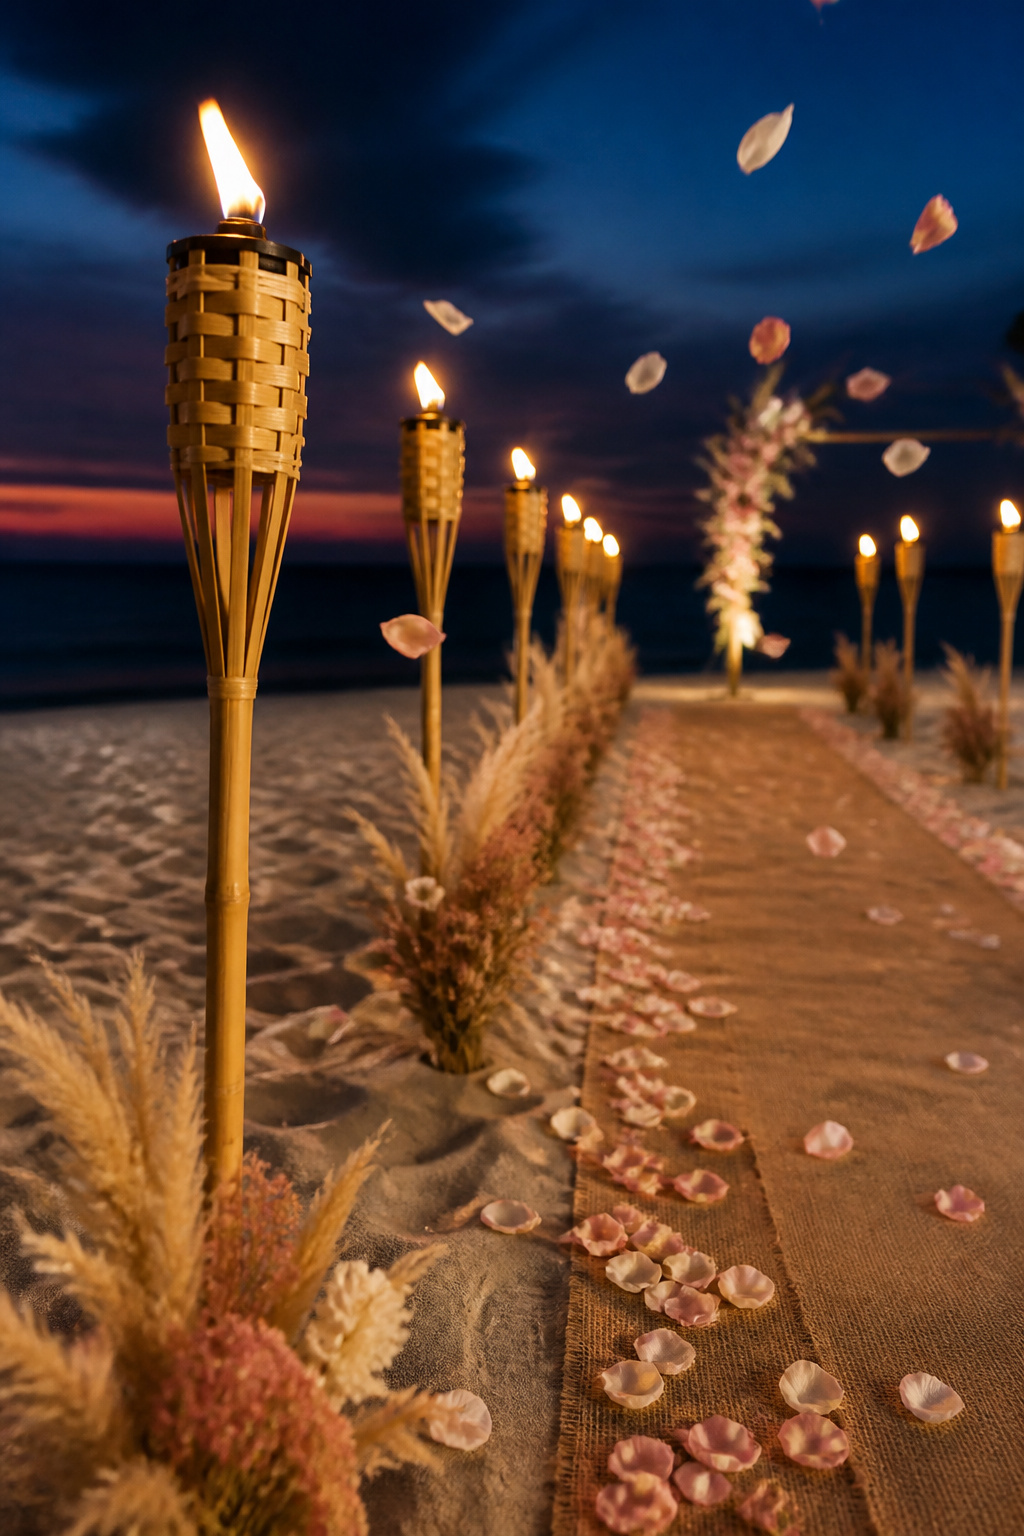
The torches gave the aisle cinematic warmth. I once saw a gust blow the petals into a drifting arc that everyone clapped at. Tiki torches read tropical but work for boho silhouettes.
What You Need:
- Bamboo tiki torches with fuel canisters, 12 to 20 units depending on aisle length
- Burlap or jute aisle runner, 3 to 4 ft wide
- Dried rose petals in blush and ivory, 1 to 2 lbs for scattering
- Sand stabilizers for torches
Setup:
- Install torches 90 minutes before sunset, fill and test wick flame safety.
- Lay aisle runner and scatter petals by hand for natural pattern, avoid heavy piles that blow.
- Keep a fire extinguisher and an attendant nearby; torches can tip in wind.
6. Macramé Canopy with Hanging Shells
Style: Boho Coastal | Difficulty: Advanced DIY | Best For: Intimate Receptions | Budget: Mid-range
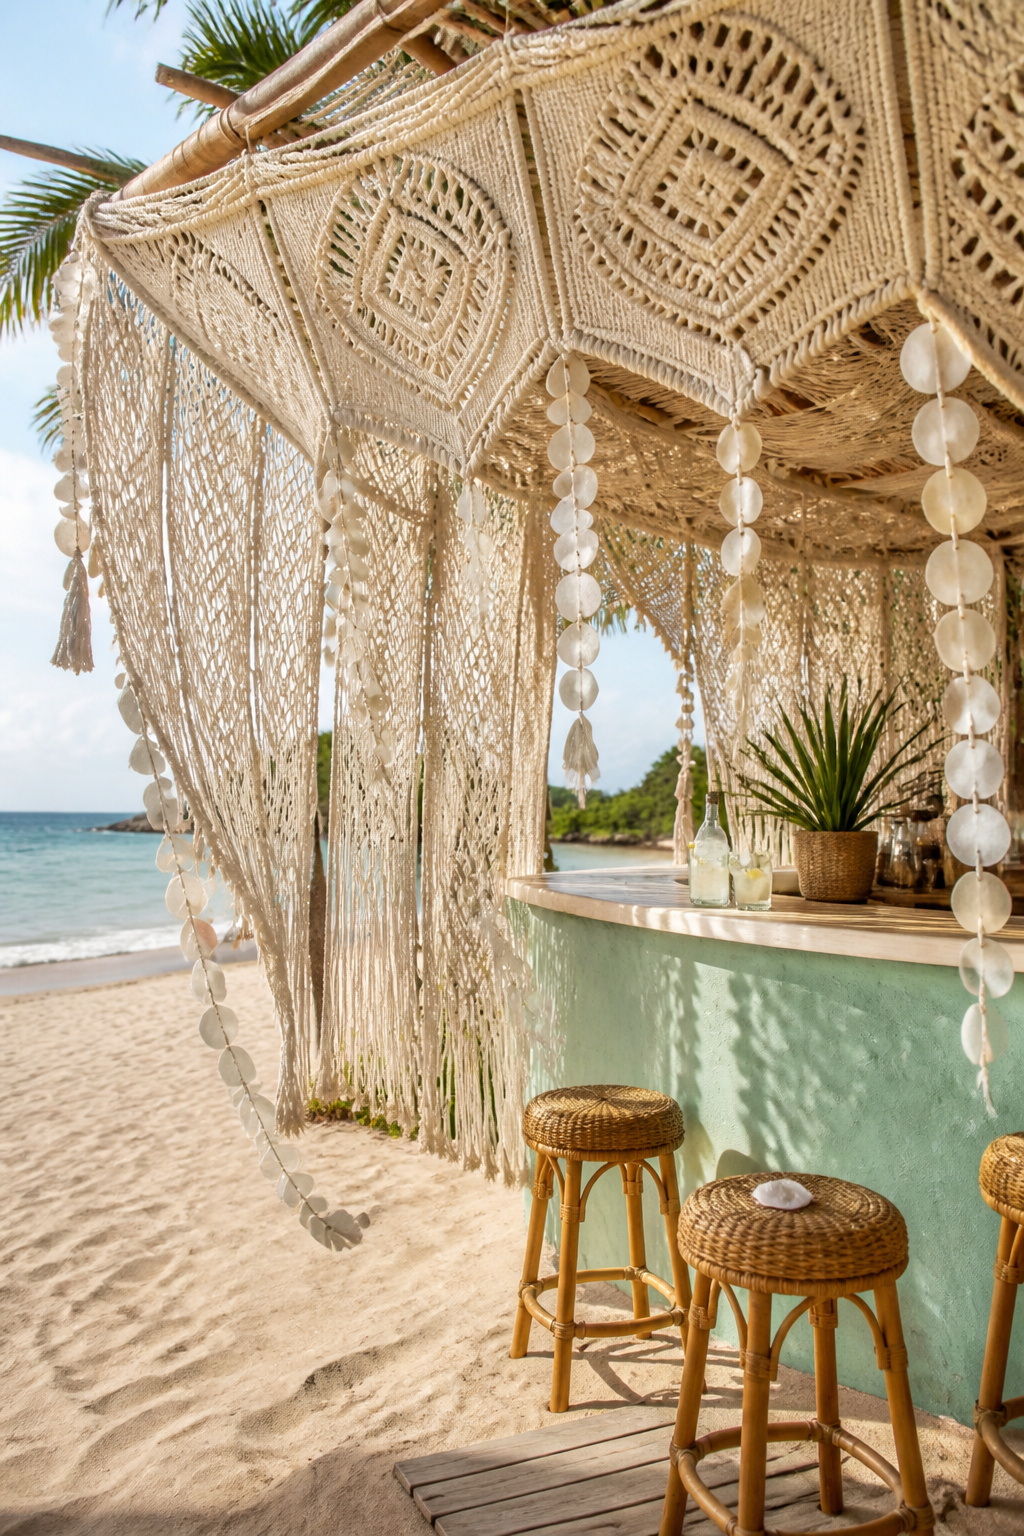
The macramé felt like a textile sky. I learned macramé panels need reinforcement by a pro when wind gusts hit 25 mph. At one wedding a panel tore and became the wedding gag.
What You Need:
- Hand-knotted macramé panels, custom width 6 to 8 ft
- Strand shell discs, mixed sizes, 4 to 6 strands
- Overhead support beam or rental crossbars, rated for outdoor use
- Reinforced anchors and marine-grade rope
Setup:
- Secure crossbars before guest arrival, attach macramé with multiple anchor points two hours ahead.
- Hang shell strands at staggered heights for movement, test for tangles.
- If wind forecast is above 20 mph, swap macramé for a lighter fabric or postpone hanging.
7. Lantern-Lined Lounge with Rattan Sofas
Style: Moody Cinematic | Difficulty: Easy Rental | Best For: Evening Mingling | Budget: Mid to High
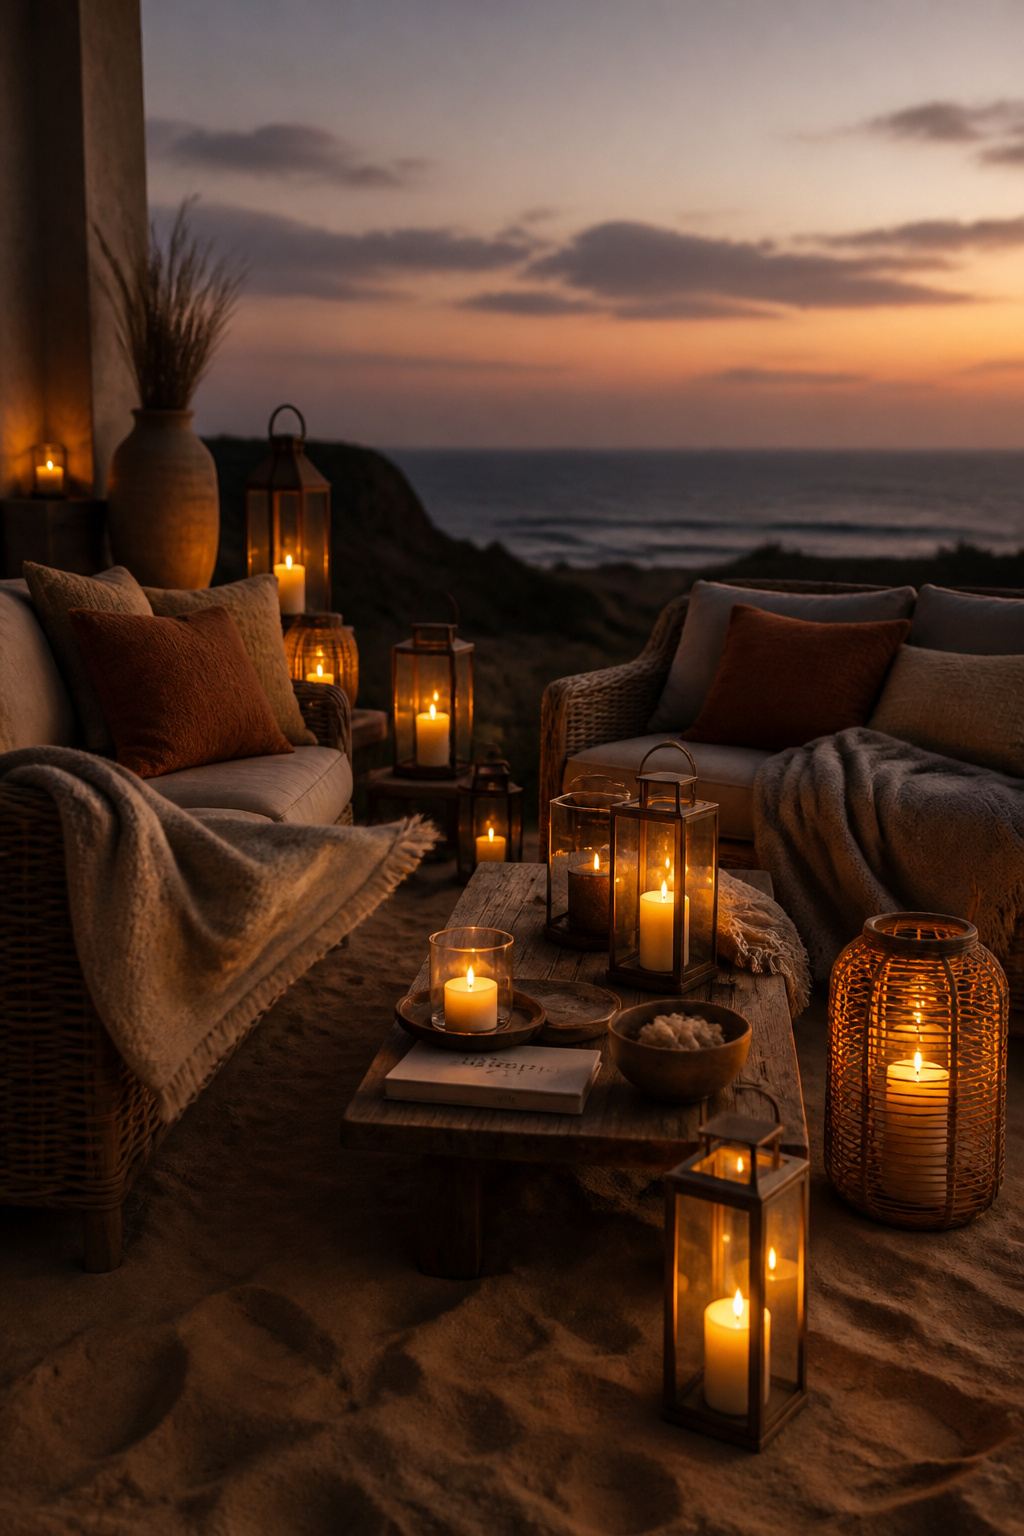
That lounge became the reception’s heartbeat. An aunt fell asleep there and photos made her the unofficial guest of honor. Rattan holds up well in coastal conditions if sealed.
What You Need:
- Rental rattan sofas and coffee tables, 1 to 3 groupings
- Mixed lanterns, battery or beeswax candles, assorted heights
- Throw blankets in terracotta and oat for cool evenings
- Weighted trays or low votive anchors
Setup:
- Arrange seating in small clusters an hour before cocktail hour, test lantern lighting.
- Use battery candle backups in case of wind or fire restrictions.
- Have upholstery treated for sand and salt; renters will often provide cleaning notes.
8. Seashell Place Settings on Clay Chargers
Style: Boho Coastal | Difficulty: Easy DIY | Best For: Tablescape Detail Shots | Budget: Budget to Mid
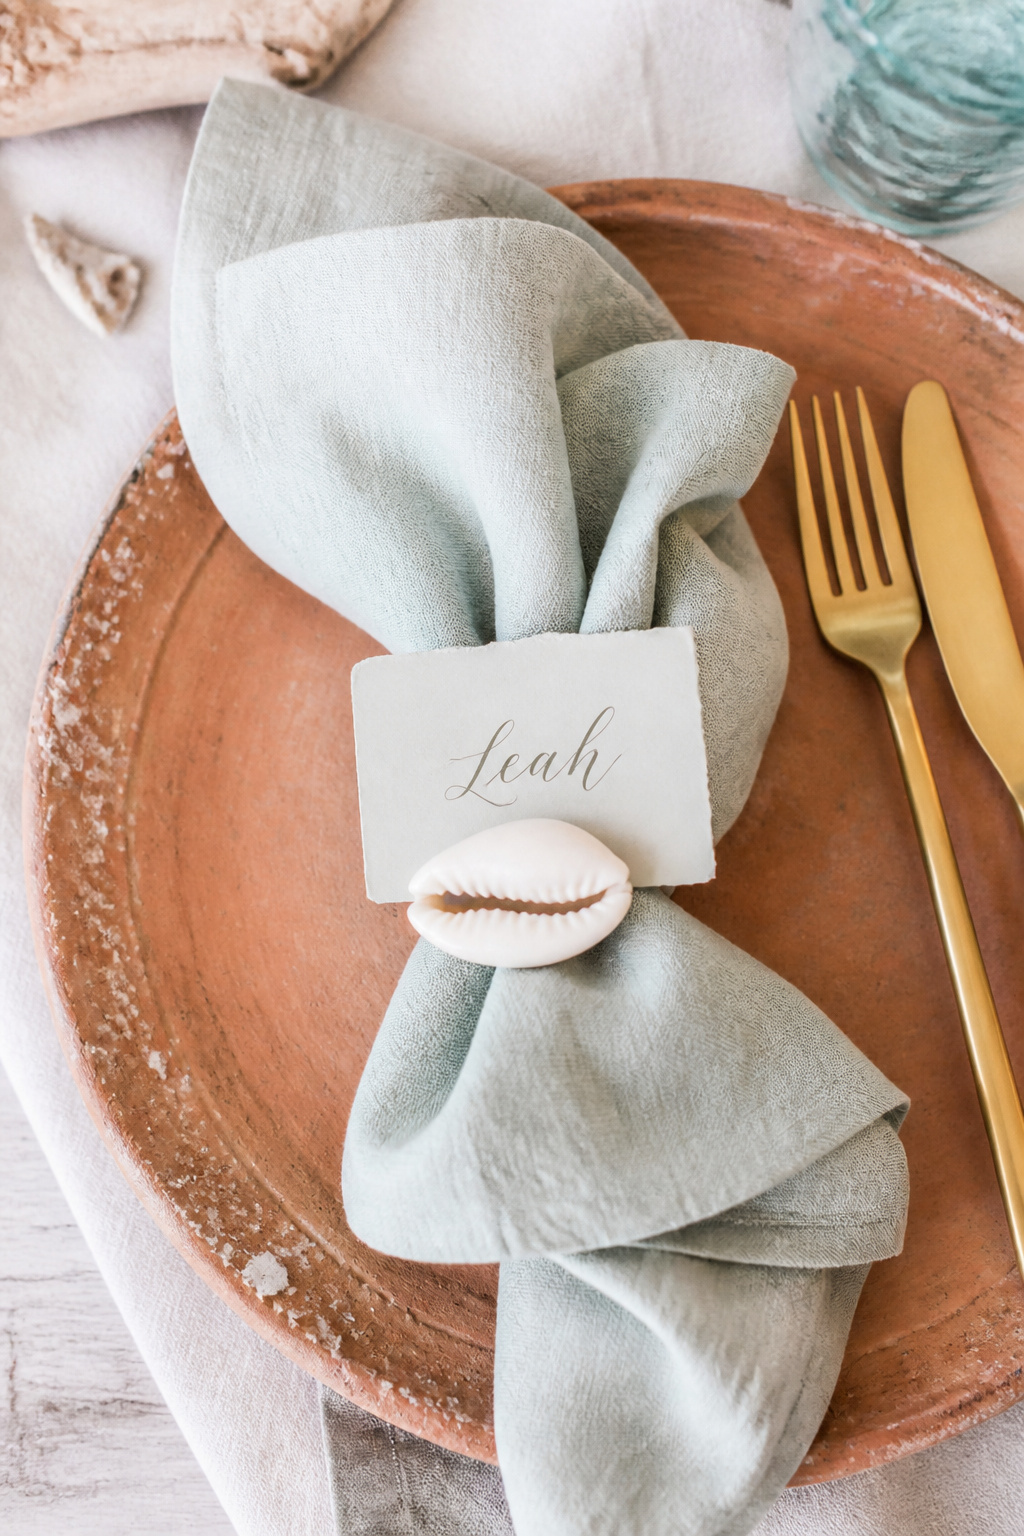
People photographed these place settings more than the cake. Small clay chargers feel artisanal and survive a seaside breeze better than tall centerpieces. I bought mine from an Etsy potter with a three-week lead time.
What You Need:
- Hand-thrown clay chargers, 11 to 13 inch diameter
- Natural linen napkins, muted palette, one per place
- Assorted small shells for place markers, 1 to 2 per setting
- Brushed gold or brass flatware
Setup:
- Place chargers and napkins 45 minutes before guests are seated, tuck shell with name card on top.
- Avoid glue on shells; use a small clip or tuck method so items don’t blow away.
- If wind picks up, move fragile details inside or under a tent.
9. Driftwood Bar with Ceramic Barware
Style: Boho Coastal | Difficulty: Moderate Rental | Best For: Cocktail Hour | Budget: Mid-range
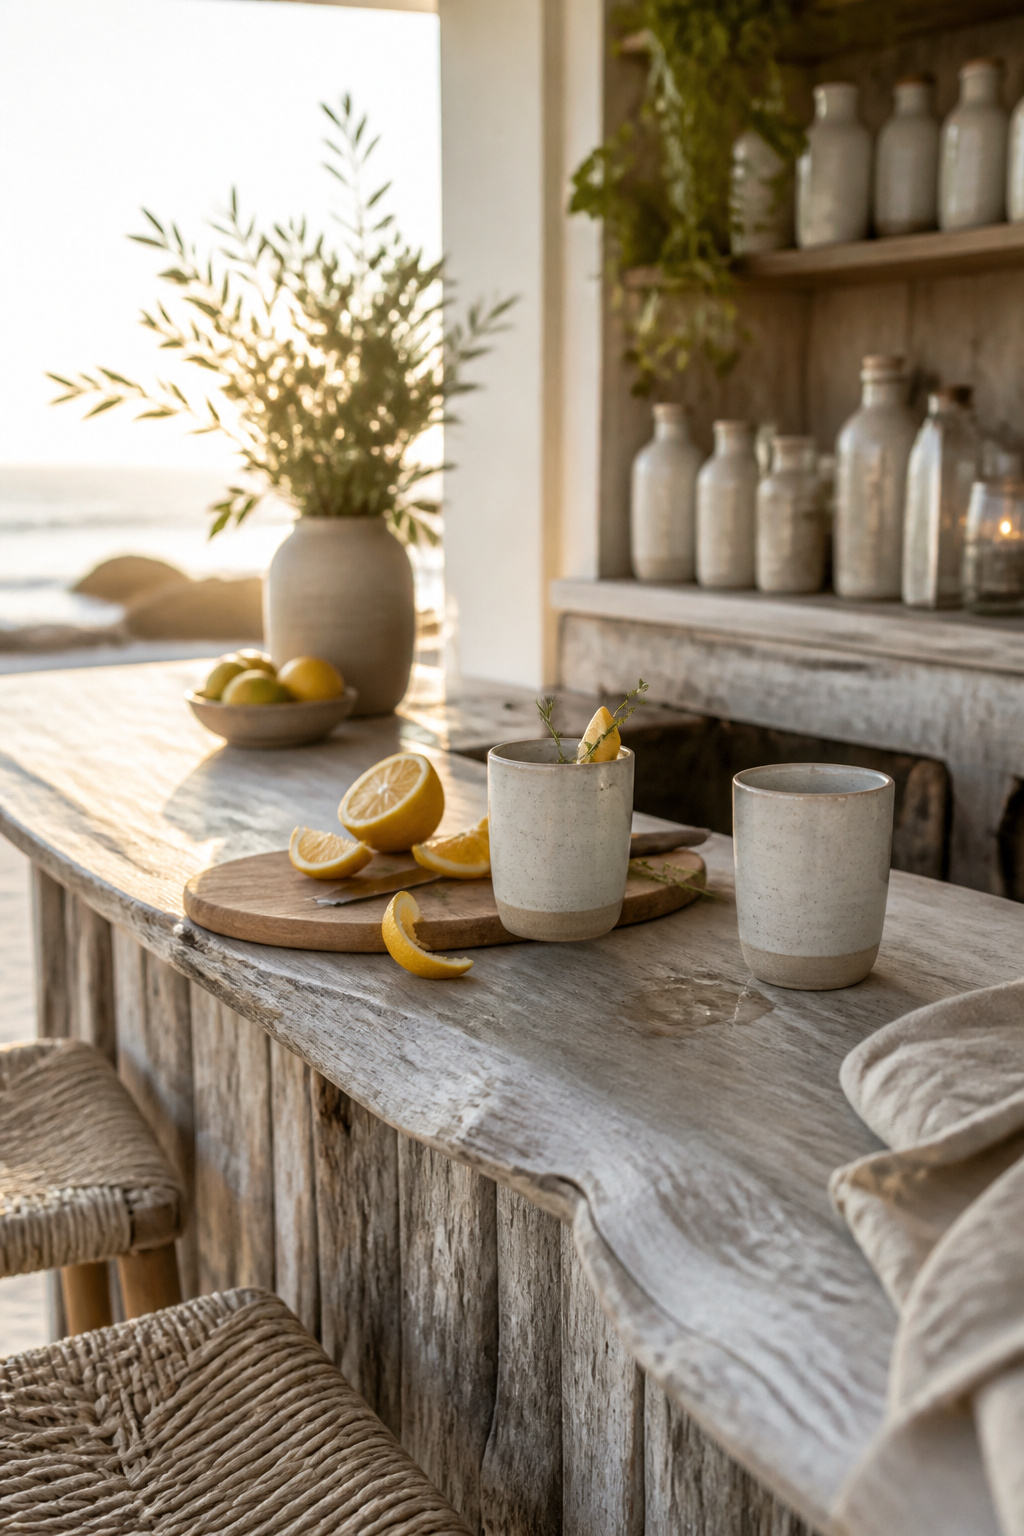
A driftwood bar photographed like a feature piece. I saw a local bartender rig a cooler below and serve without tracking sand into patrons’ shoes. Ceramic tumblers are charming and keep heat off hands.
What You Need:
- Reclaimed driftwood bar or rental bar shell, 6 to 8 ft long
- Hand-thrown ceramic tumblers and pitchers, 20 to 40 pieces
- Covered coolers or insulated ice wells hidden under bar
- Wooden boards for garnishes and display
Setup:
- Position the bar on compact sand for a stable base, test leveling two hours before open bar.
- Hide ice and coolers under the bar to keep service flowing and sand out.
- Use ceramic for photos but have plastic backups for high-traffic moments.
10. Coral and Shell Dessert Table
Style: Bold Saturated | Difficulty: Easy DIY | Best For: Cake & Dessert Display | Budget: Budget to Mid
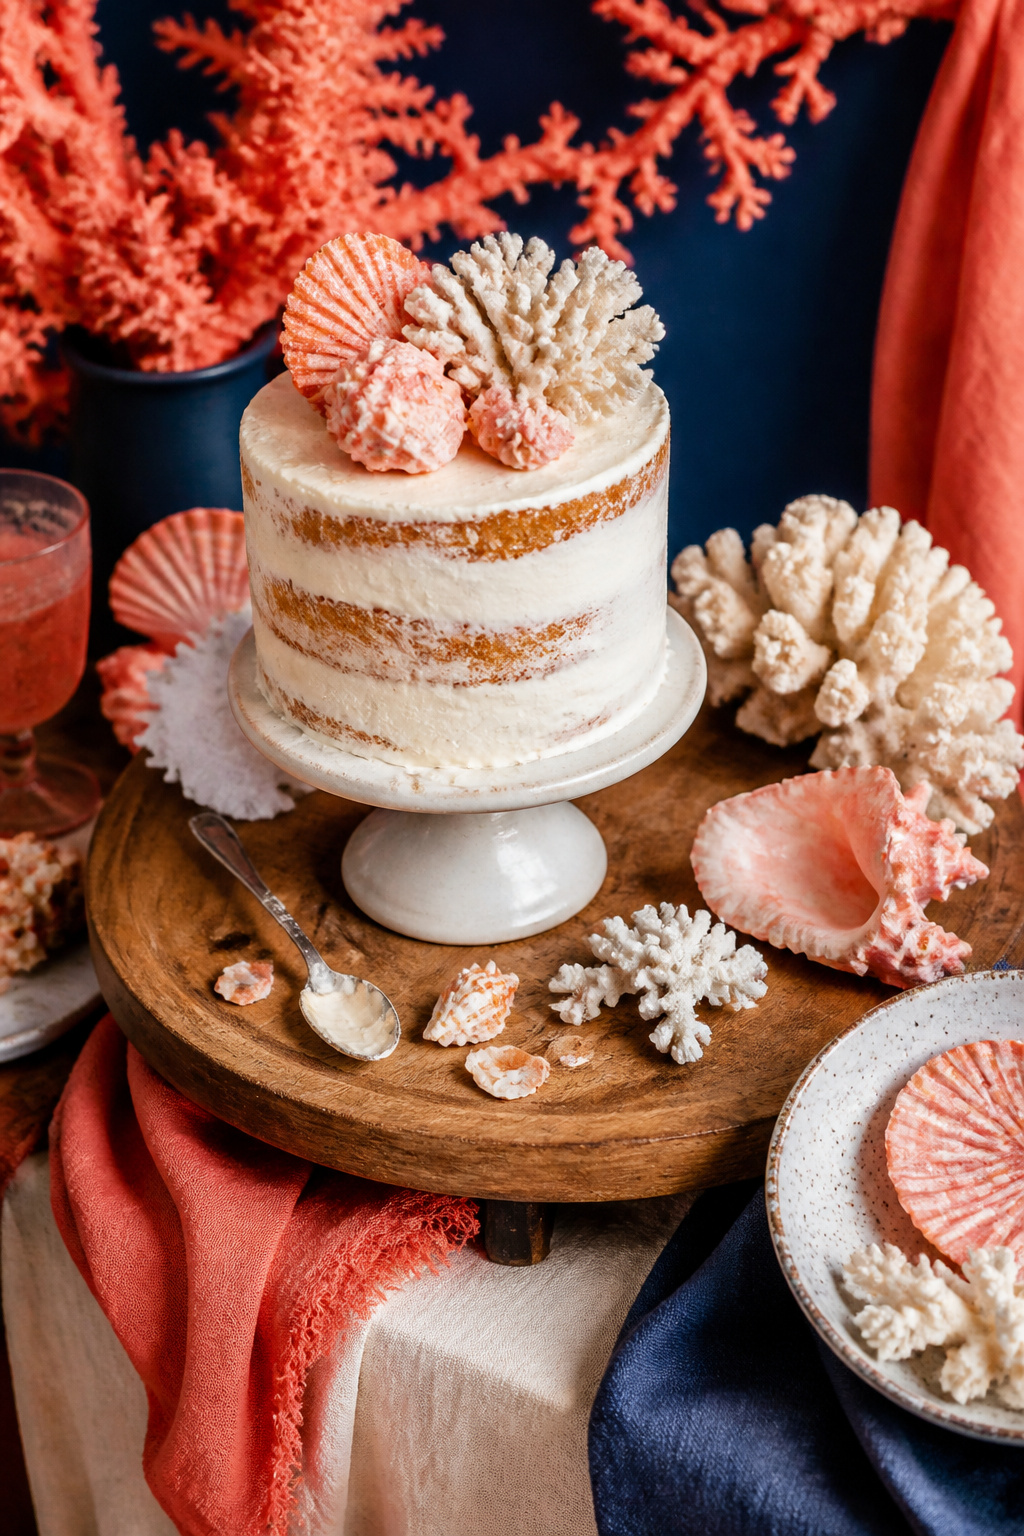
The couple set their cake near a coral cluster and guests kept circling back. I will warn you, real coral is fragile and often restricted, so sourcing preserved or ceramic alternatives is smarter.
What You Need:
- Small wooden dessert table, 3 to 4 ft wide
- Semi-naked cake or dessert tower on ceramic stand
- Preserved bleached coral fragments or ceramic coral replicas
- Small shell clusters and terracotta votives
Setup:
- Stage desserts 30 minutes before service in a shaded spot to avoid melting.
- Use preserved or ceramic coral; don’t collect live reef pieces.
- Station a server to manage plates and keep sand off desserts.
11. Linen Tent with Gauze Walls
Style: Bright and Airy | Difficulty: Rental Required | Best For: Rainy-Day Backup | Budget: Mid to High
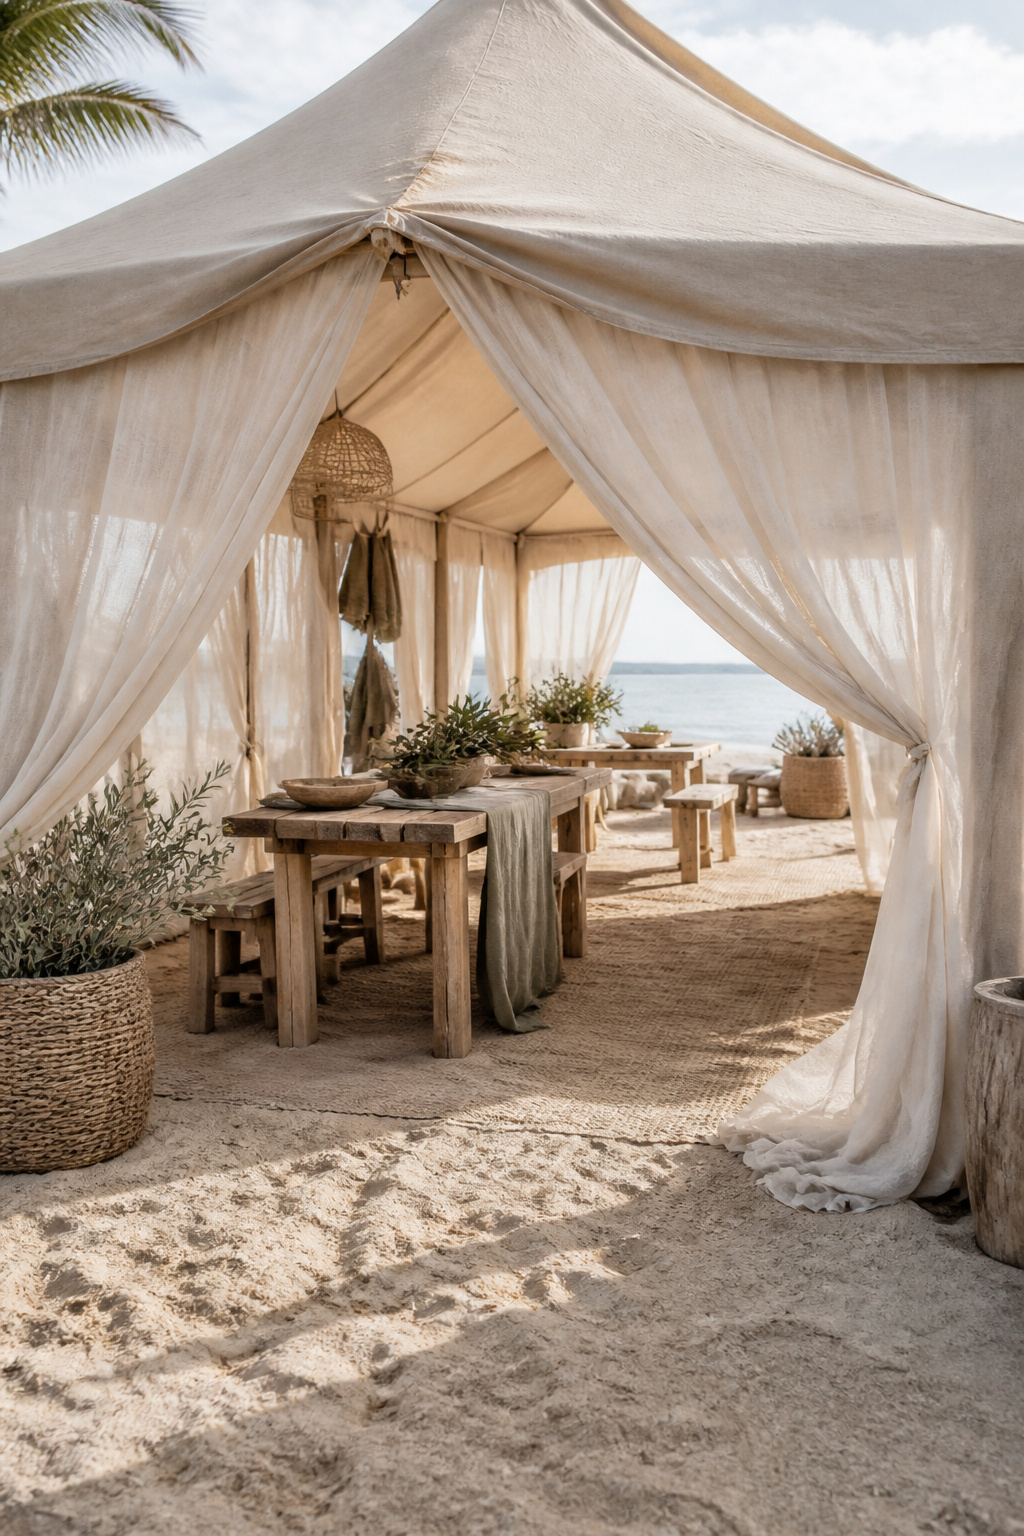
Nobody tells couples how often seaworthy tents save a day. A linen tent keeps the beach vibe intact while protecting guests from sudden squalls. I’ve re-routed entire receptions inside these without losing the coastal feel.
What You Need:
- Frame tent with linen draping and gauze walls, sized to guest count
- Portable flooring or raised wooden dance platform
- Side-wall options with zippers for quick closure
- Professional install team familiar with coastal permits
Setup:
- Book tent rental at least 6 to 8 weeks ahead for peak season.
- Install during low wind windows and secure with sand anchors or ballast.
- Keep gauze walls loose for airflow but zipped for rain or heavy wind.
12. Shell Chandelier Over Dessert Bar
Style: Boho Coastal | Difficulty: Advanced DIY | Best For: Photo Moment | Budget: Mid
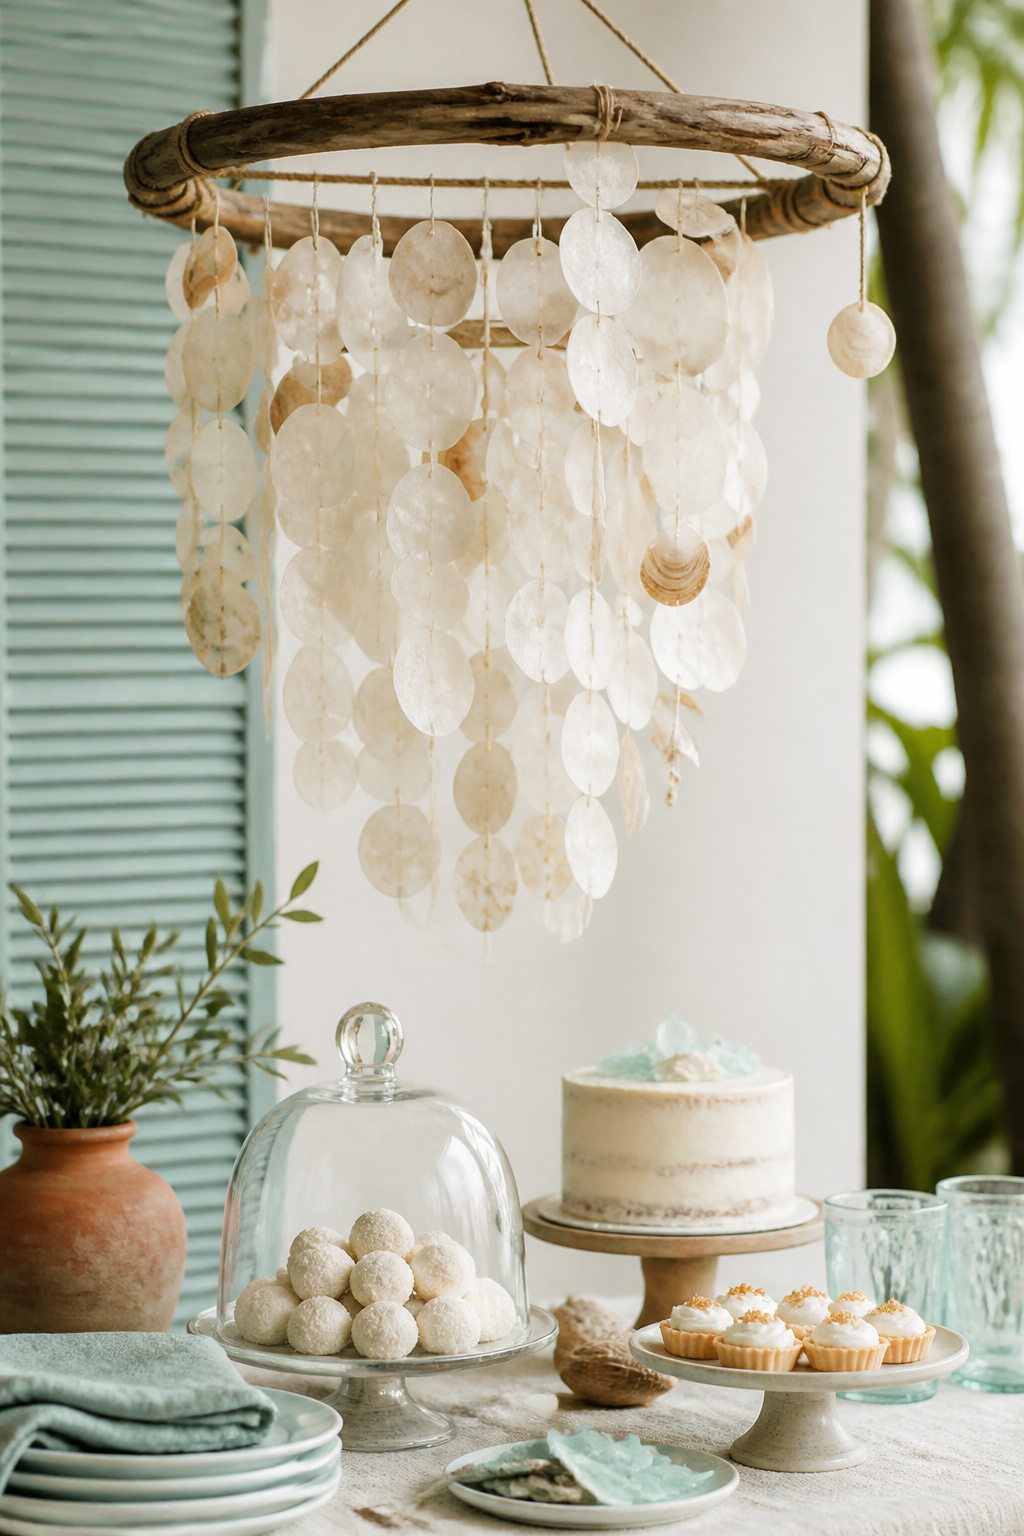
The shell chandelier caught motion the way a wind chime does. I once helped string dozens of discs and learned patience is required, and that humidity can make knots slip unless sealed.
What You Need:
- Driftwood hoop, 24 to 36 inches diameter
- Shell disc strands, pre-drilled, 20 to 30 strands
- Marine-grade fishing line and knot sealant
- Small platform for dessert display beneath
Setup:
- Assemble and hang chandelier 90 minutes before event, secure with multiple anchor points.
- Seal knots with knot glue to prevent slippage in humid air.
- Hire a pro if you can; this piece looks high-end but is finicky under coastal conditions.
13. Bamboo Pergola With Draped Chiffon
Style: Boho Tropical | Difficulty: Moderate | Best For: Cocktail Shade | Budget: Mid-range
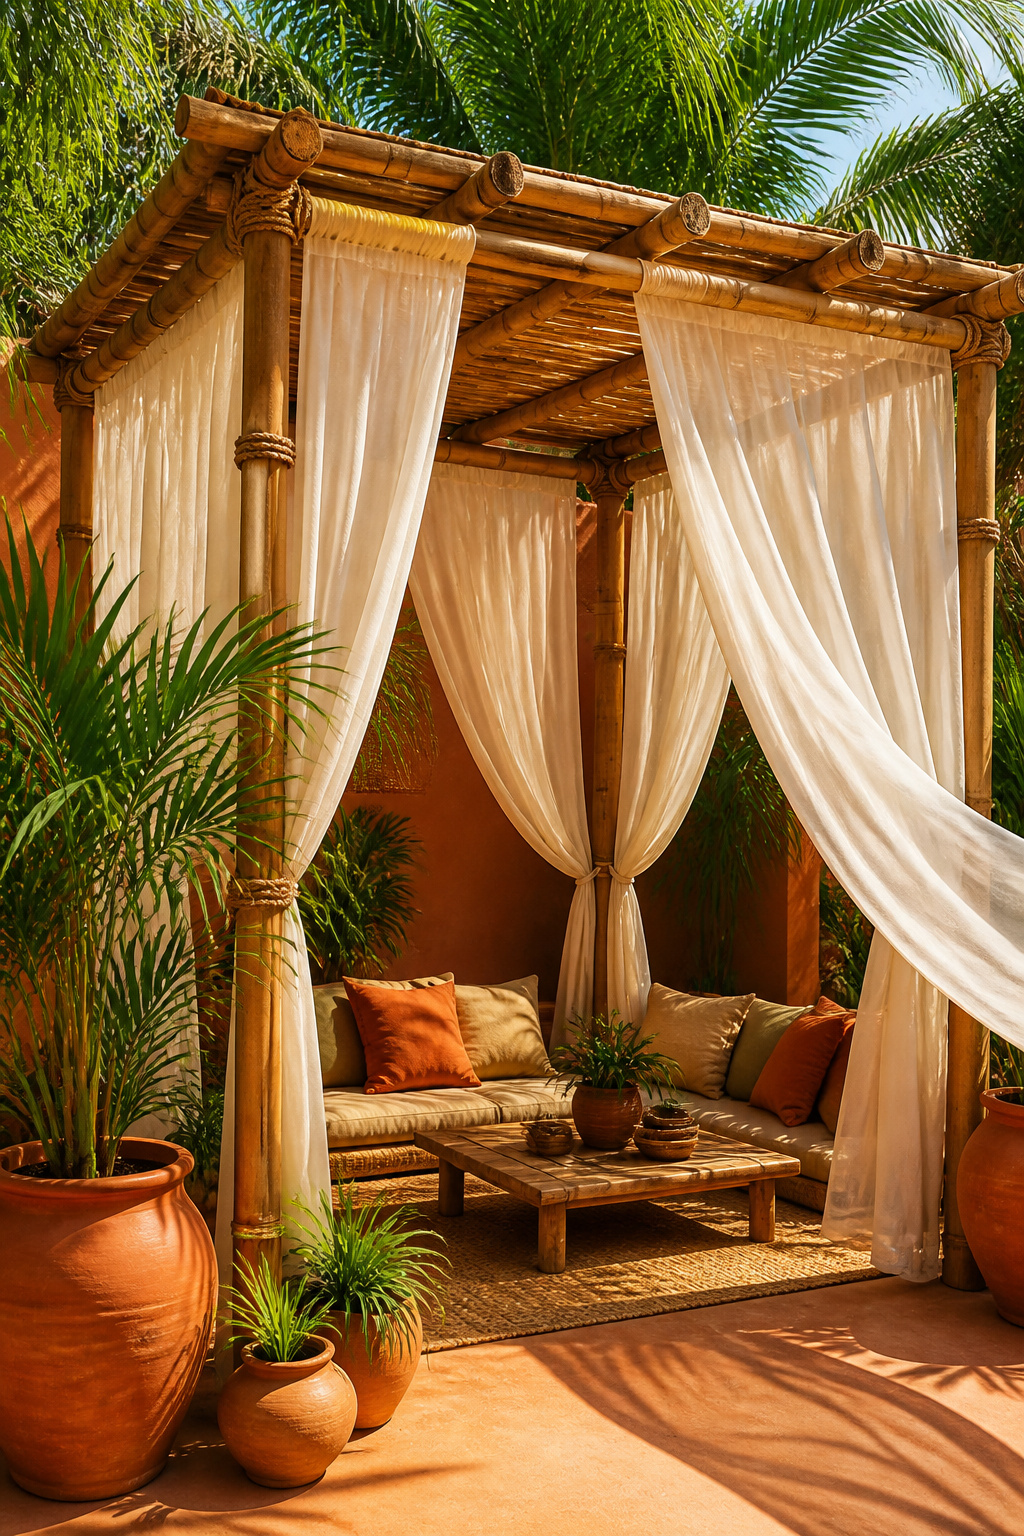
A beach pergola became our cocktail hub, shaded and cooling. The trick I learned is to weight the bottom of chiffon panels so they do not tangle in the breeze.
What You Need:
- Bamboo pergola, 8 to 10 ft square, rental or built on site
- Chiffon panels in soft neutrals, 2 to 3 per side
- Potted palms and terracotta planters for grounding
- Weighted chain or small stones to anchor drapes
Setup:
- Erect pergola four hours ahead to allow for stabilization.
- Drape chiffon and attach small weights at hem to prevent wild tangling.
- If wind exceeds 18 mph, pull panels aside and use permanent shade alternatives.
14. Champagne Coupe Toast Station
Style: Moody Cinematic | Difficulty: Easy | Best For: Sunset Toasts | Budget: Budget to Mid
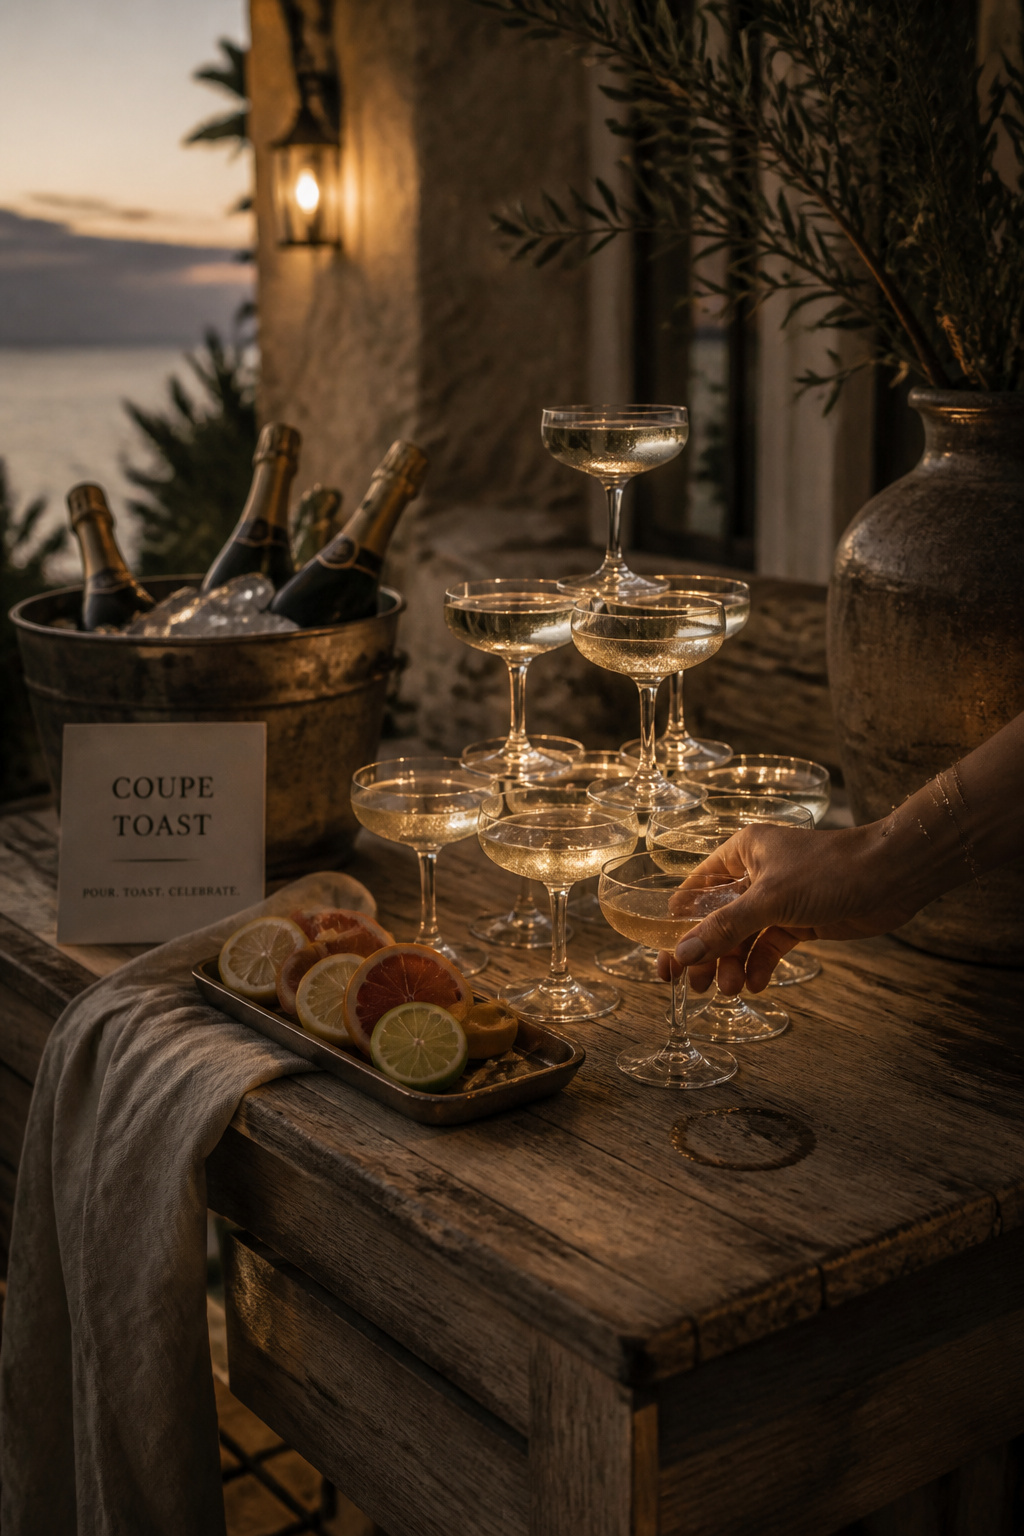
Coupe toasts are a moment that always gets photographed. A small station keeps lines short and the ceremony moving. I learned to chill extra bottles off-site to avoid icy messes on sandy counters.
What You Need:
- Small driftwood or wooden side table, 2 to 3 ft wide
- Champagne coupes, 24 to 40 depending on guest count
- Insulated bucket for bottles and citrus garnish tray
- Linen napkins for sticky fingers
Setup:
- Stage station near reception entrance 30 minutes before toast time.
- Keep backup bottles chilled in a cooler away from sand.
- Use a server to hand out coupes if wind threatens to tip glasses.
15. Low Fire Pit Lounge With Blankets
Style: Moody Cinematic | Difficulty: Moderate | Best For: Late-Night Mingling | Budget: Mid
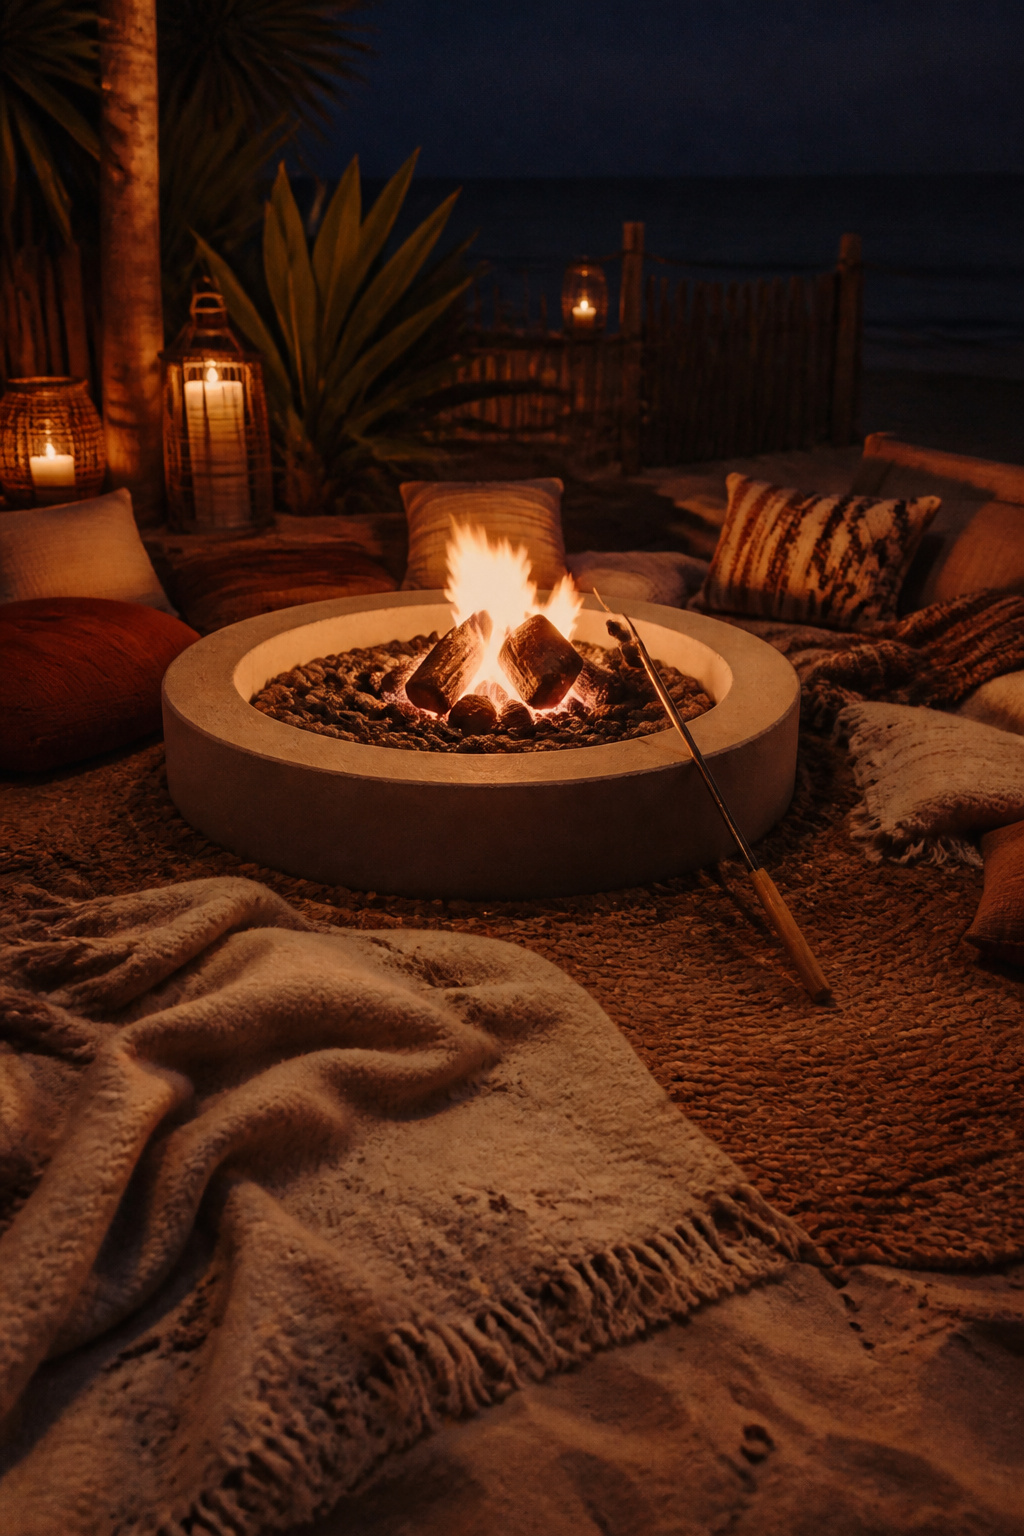
Late-night conversations around a pit feel like a ceremony unto itself. One wedding I attended shifted dessert to marshmallow toasts and suddenly everyone stayed two hours longer. Fire safety matters; I have a story about a pit that smoked out a table.
What You Need:
- Low portable fire pit rated for beach use, with wind guard
- Wool or thick cotton blankets, 8 to 16 depending on size
- Rugs or woven mats to define the circle
- Fire extinguisher and metal bucket with sand or water
Setup:
- Place pit on compacted sand and surround with rug buffer 30 minutes before lighting.
- Light after sunset with a designated attendant, keep flames modest.
- Extinguish fully and bury embers in sand or douse per local rules.
16. Driftwood Escort Board With Shell Tags
Style: Boho Coastal | Difficulty: Easy DIY | Best For: Seating Organization | Budget: Budget-Friendly
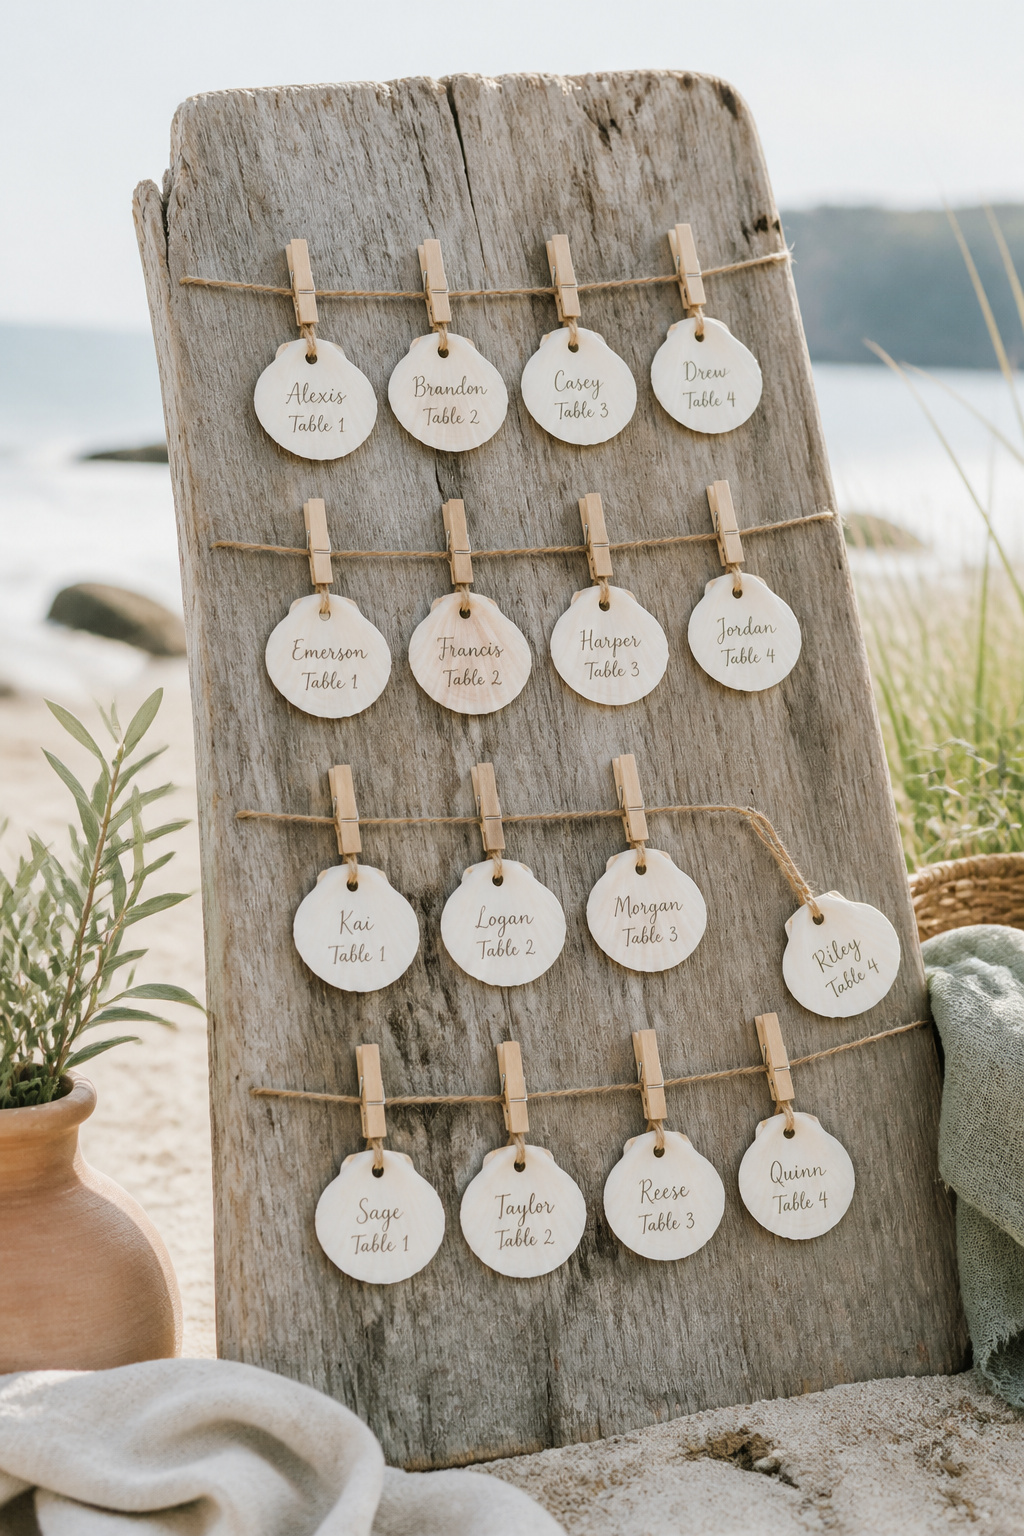
Guests loved finding their names tied to shells. I once watched a grandma read the tags aloud like a treasure map. Shell tags are tactile and survive a salty breeze better than paper alone.
What You Need:
- Weathered driftwood plank, 3 to 4 ft wide
- Shell tags drilled with holes, 1 per guest
- Jute string and small wooden clips
- Chalkboard or simple signage for instructions
Setup:
- Drill and prepare shell tags days ahead, tie with jute and label with permanent marker.
- Lean board in a shaded spot 30 minutes before arrival and rest on sand anchors.
- Remind guests with a small sign to take their tag as a favor.
17. Dried Pampas Centerpiece Sculptures
Style: Boho Coastal | Difficulty: Easy to Moderate | Best For: Tablescape Drama | Budget: Mid
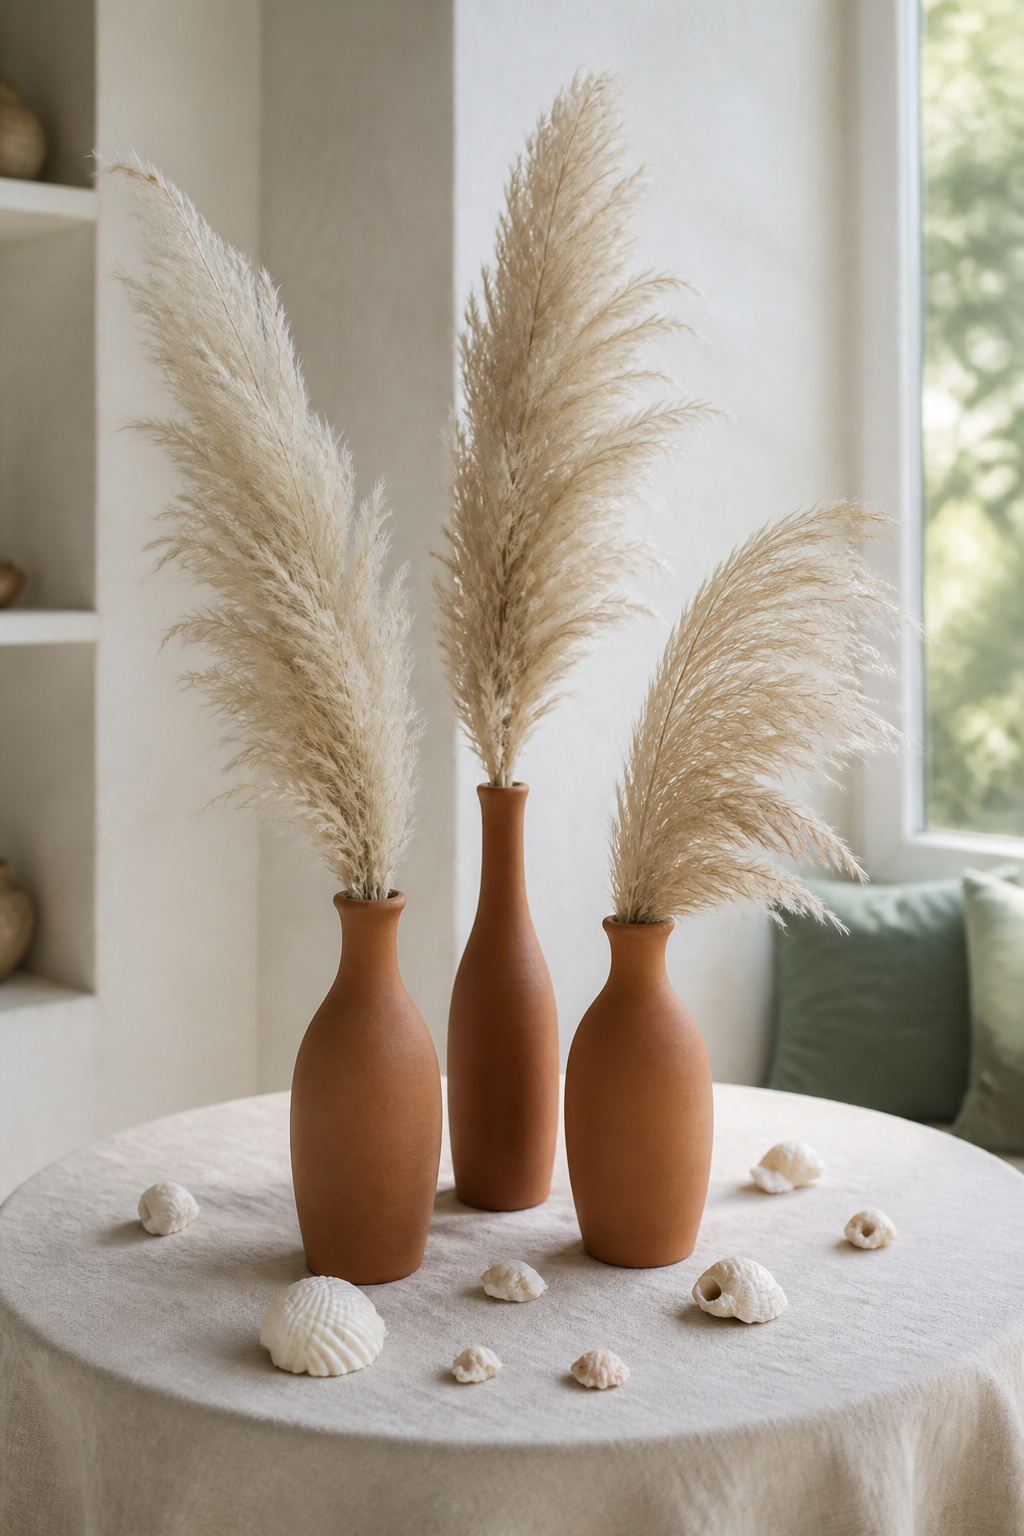
Pampas dominates for a reason, but I will admit it sheds. At one reception I found more plume fluff on guest laps than on the table. Use smaller sculptures for windy sites.
What You Need:
- Dried pampas stems, 2 to 6 per vase depending on height
- Tall terracotta or earthenware vases, 12 to 18 inches tall
- Linen tablecloths or runners in neutral tones
- Small shell confetti or ceramic accents
Setup:
- Arrange stems into vases two hours before guests to minimize shedding during transport.
- Fluff gently and trim lower stems so vases sit stable on sand.
- For blustery days, use low-profile centerpieces instead.
18. Lightweight Folding Ghost Chairs
Style: Bright and Airy | Difficulty: Rental | Best For: Ceremony Seating | Budget: Mid
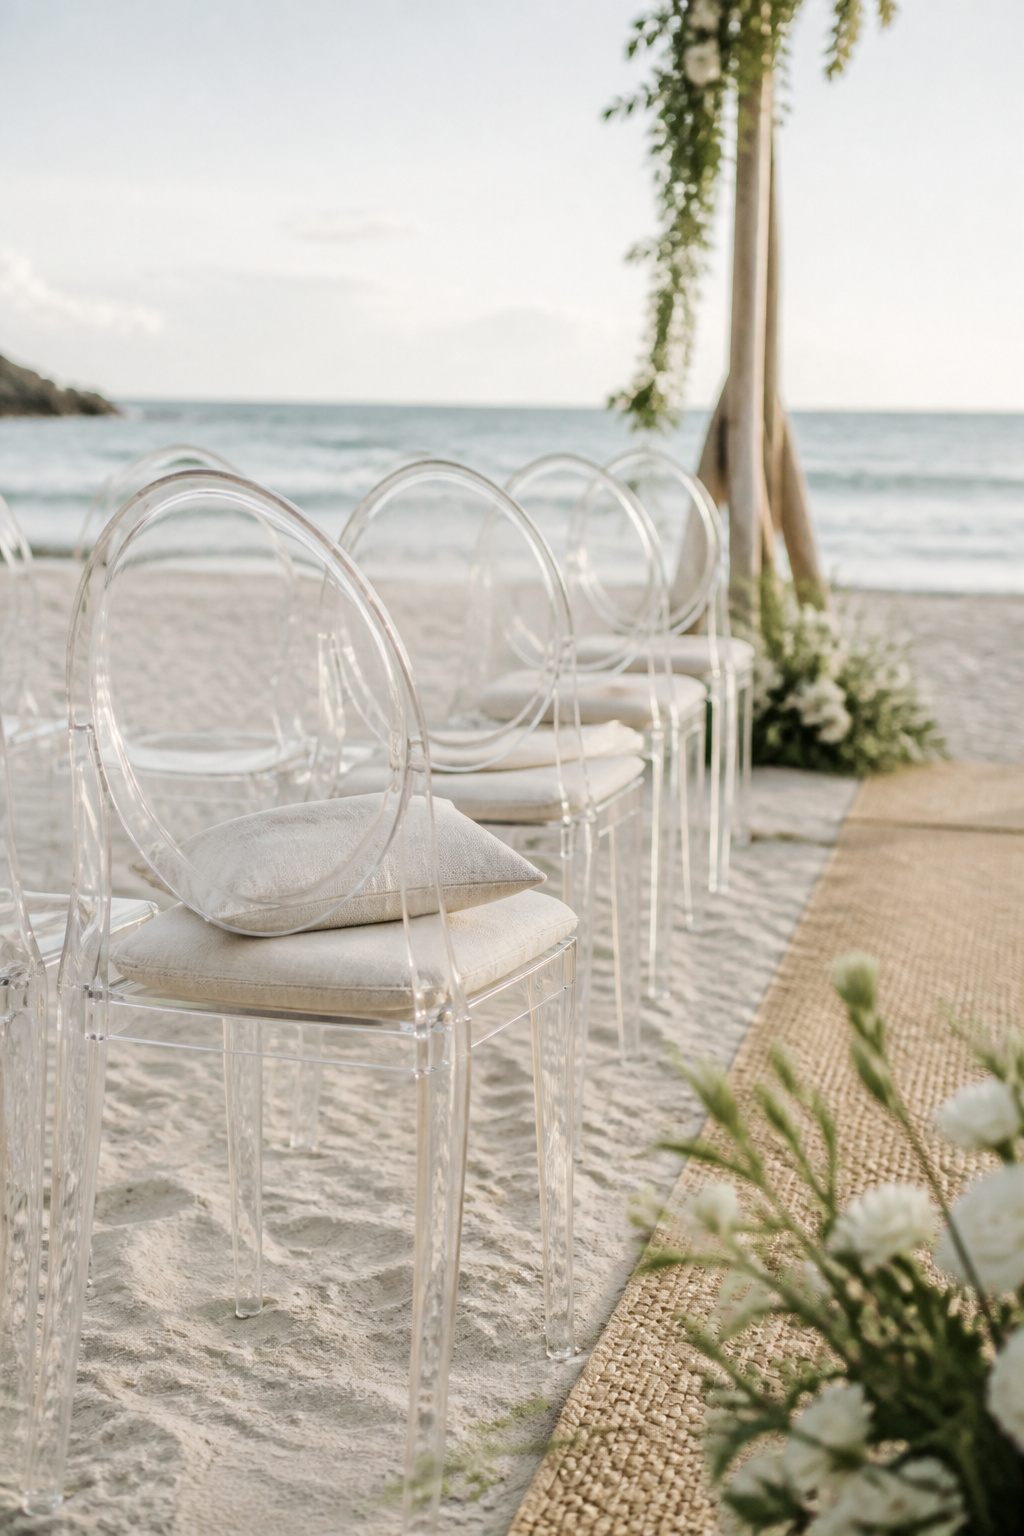
Clear chairs frame the view without blocking it. I’ve seen them vanish in photos in the nicest way. They are surprisingly stable on compacted sand but need platforms on soft beaches.
What You Need:
- Clear folding ghost chairs or acrylic cross-back chairs, 40 to 100 units as needed
- Linen seat cushions for comfort
- Chair risers or temporary matting for soft sand sites
- Transport crates or padded covers
Setup:
- Place chairs an hour before ceremony, level with small wooden shims if needed.
- Use risers on very soft sand or during tide windows to avoid sinking.
- Assign a crew to wipe sand off seats before guests sit.
19. Surfboard Guestbook Display
Style: Boho Coastal | Difficulty: Easy DIY | Best For: Casual Guest Messages | Budget: Budget-Friendly
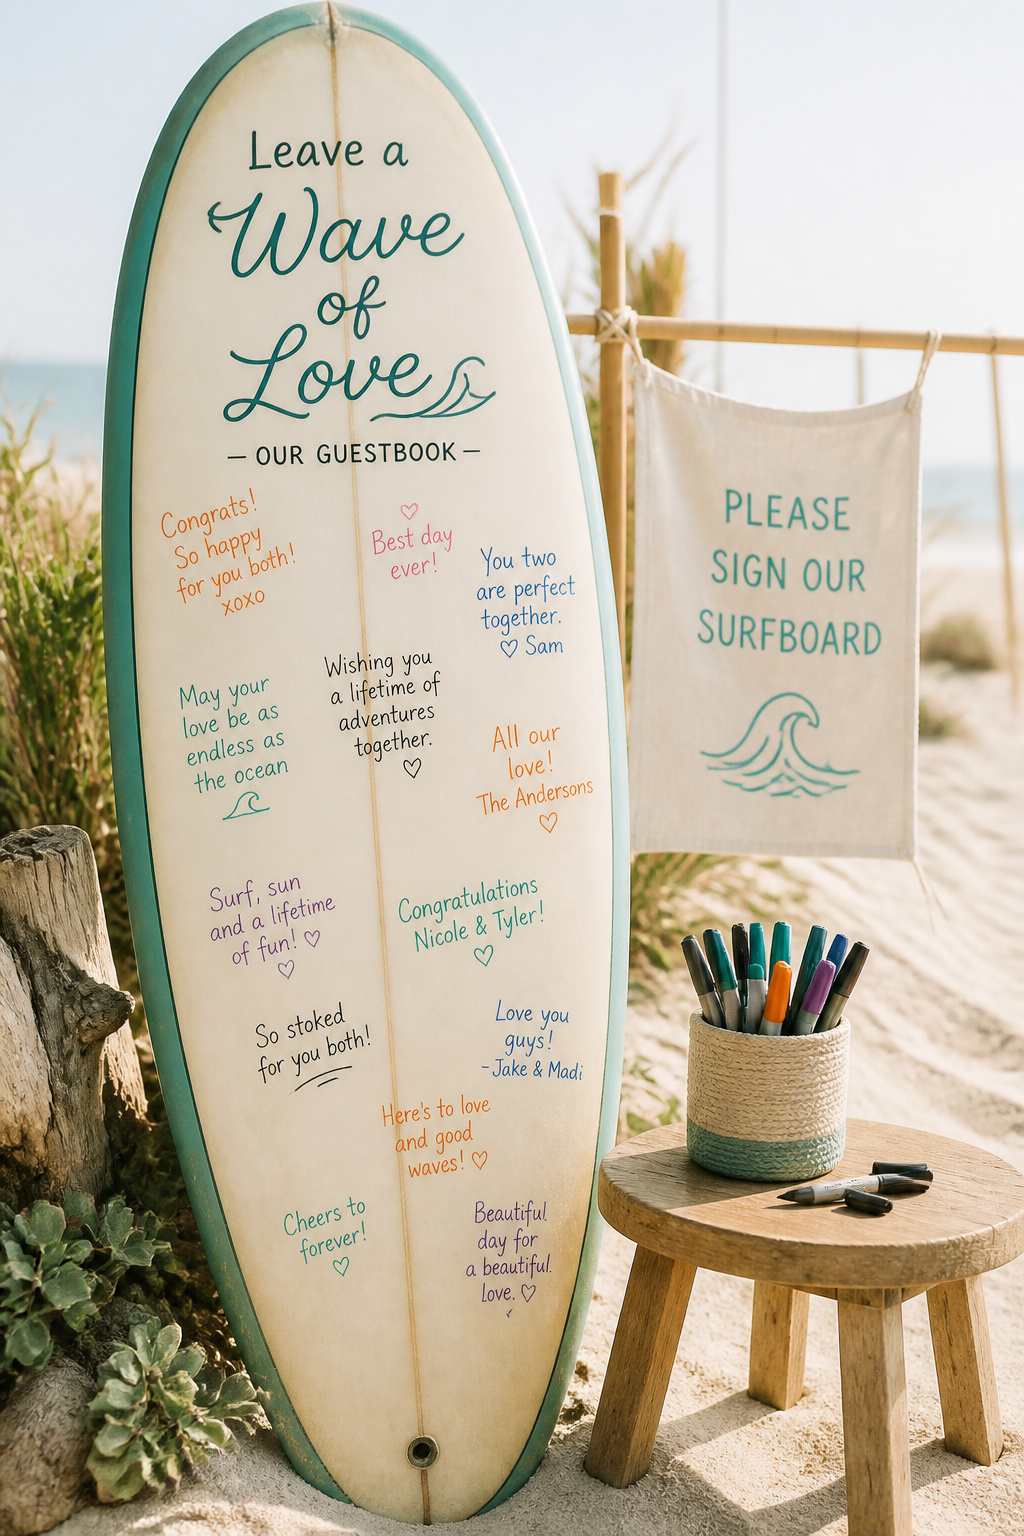
A signed surfboard became a wall piece for the couple. One guest drew a tiny wave and it made the couple laugh for years. Use a clear sealer afterward to lock in signatures.
What You Need:
- Vintage or new surfboard, 6 to 8 ft length
- Permanent markers in assorted colors
- Small step stool and easel or sand anchor for display
- Clear varnish or sealer for aftercare
Setup:
- Prop board in a shaded area and display markers in a small cup 30 minutes before guest arrival.
- Ask guests to sign one at a time to avoid smudges, provide sample signature.
- Seal signatures within 48 hours to prevent fading or smearing.
20. Woven Seagrass Charger Tablescape
Style: Bright and Airy | Difficulty: Easy | Best For: Formal Sit-Down Dinner | Budget: Mid
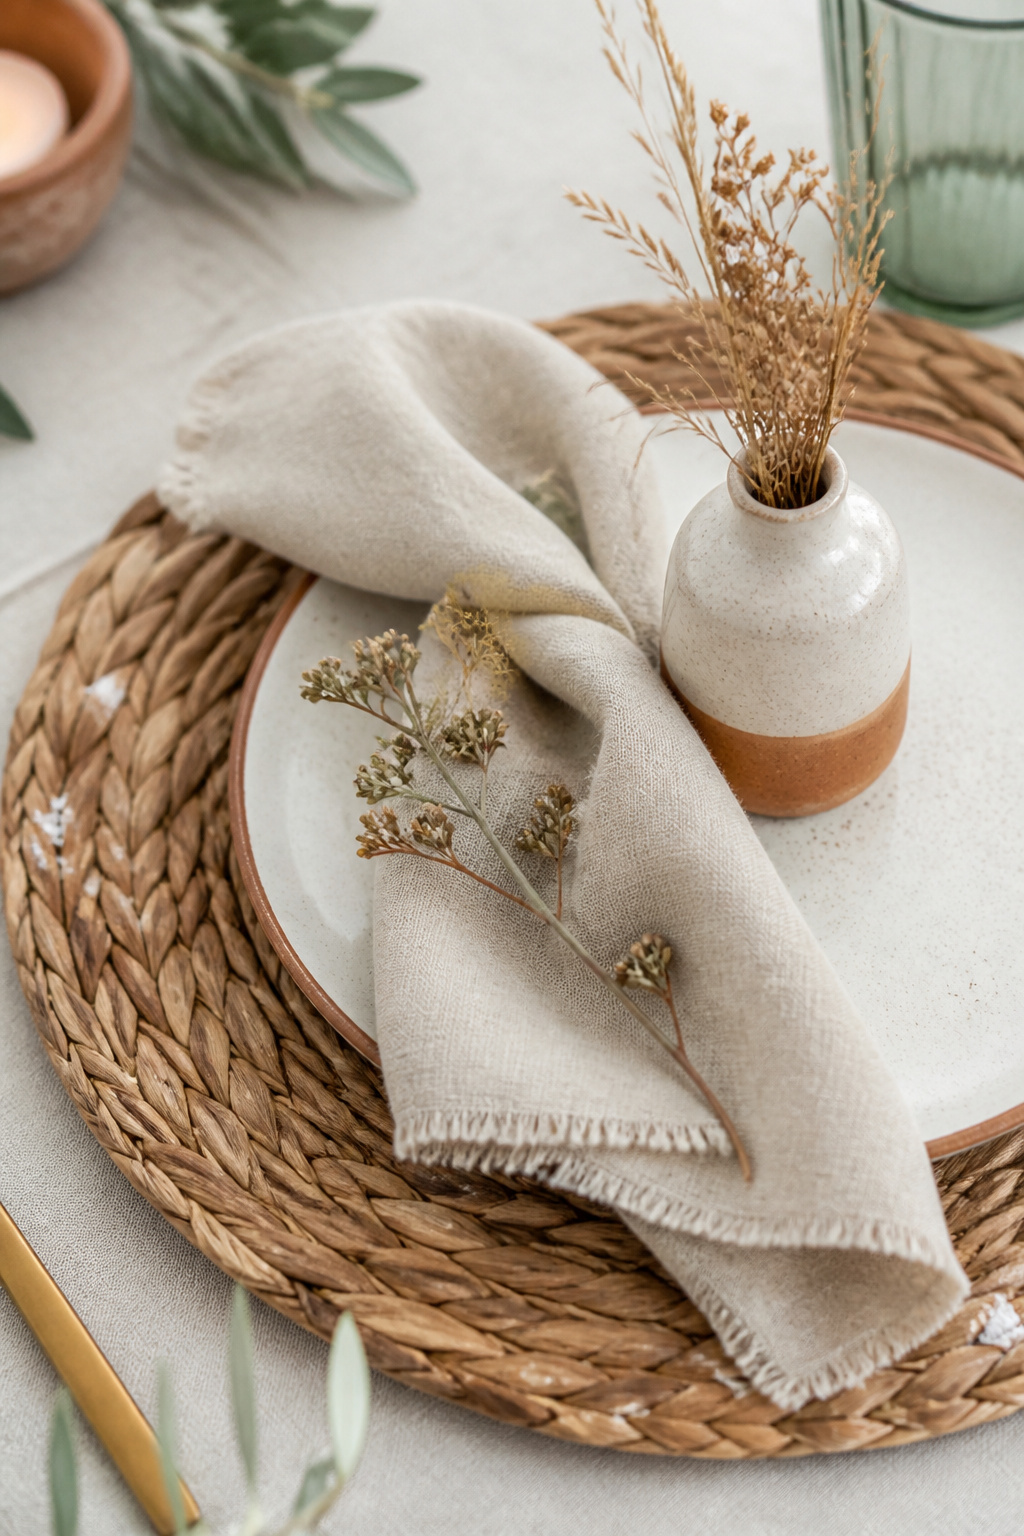
The seagrass chargers read coastal without being kitschy. I once swapped heavy glass chargers for seagrass and saved on shipping and breakage. They photograph well even in shifting light.
What You Need:
- Woven seagrass chargers, 11 to 13 inch diameter
- Neutral linen napkins and hand-tied twine or ribbon
- Small ceramic bud vases with preserved sprigs
- Flatware and glassware with warm-toned metal accents
Setup:
- Lay chargers and napkins 30 to 45 minutes before seating to avoid foot traffic.
- Tuck sprig into napkin fold rather than glueing it down.
- Have replacement chargers in case of damp sand discoloration.
21. Paper Lanterns Floating Over Waterline
Style: Moody Cinematic | Difficulty: Moderate | Best For: Evening Glow | Budget: Budget to Mid
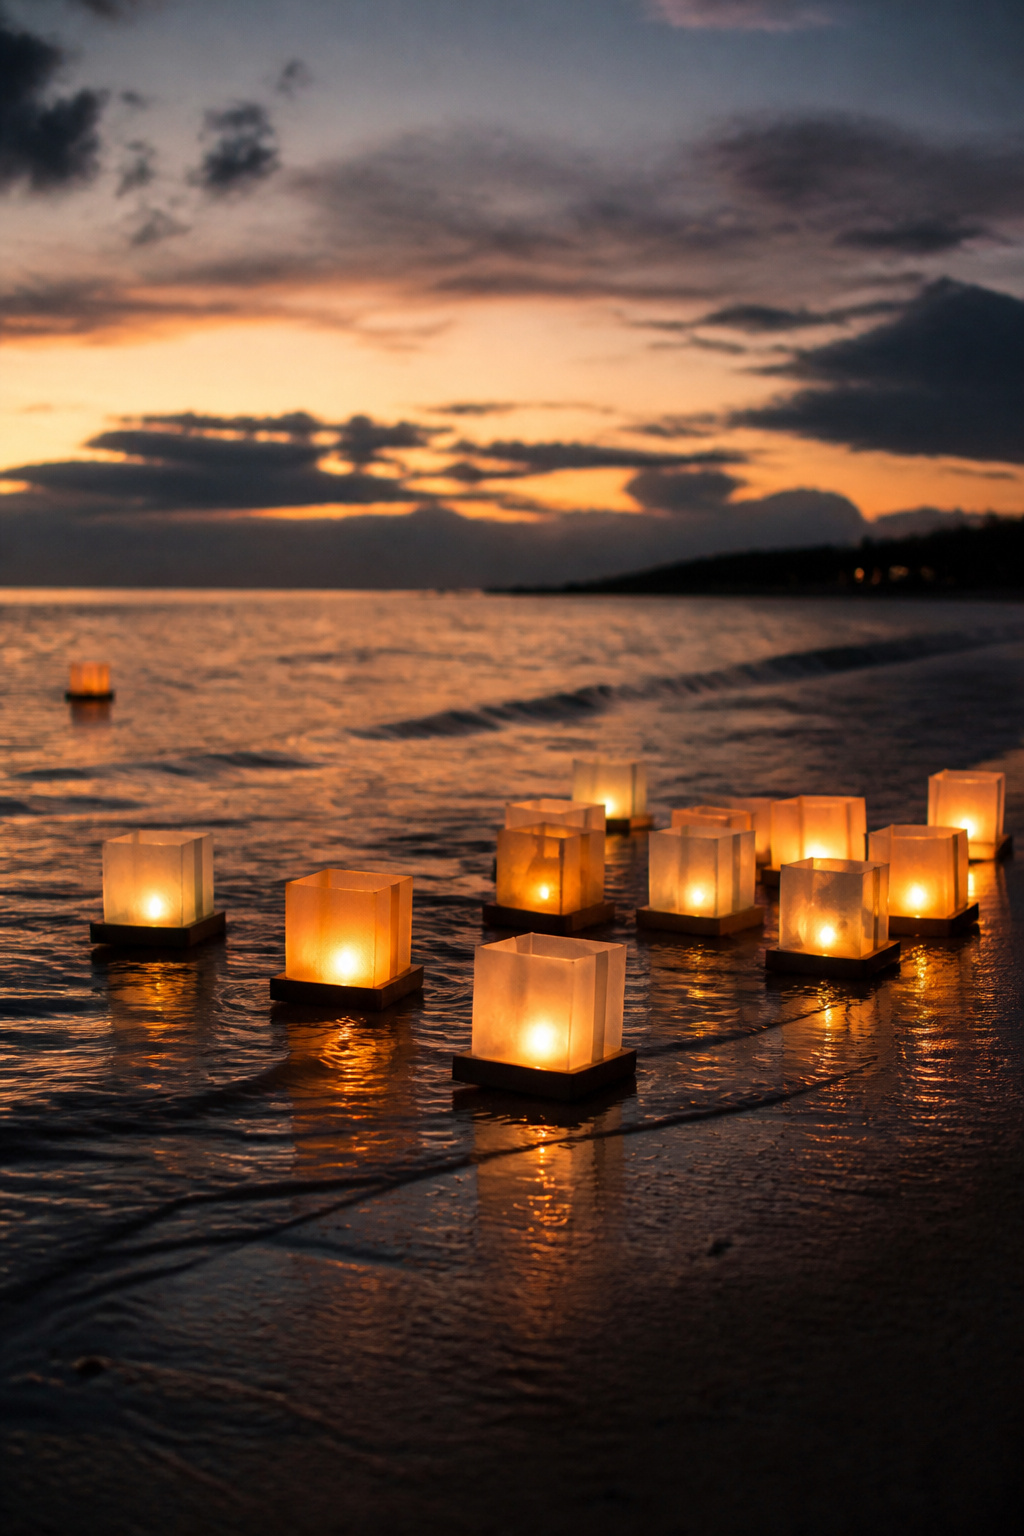
Floating lanterns give a slow-moving light that guests follow with their eyes. Local regulations matter here; at one venue we had to swap to LED-floating units because of fire rules.
What You Need:
- Floating LED lanterns or paper lanterns approved by local code, 10 to 30 units
- Small sand anchors or designated launch point
- Lantern baskets or trays for organization
- A volunteer crew for launch and retrieval
Setup:
- Confirm local ordinances before planning, schedule LED alternatives if open flame is banned.
- Launch after sunset with helpers to keep launches steady and safe.
- Retrieve promptly to avoid marine debris issues.
22. Seashell Favor Bags on a Driftwood Table
Style: Bright and Airy | Difficulty: Easy DIY | Best For: Guest Favors | Budget: Budget-Friendly
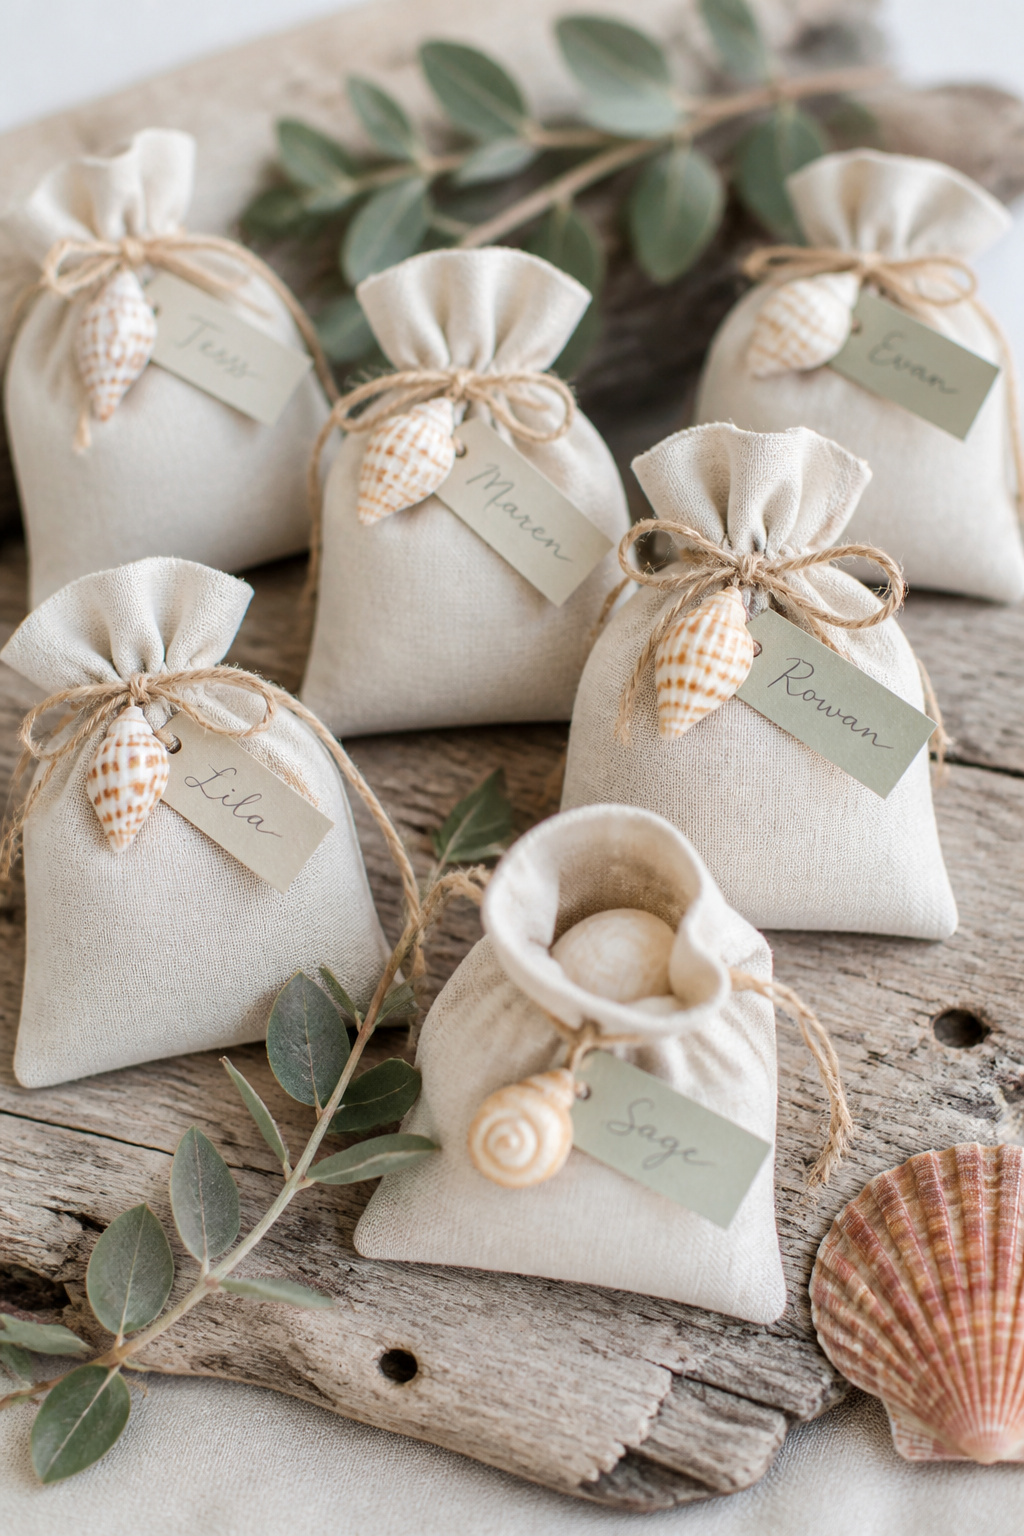
Guests loved taking a small piece of the beach home. I recommend a durable container inside the bag for fragile items, otherwise sand sneaks in and everyone gets surprised at home.
What You Need:
- Linen favor bags, 4 to 6 inch square
- Small shells or local candies, 1 to 2 per bag
- Driftwood slab or crate for display
- Name tags or stamped cards
Setup:
- Assemble favors two days ahead and store in an airtight container to keep sand out.
- Lay out on the table 30 minutes before exit flow.
- Keep extra bags for last-minute guests or replacements.
23. Sunset Silhouette Photo Wall
Style: Moody Cinematic | Difficulty: Easy | Best For: Golden Hour Portraits | Budget: Budget-Friendly
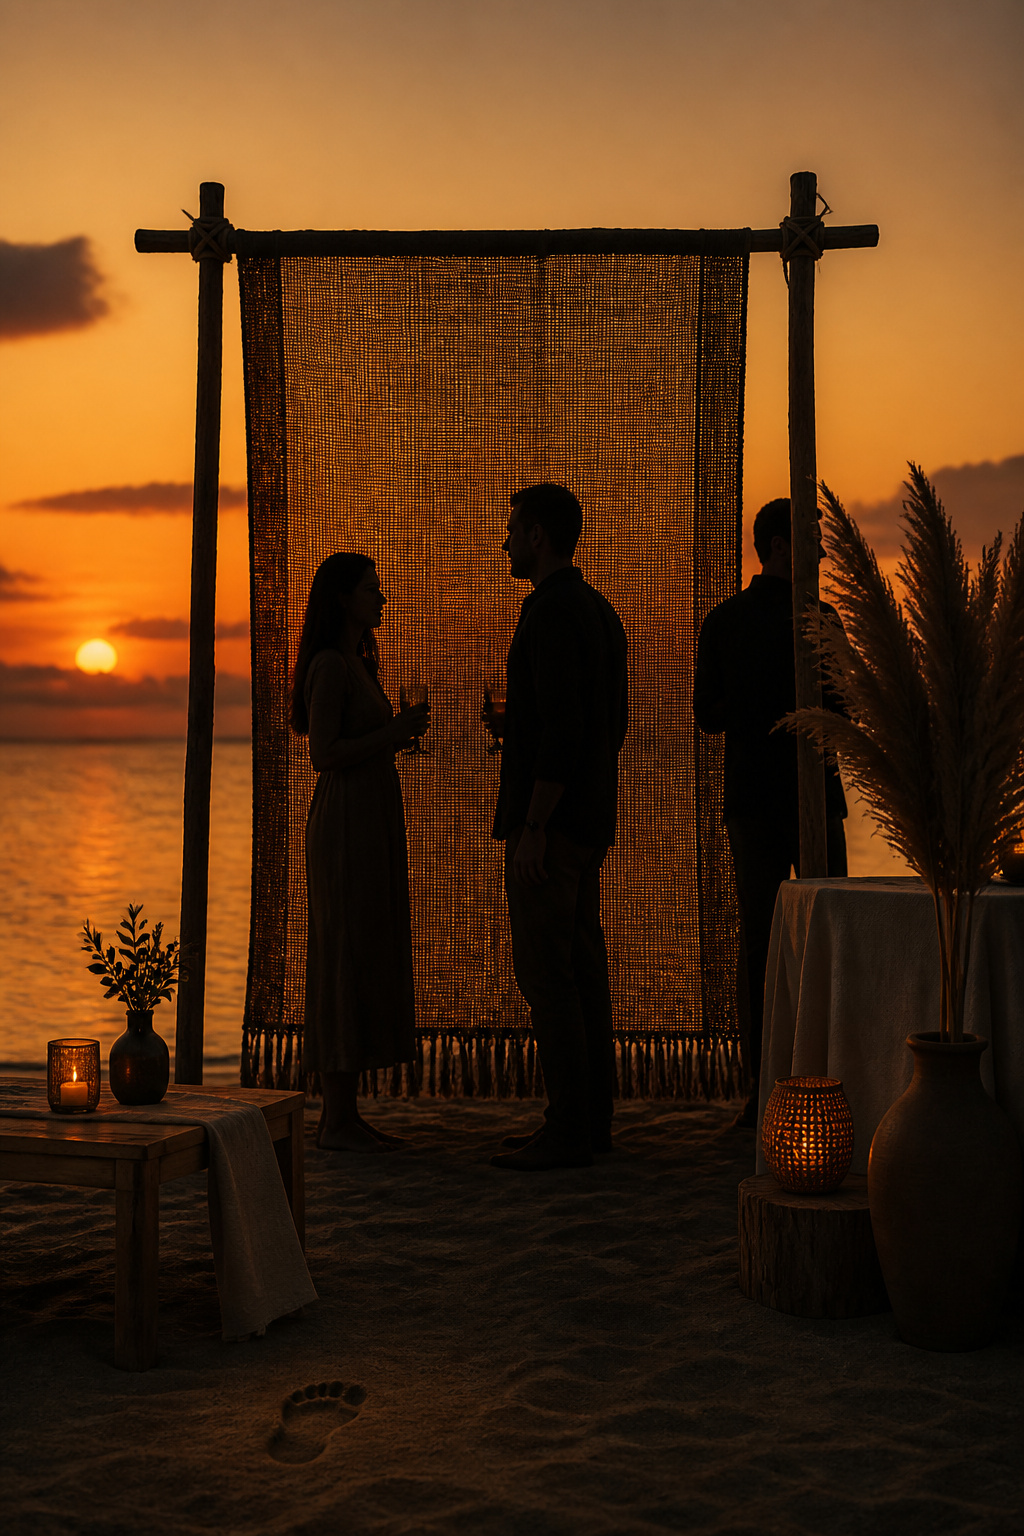
The silhouette wall gave everyone portrait-worthy shots. At one wedding each couple queued here for quick golden-hour portraits and it streamlined the photographer’s schedule. Keep the backdrop low to let the horizon do its job.
What You Need:
- Woven backdrop panel, 6 to 8 ft wide and 4 to 6 ft tall
- Simple frame or crossbar with sand anchors
- Small stool or bench for variety of poses
- Photographer timing plan for golden hour
Setup:
- Erect backdrop 45 minutes before golden hour, align with the sun path.
- Ask guests to queue for 10-minute slots to avoid logjams.
- Keep backdrop low-profile to avoid catching wind and blocking the horizon.
24. Barefoot Dance Floor With Whitewashed Pallets
Style: Boho Coastal | Difficulty: Moderate DIY | Best For: Reception Dancing | Budget: Budget to Mid
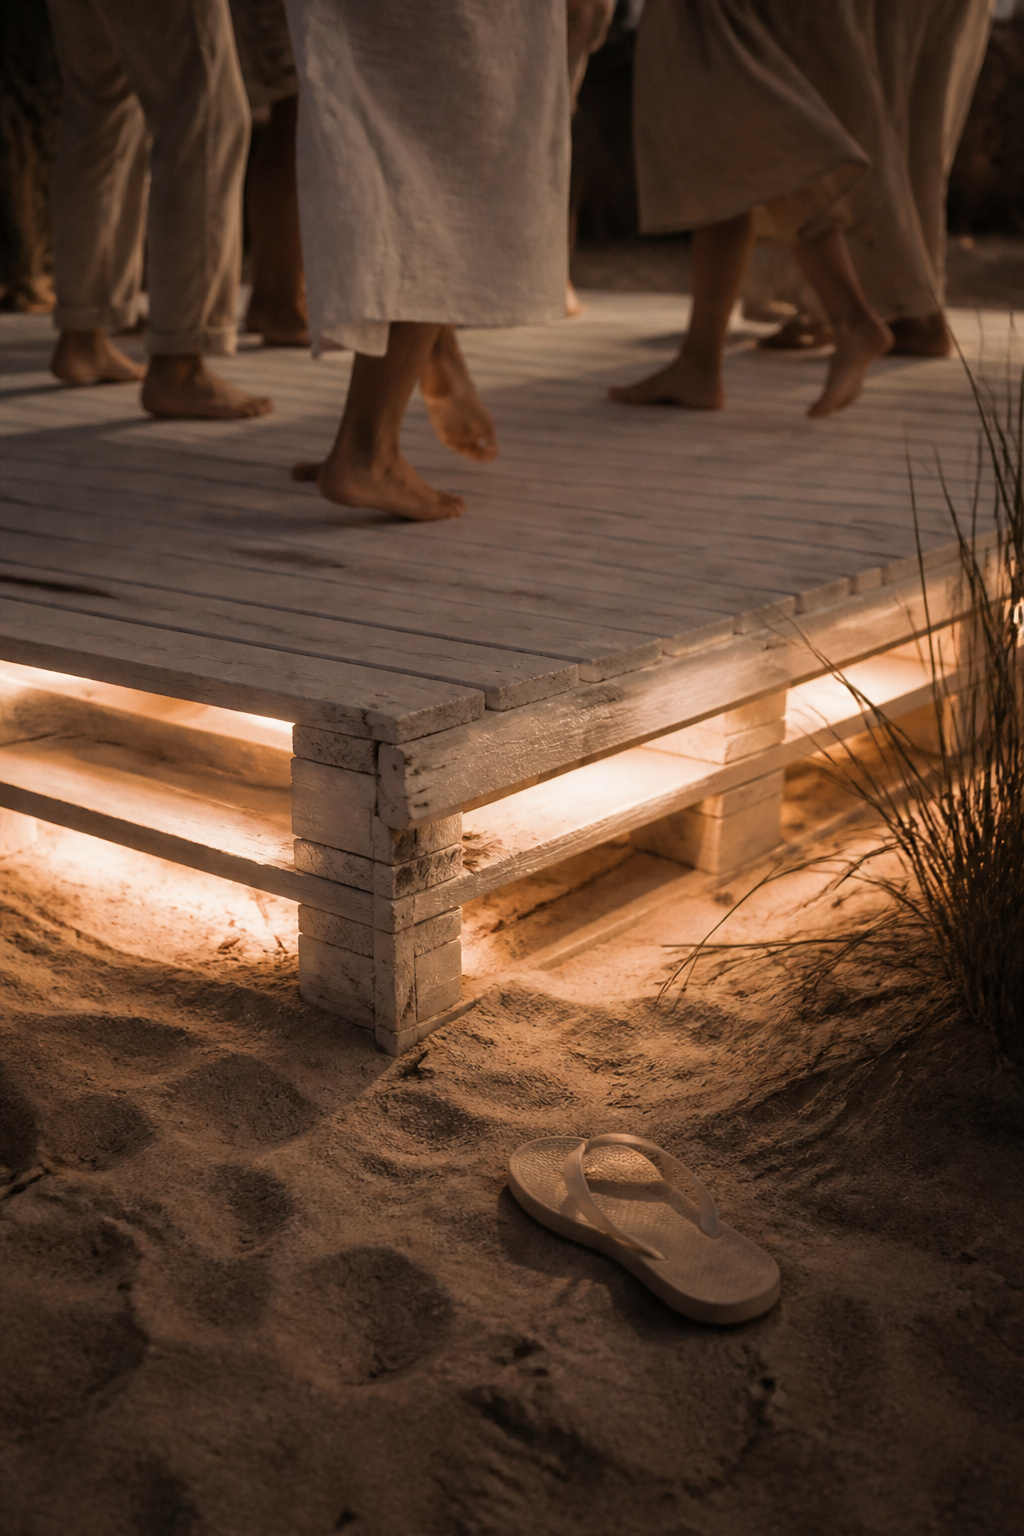
Couples want to dance barefoot and not sink. A raised pallet floor gives them that freedom. I helped build one that survived a surprise tide because we set it at a safe high-tide mark.
What You Need:
- Whitewashed pallet flooring or rental portable dance platform, sized to guest count
- Low-profile stage legs or platform supports rated for sand
- Soft uplighting around edges and sand-safe tape for seams
- A broom and dustpan for sand control
Setup:
- Position platform above high-tide line and level three hours before first dance.
- Tape seams and sweep the surface an hour before dancing to remove sand grit.
- Have shoes bins nearby to encourage barefoot dancing without lost footwear complaints.
What You Will Need to Pull This Off
Structural Essentials
- Arch frames or reclaimed driftwood uprights, 5 to 8 ft tall, around $30 to $150 each depending on material
- Rental pergola or tent frame, 8×8 to 20×40 ft, $300 to $2,500 depending on size and linen finish
- Weighted bases and sand anchors (rebar stakes, ballast bags), $20 to $150 each
- Portable dance platform or raised pallets, $200 to $1,200 for rental or DIY materials
Florals and Organic Elements
- Dried pampas bundles, 6 to 30 stems per installation, $15 to $120 depending on quality
- Bleached palm fans and preserved palm fronds, sets of 6 to 12, $25 to $200
- Dried floral mixes (lunaria, bleached coral stems, preserved eucalyptus), $30 to $250 depending on volume
Lighting
- Edison string bulbs with waterproof sockets, 25 to 80 bulbs, $40 to $300
- Battery-operated lanterns and floating LED lanterns, $20 to $150 per set
- Tiki torches with safe fuel canisters, 12 to 24 units, $5 to $25 per torch
Textiles and Surfaces
- Linen and gauze drapes, runners, 2 to 3 yards per table, $20 to $200 per piece
- Woven seagrass chargers and wicker placemats, $3 to $25 per unit
- Floor cushions and poufs, assorted sizes, $20 to $150 each
Planning Resources
- Tide chart tools and local tide tables, free to $10 for premium apps (use NOAA or local harbor master for accuracy)
- Permit checklist resources and municipal event contact, free via city/county websites and local park services
- Vendor platforms: Etsy for artisan items, local rental companies for structures, The Knot and Zola for vendor discovery
Where to Source It
Etsy is where I consistently find artisan chargers, macramé, and hand-thrown ceramics; expect 2 to 6 week lead times for custom orders. Local party rental companies are usually half the price of buying large structures; ask about coastal-rated gear. For bulk basics like lanterns or string lights Amazon or wholesale suppliers work fast, but check return policies for outdoor-rated products. For dried florals, specialty wholesalers and shops on Etsy offer consistent quality; order preserved elements at least three weeks ahead.
Planning Tips for a Beach Wedding
Book Your permit early: Municipal beach permits can take 4 to 12 weeks. Apply sooner rather than later.
Check tide windows:** Align ceremony and setup times with low tide lines for maximum shoreline; use NOAA or local harbor charts.
Plan for wind, not just sun:** Use low centerpieces, weighted anchors, and battery candles as backups. I have seen expensive arches act like sails.
Weather contingency equals dignity:** Rent a linen tent or reserve a nearby indoor site and communicate the plan clearly to guests.
Pack duplicate small items:** Extra napkins, tape, and marker pens saved a vendor emergency at my cousin’s reception.
Sustainable swaps:** Choose rentals over single-use items in 2025; couples I know are favoring rented linens and ceramicware to cut waste.
Make-ahead stations:** Assemble shell tags, favor bags, and place settings 48 to 72 hours before so day-of runs smooth.
Frequently Asked Questions
Q: Do I need a permit for a beach reception?
A: Most public beaches require a permit. Contact the local parks or municipal office at least 6 to 12 weeks ahead and ask about amplified sound, catering, and alcohol rules.
Q: How do I keep florals from wilting in sun and salt air?
A: Choose preserved or dried elements where possible, shade fresh florals until placement, and use floral foam sealed in containers. Line check with your florist about heat-tolerant blooms.
Q: What’s the best time for a beach reception photoshoot?
A: Golden hour, roughly the hour before sunset, yields flattering light. Schedule key photos in a 30 to 45 minute window to account for changing light.
Q: Can I use real coral and shells for decor?
A: Avoid collecting live coral and protected shells. Use preserved or ceramic alternatives. Many venues restrict natural reef materials for conservation reasons.
Q: How do I stop sand from ruining dinnerware and linens?
A: Use low table installations, platform flooring, and brushed-off bins for shoes. Keep backup linens and a broom on hand for quick touch-ups.
Conclusion
Start with one idea that solves your biggest pain point, whether it is wind, guest flow, or lighting. The setups that linger in my memory always had at least one tactile detail that guests could touch, and a clear backup in case weather turned. Which of these 24 setups fits your shoreline and vibe best, and which do you want to try first?